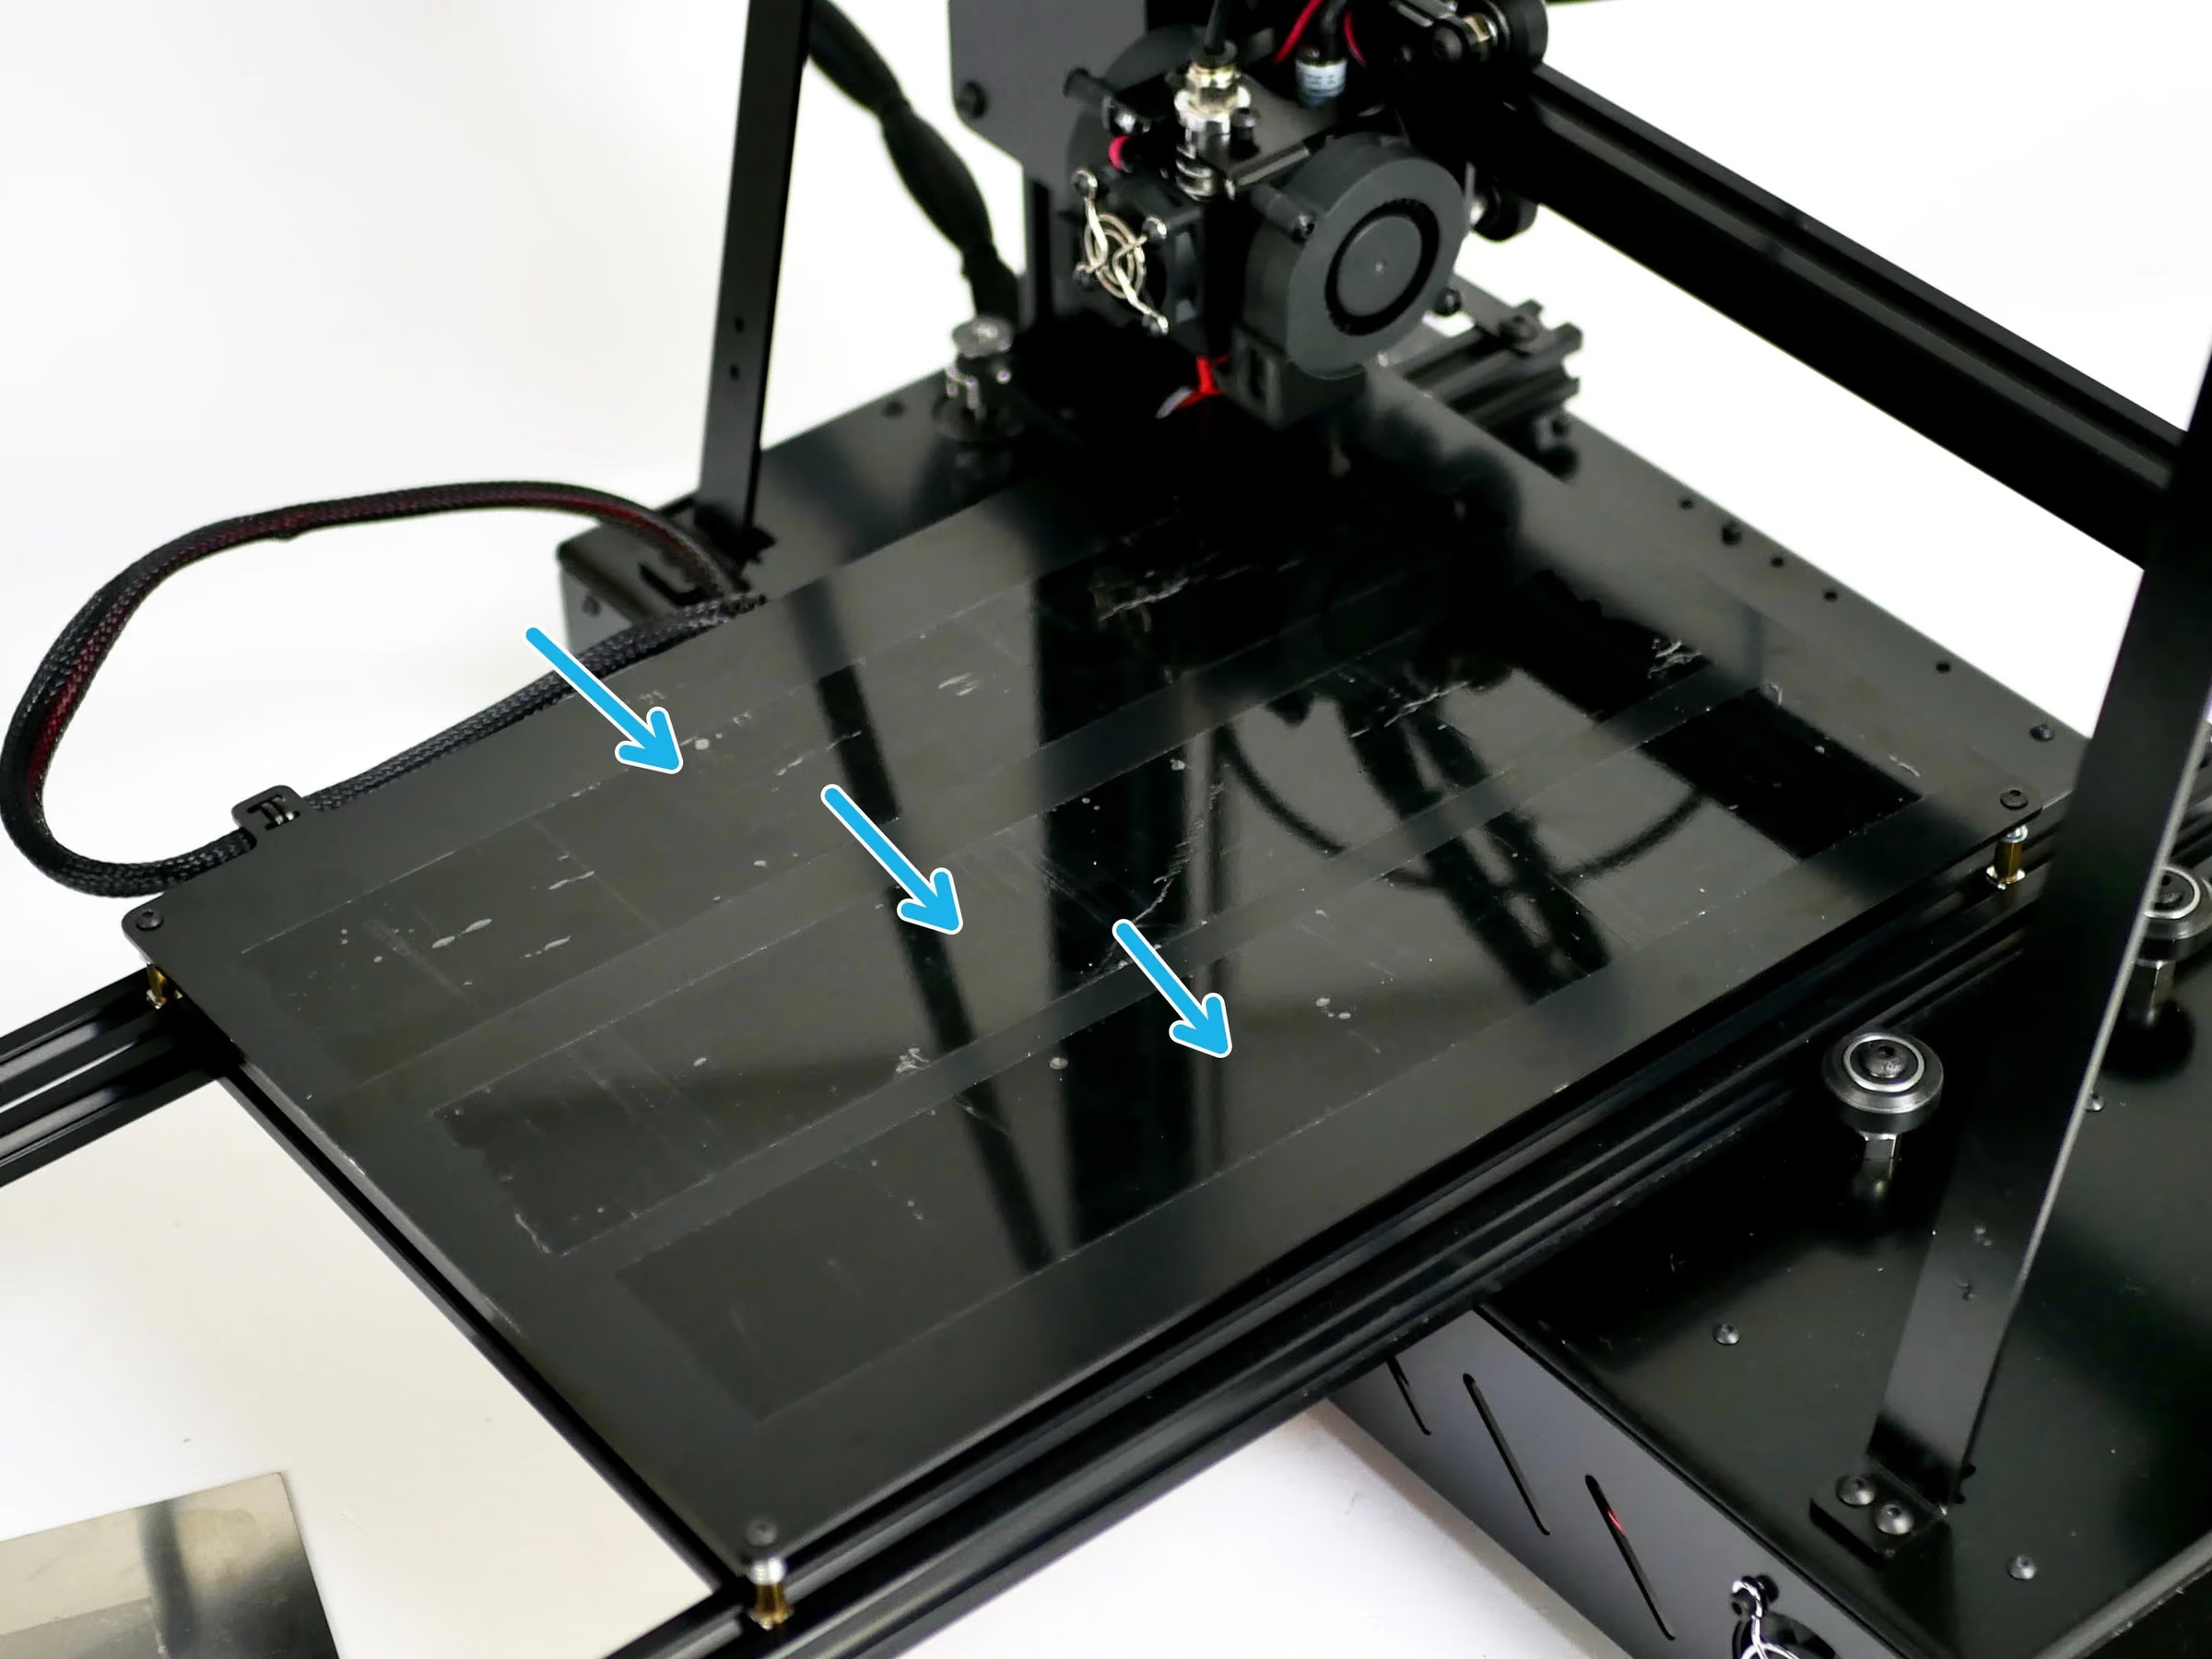
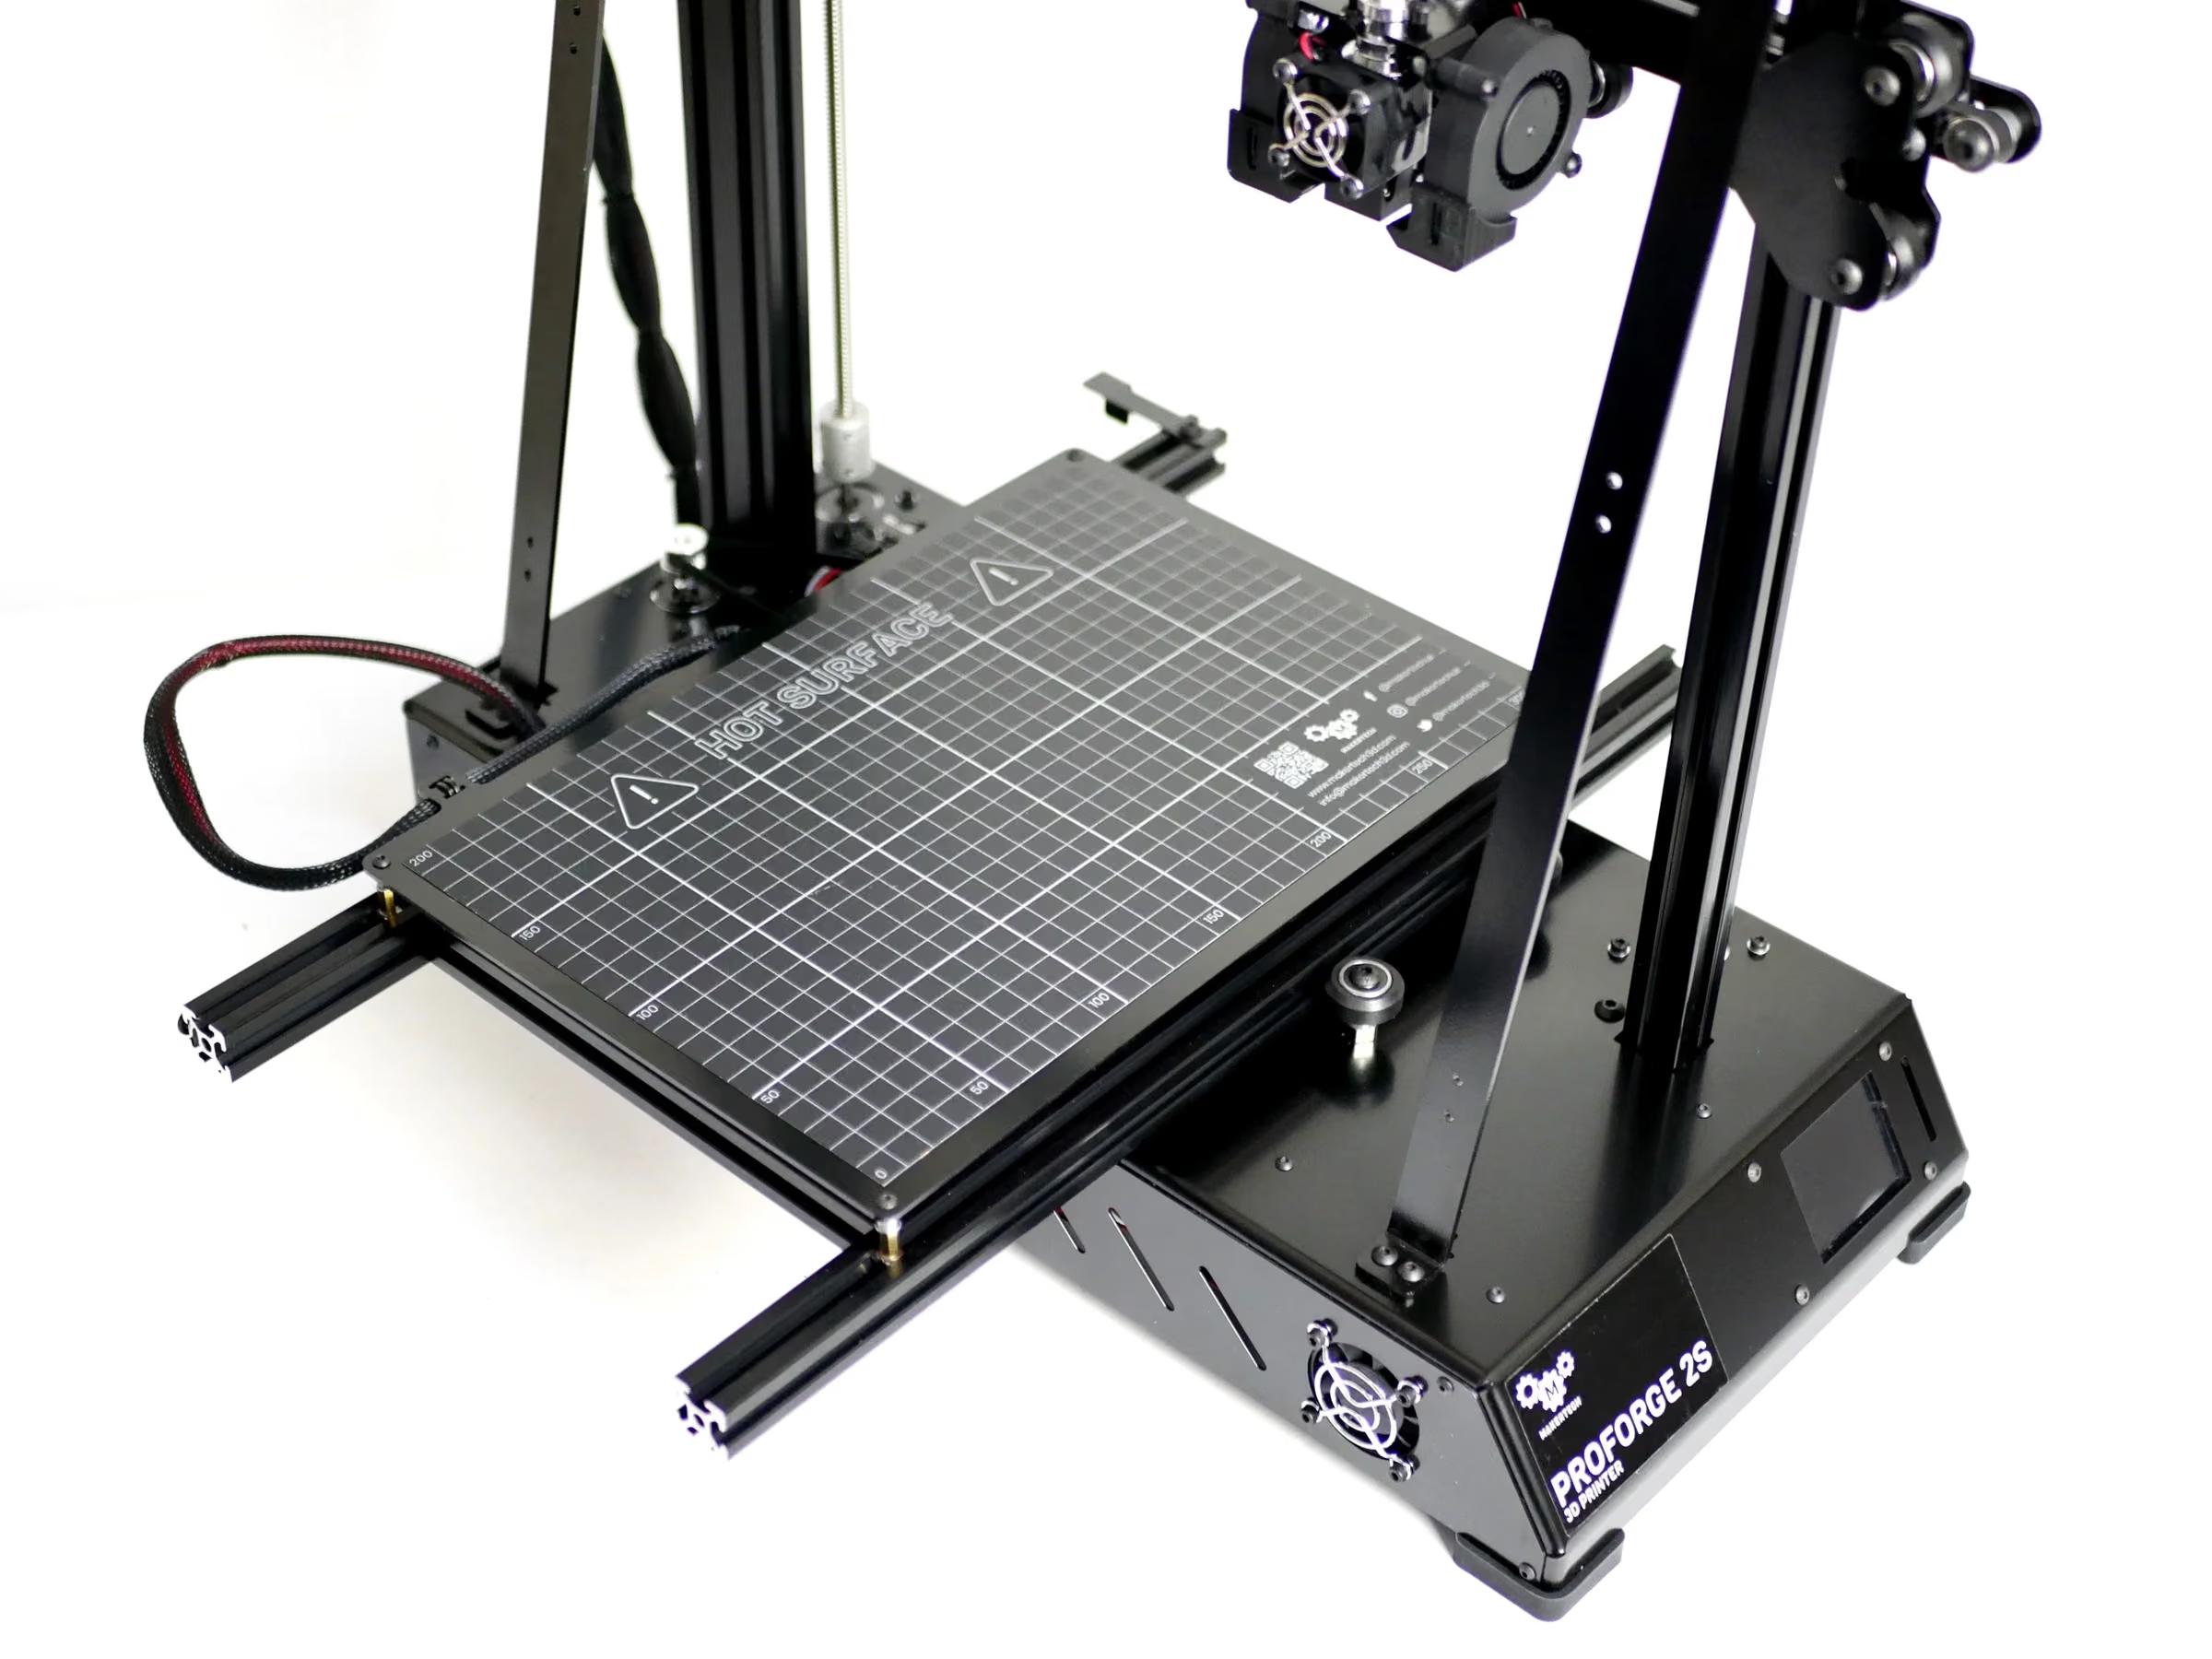
Stage 09 - Wiring
Moderate1 hr33 steps
Step 1 Dual Switching Hotend Steps
- Note: In this stage the steps marked with "DSH:" in the title are for the installation of the Dual Switching Hotend.
- Reminder: If you are building a single extruder setup you can ignore these steps.
Loading comments…
Step 2 Y - Motor and Endstop Cables
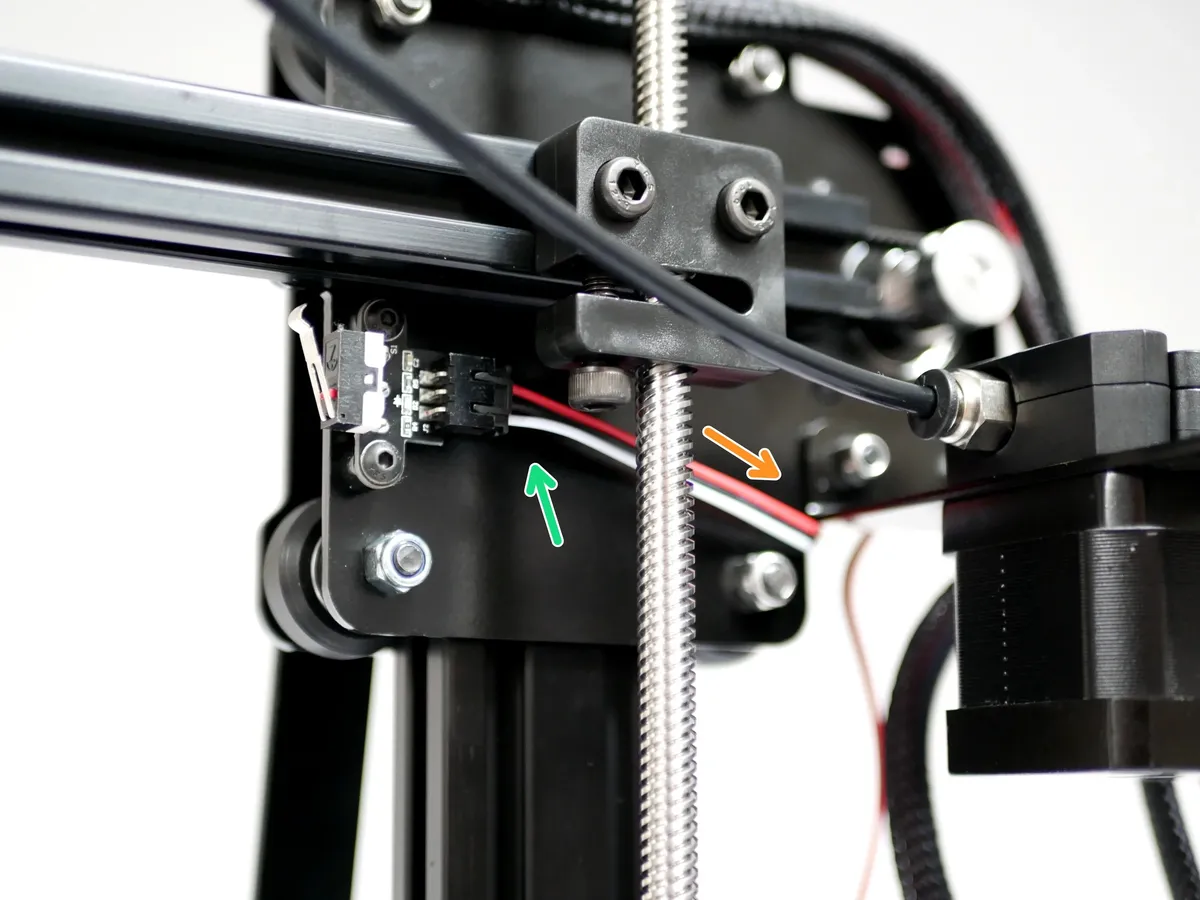
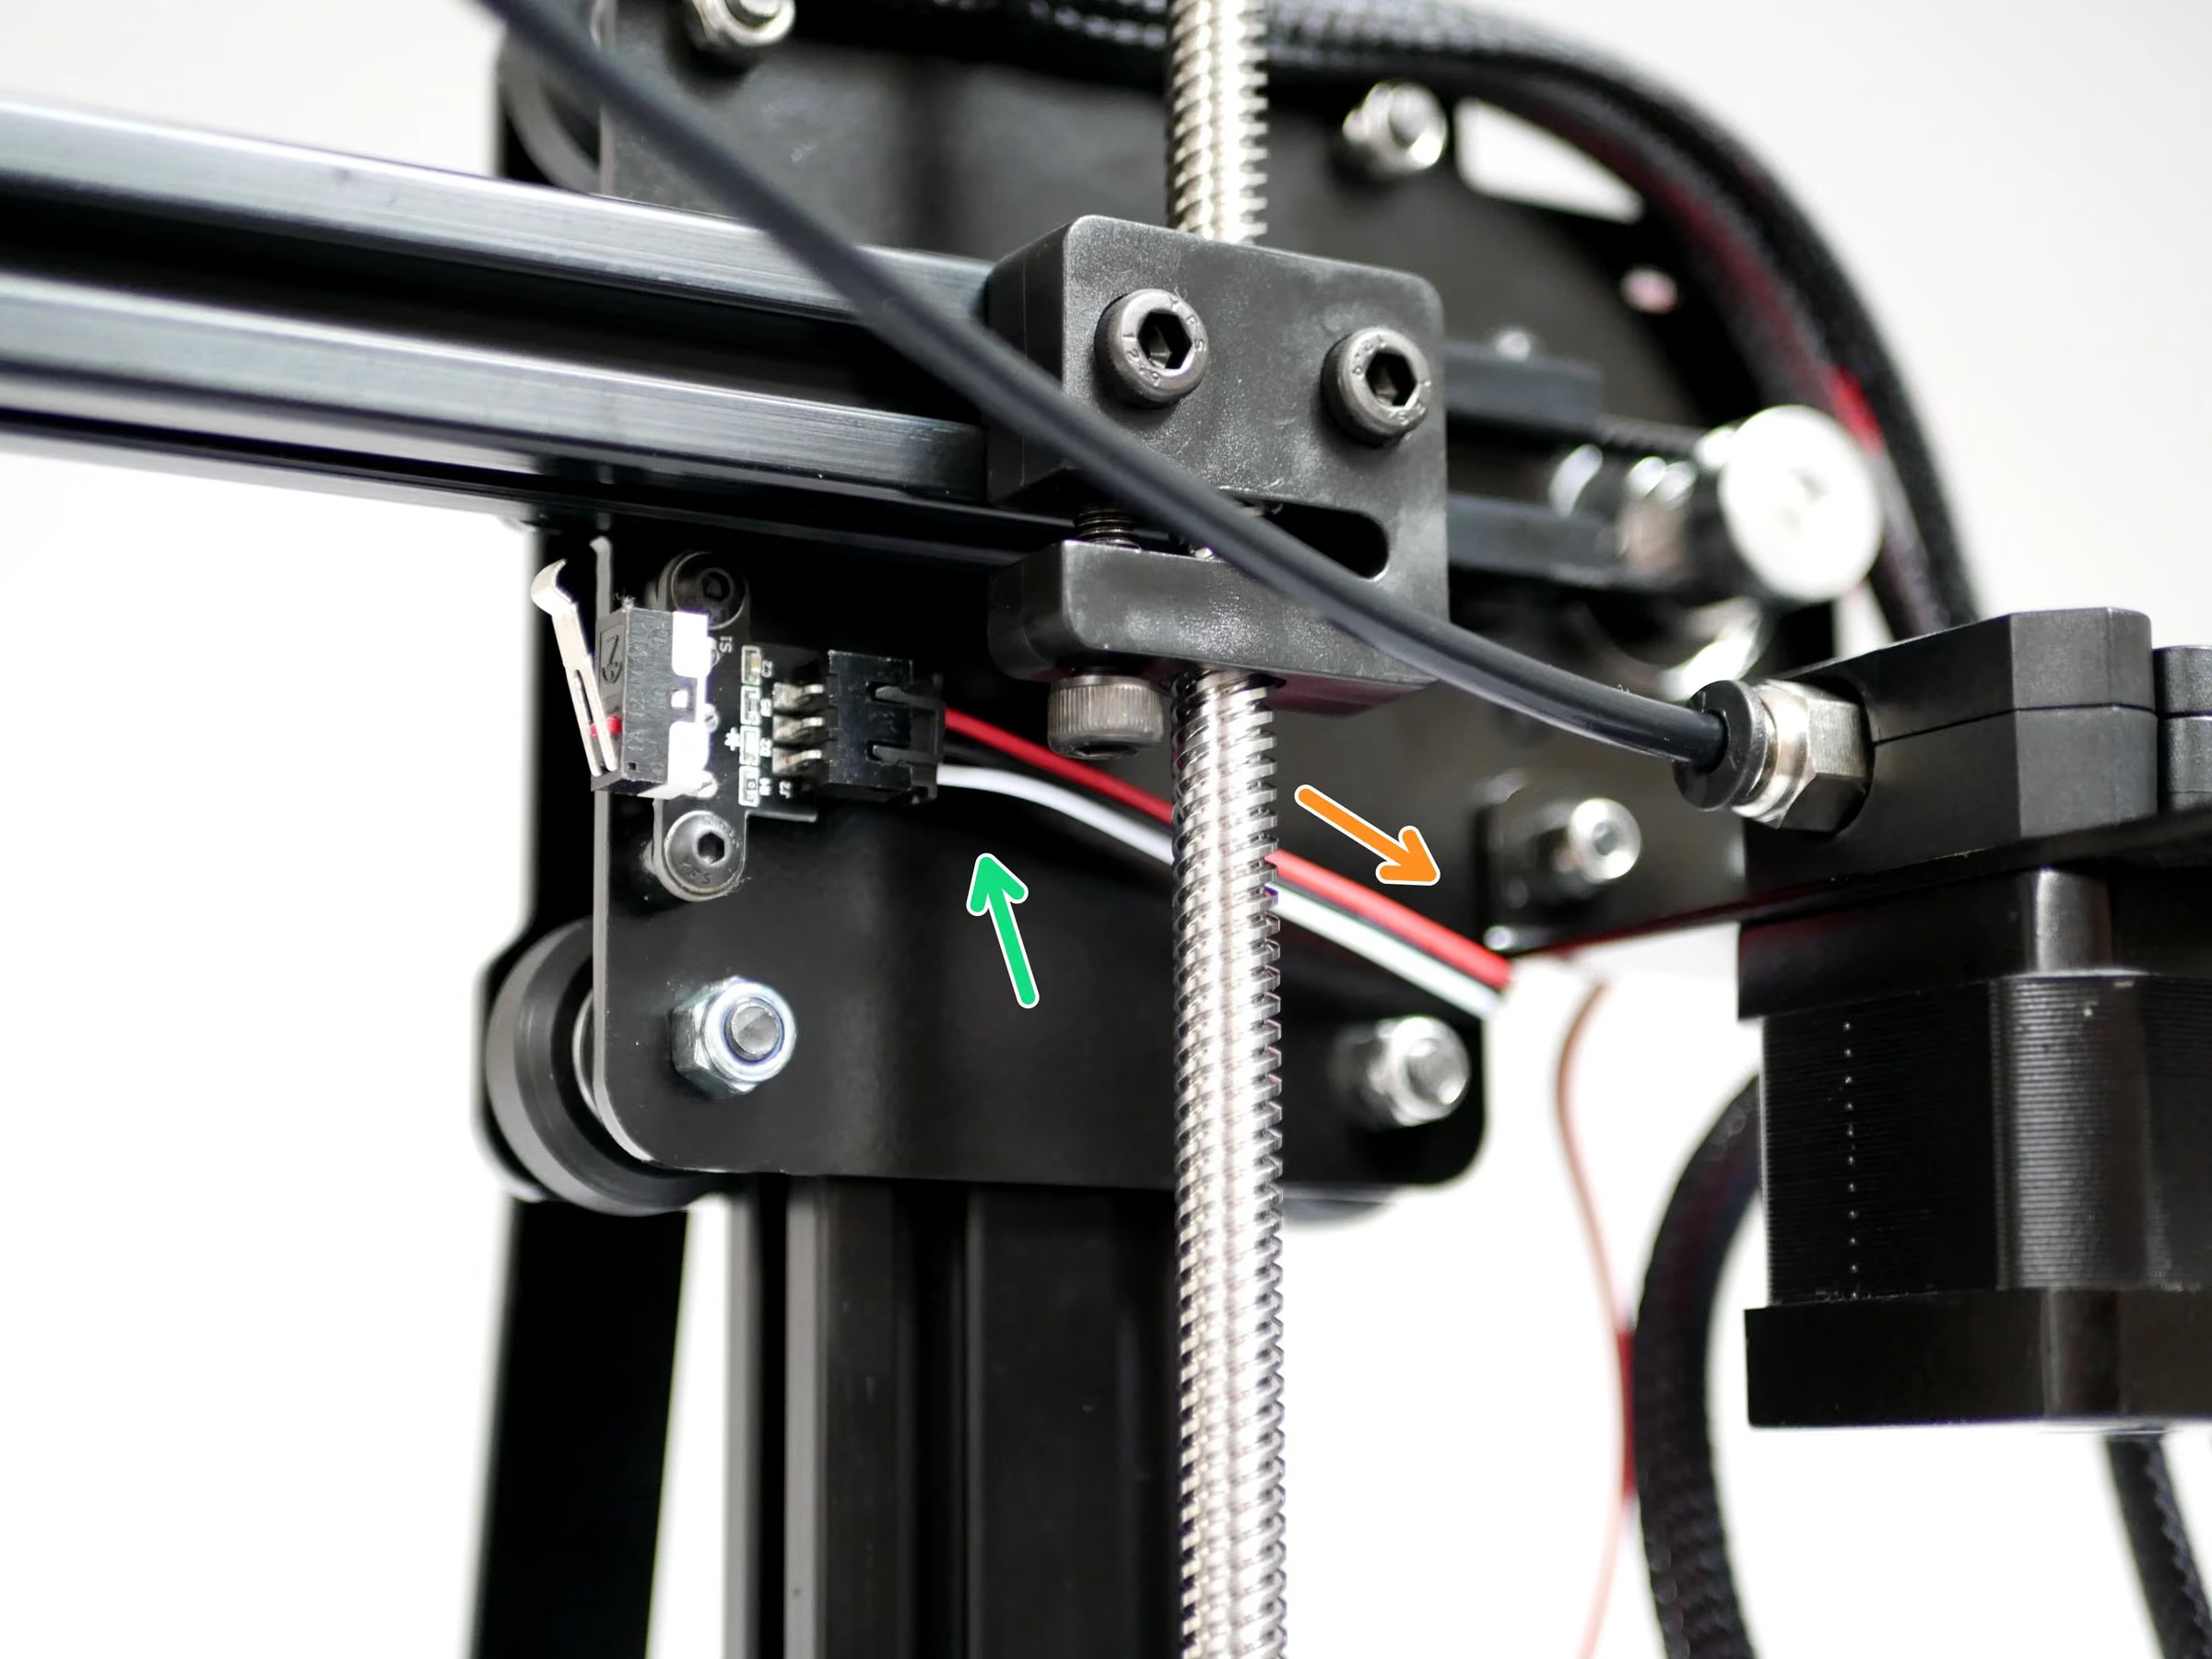
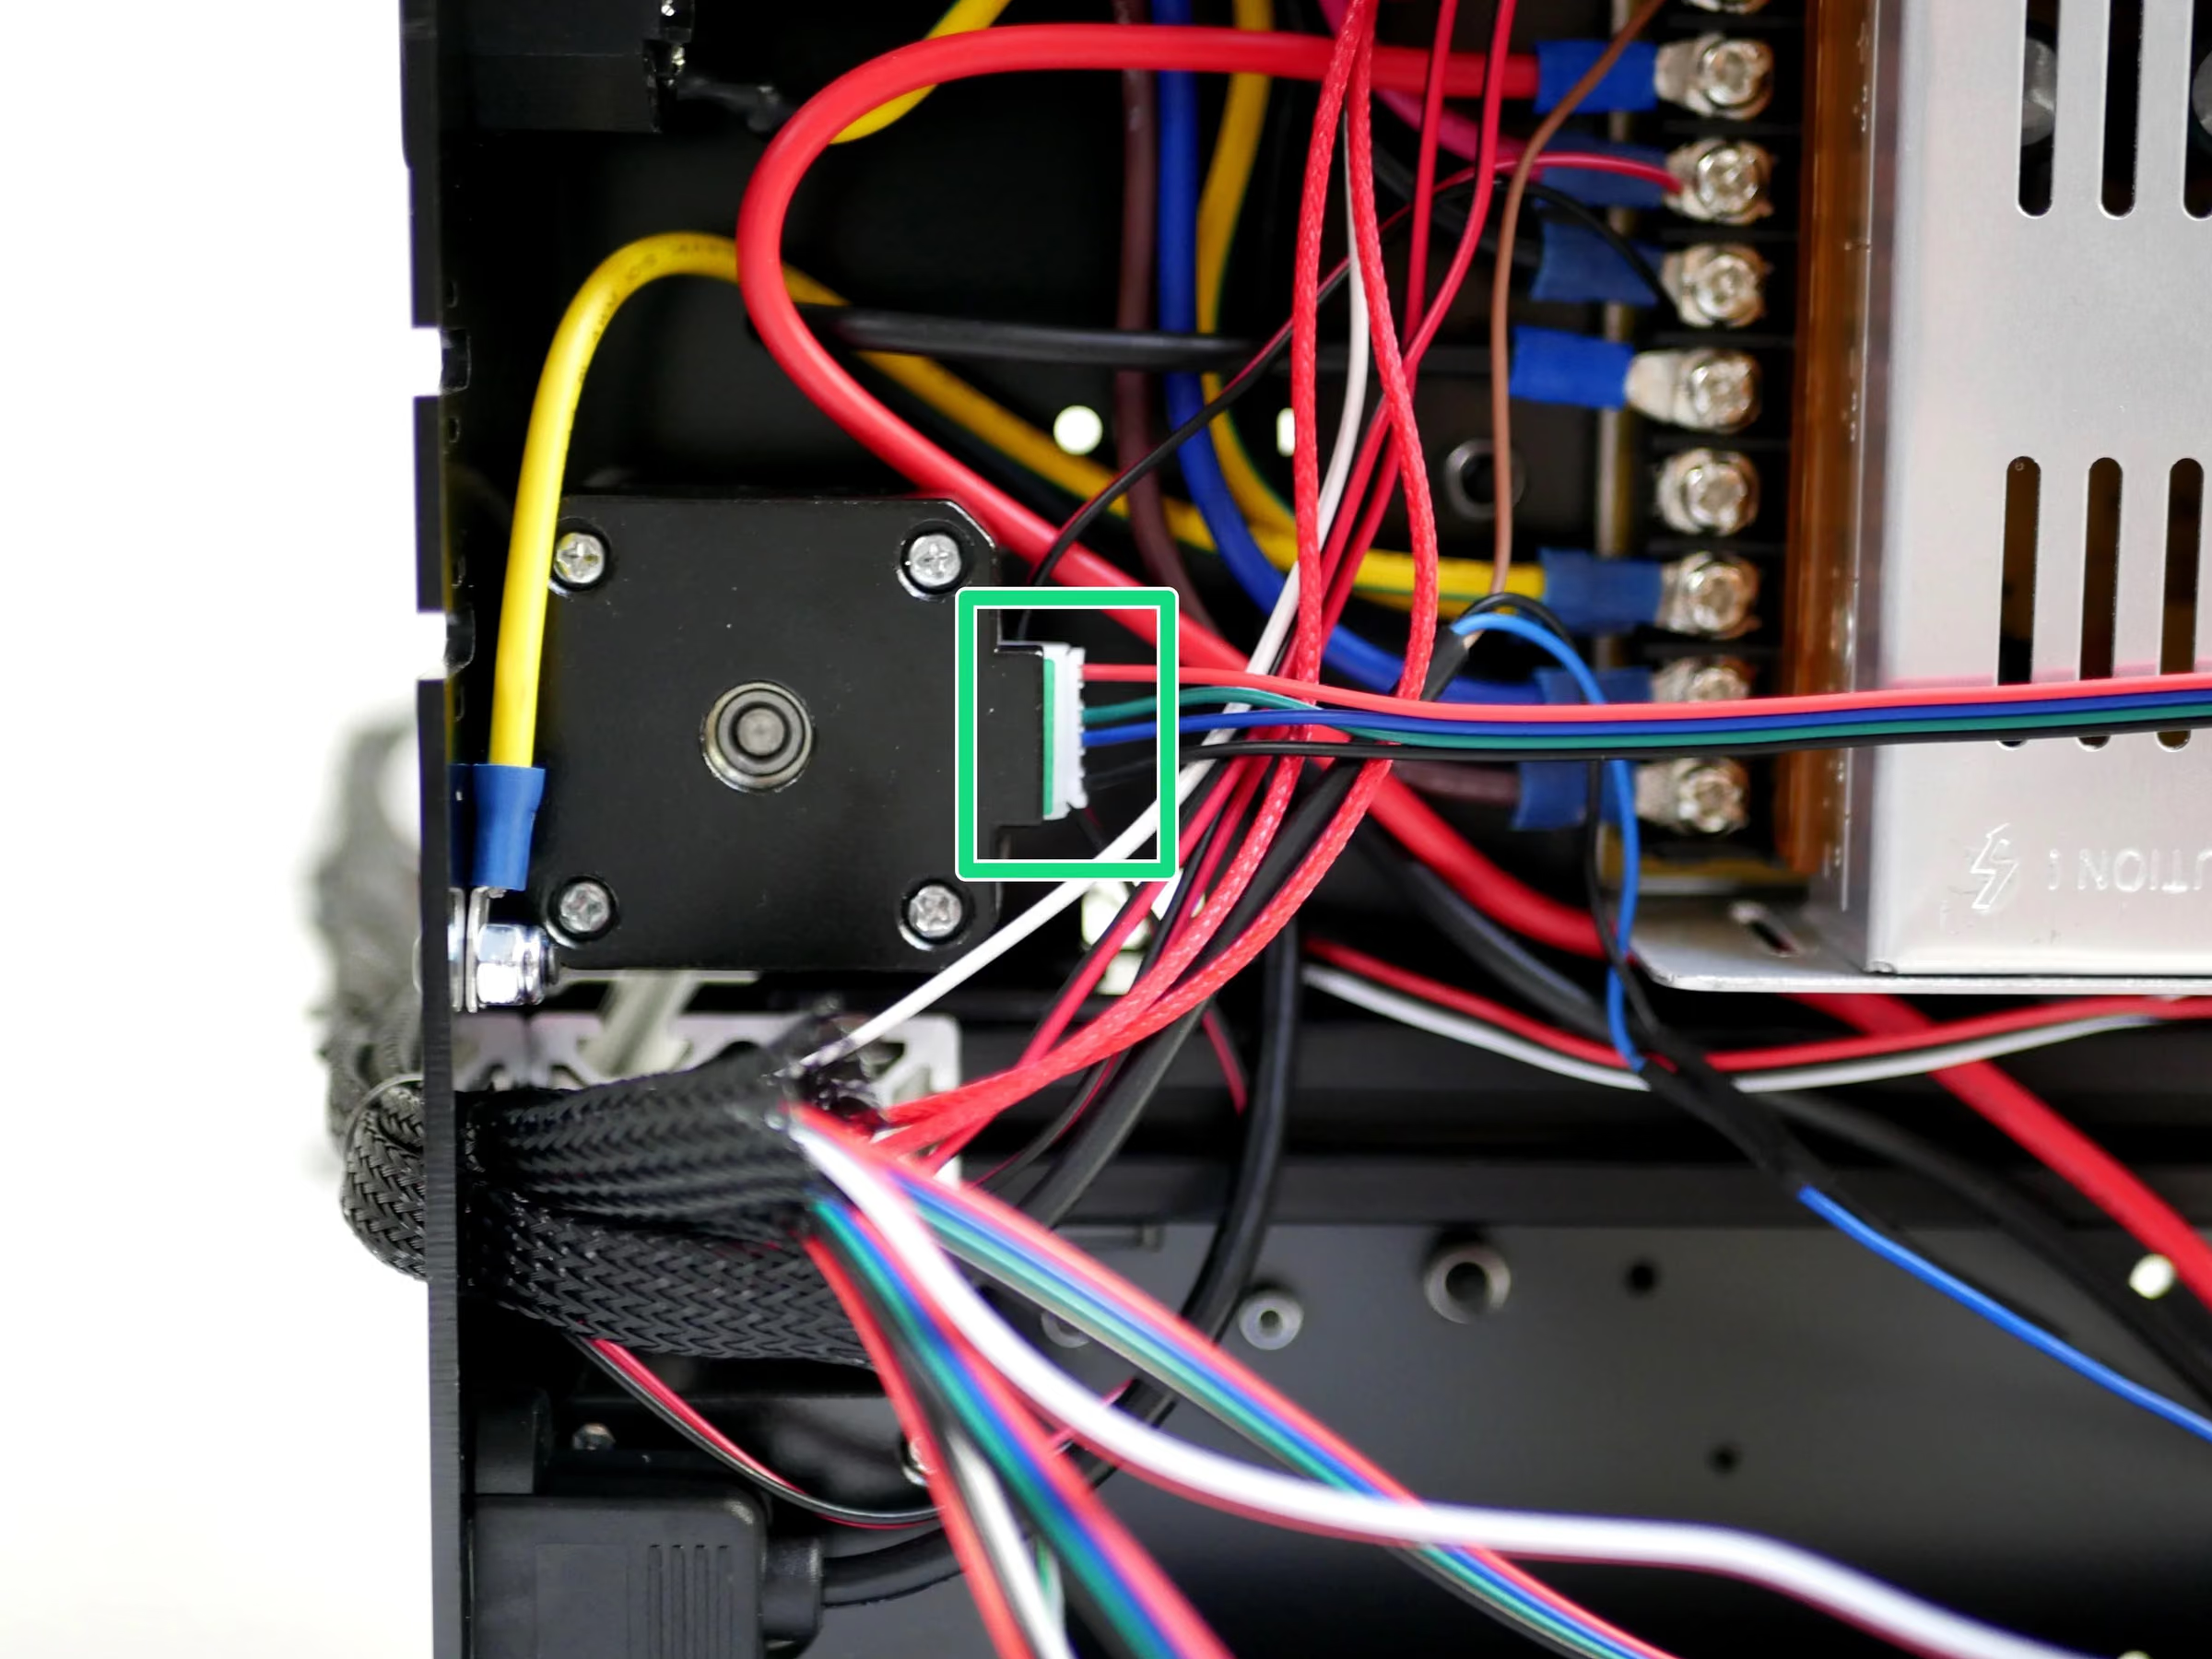
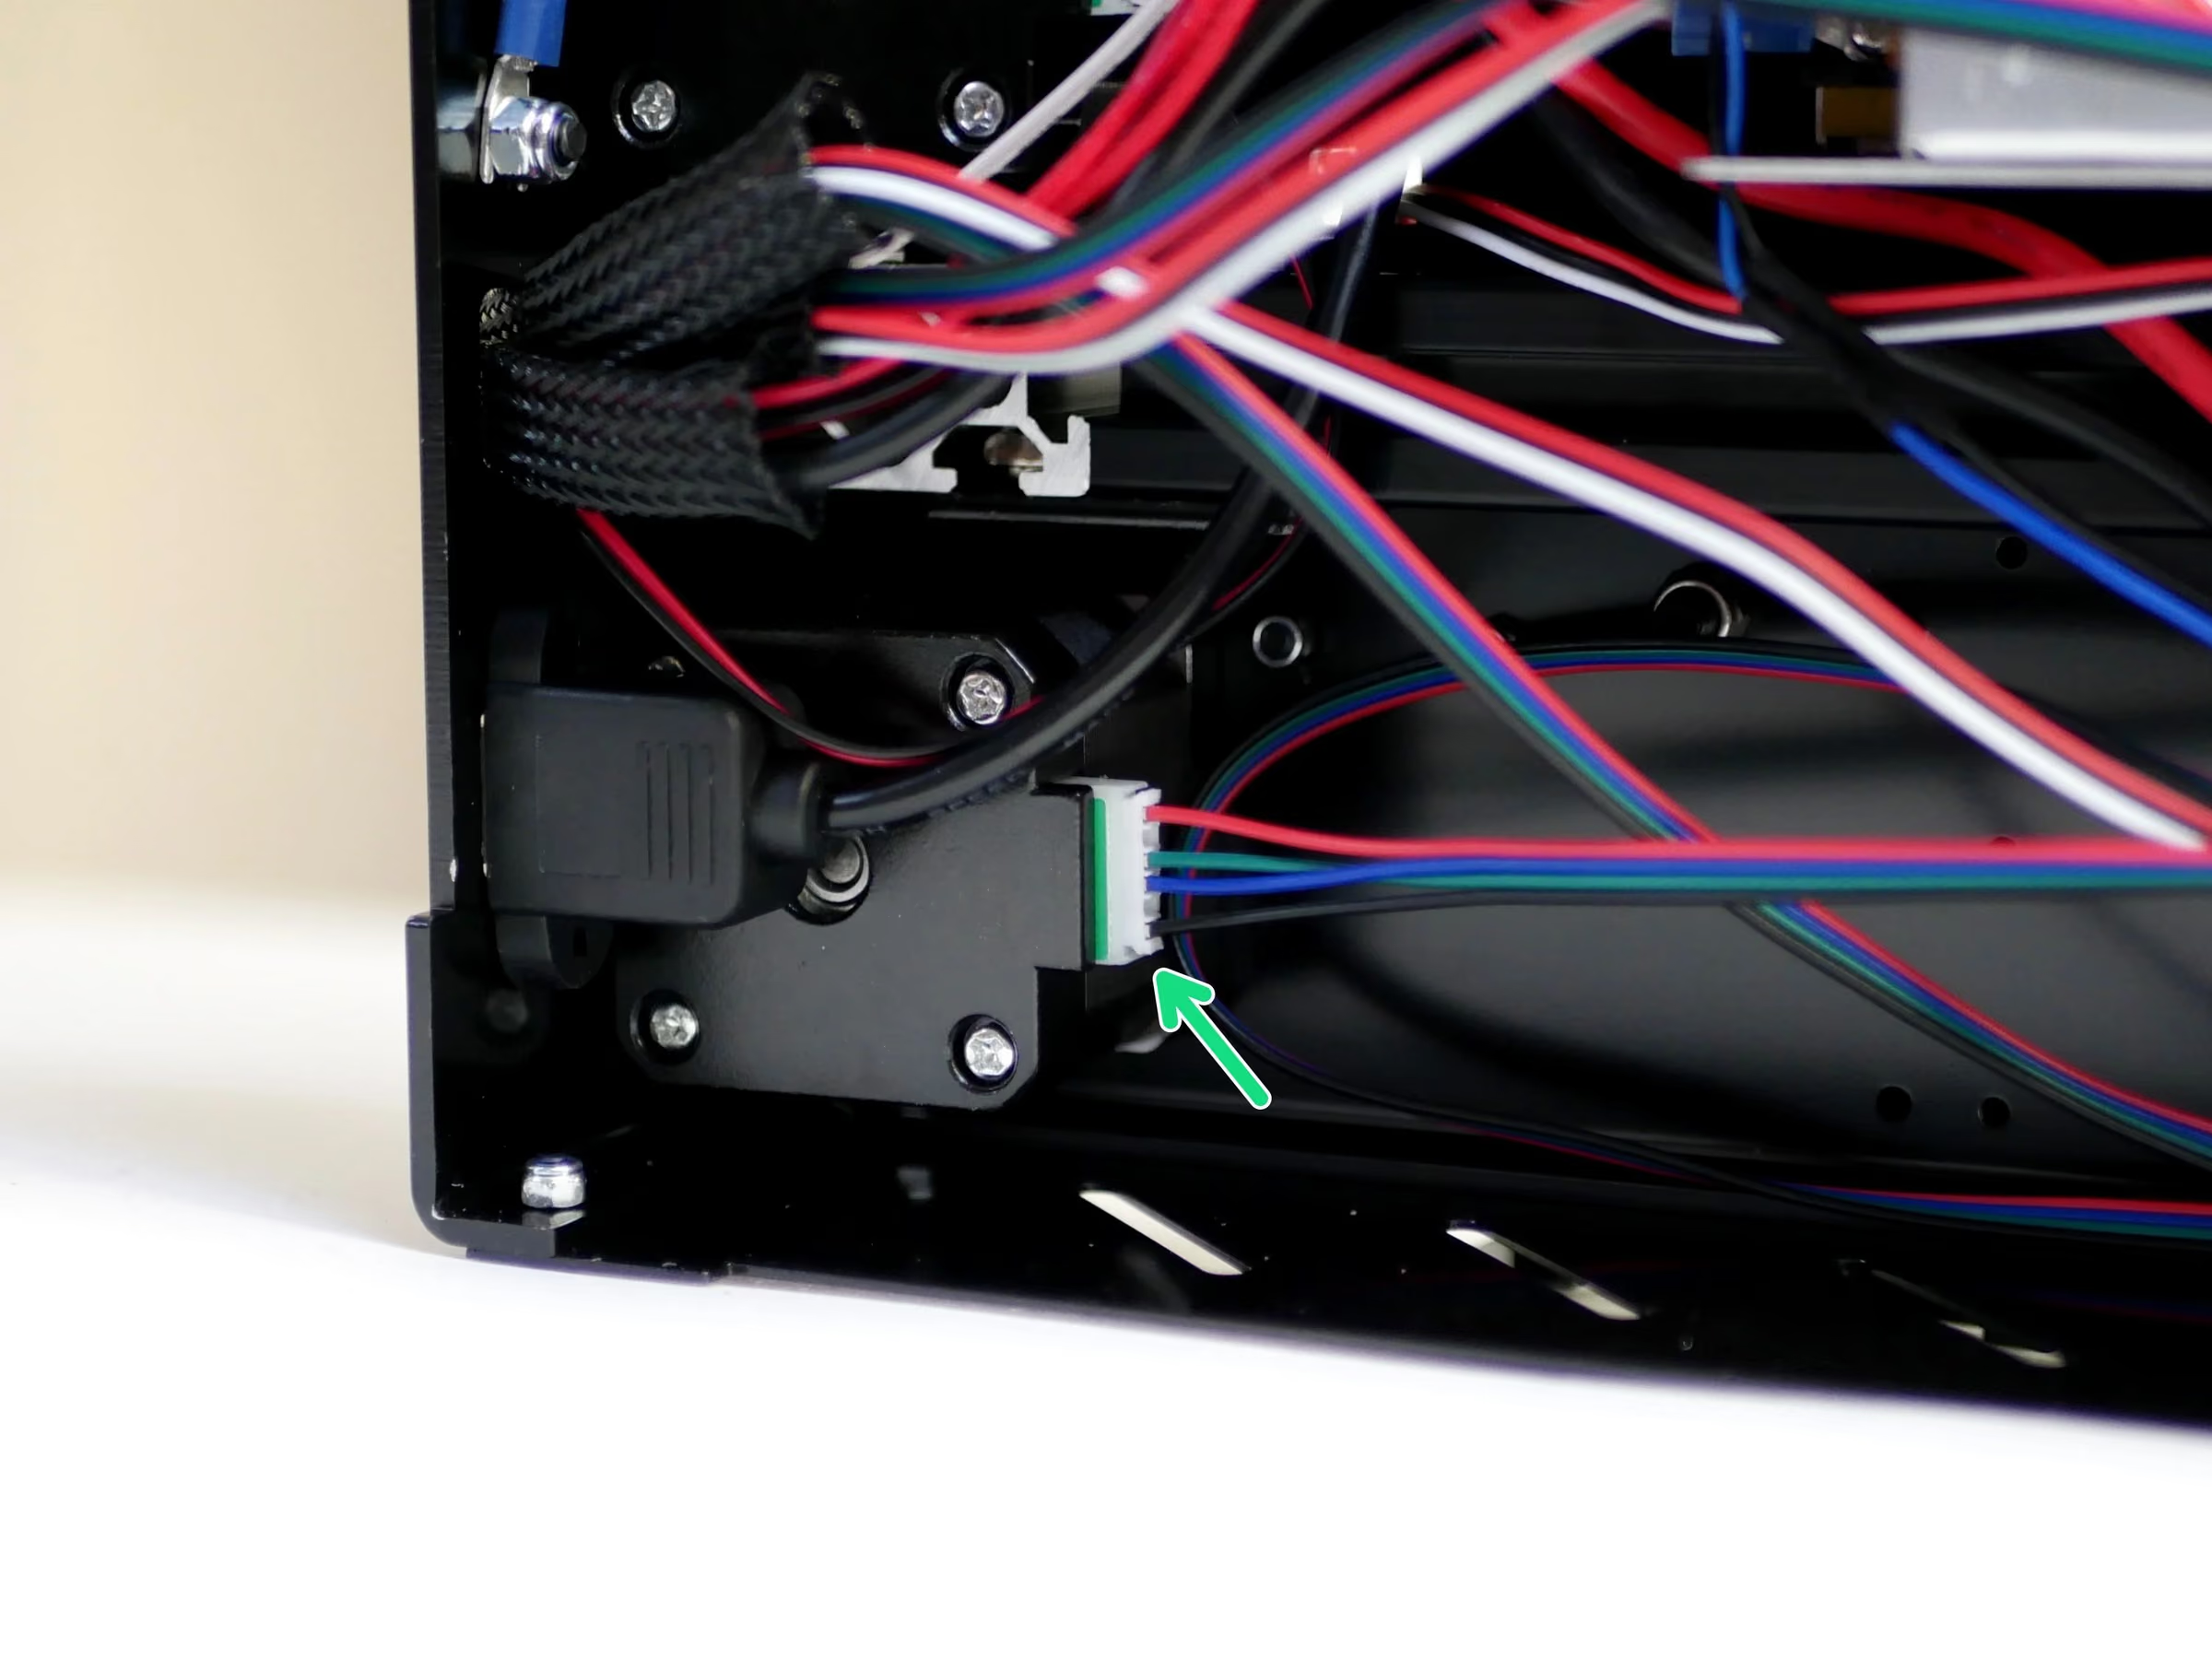
- Connect to the Y-Endstop its cable.
- Feed the cable around the Y-Motor.
- Connect a motor cable to the Y-Motor.
Loading comments…
Step 3 Braided cable sleeving
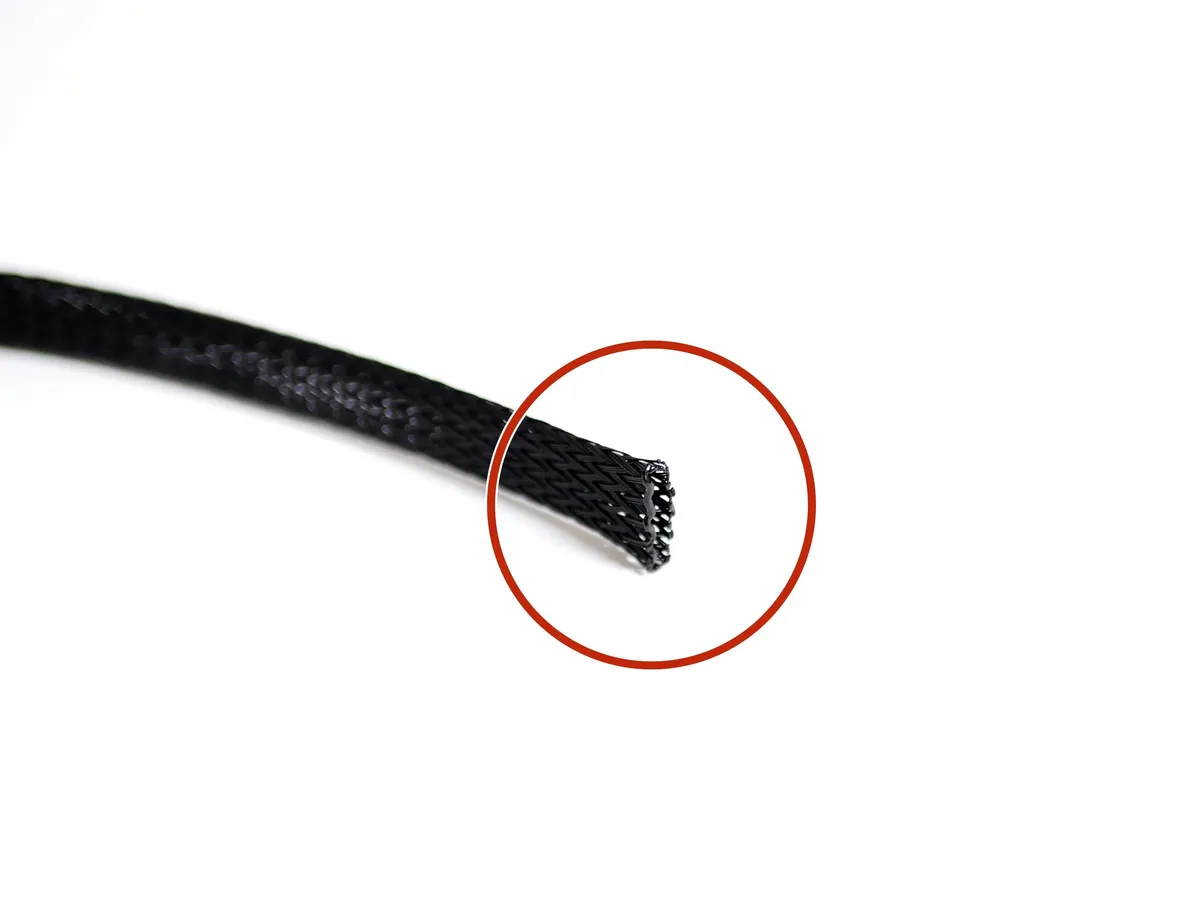
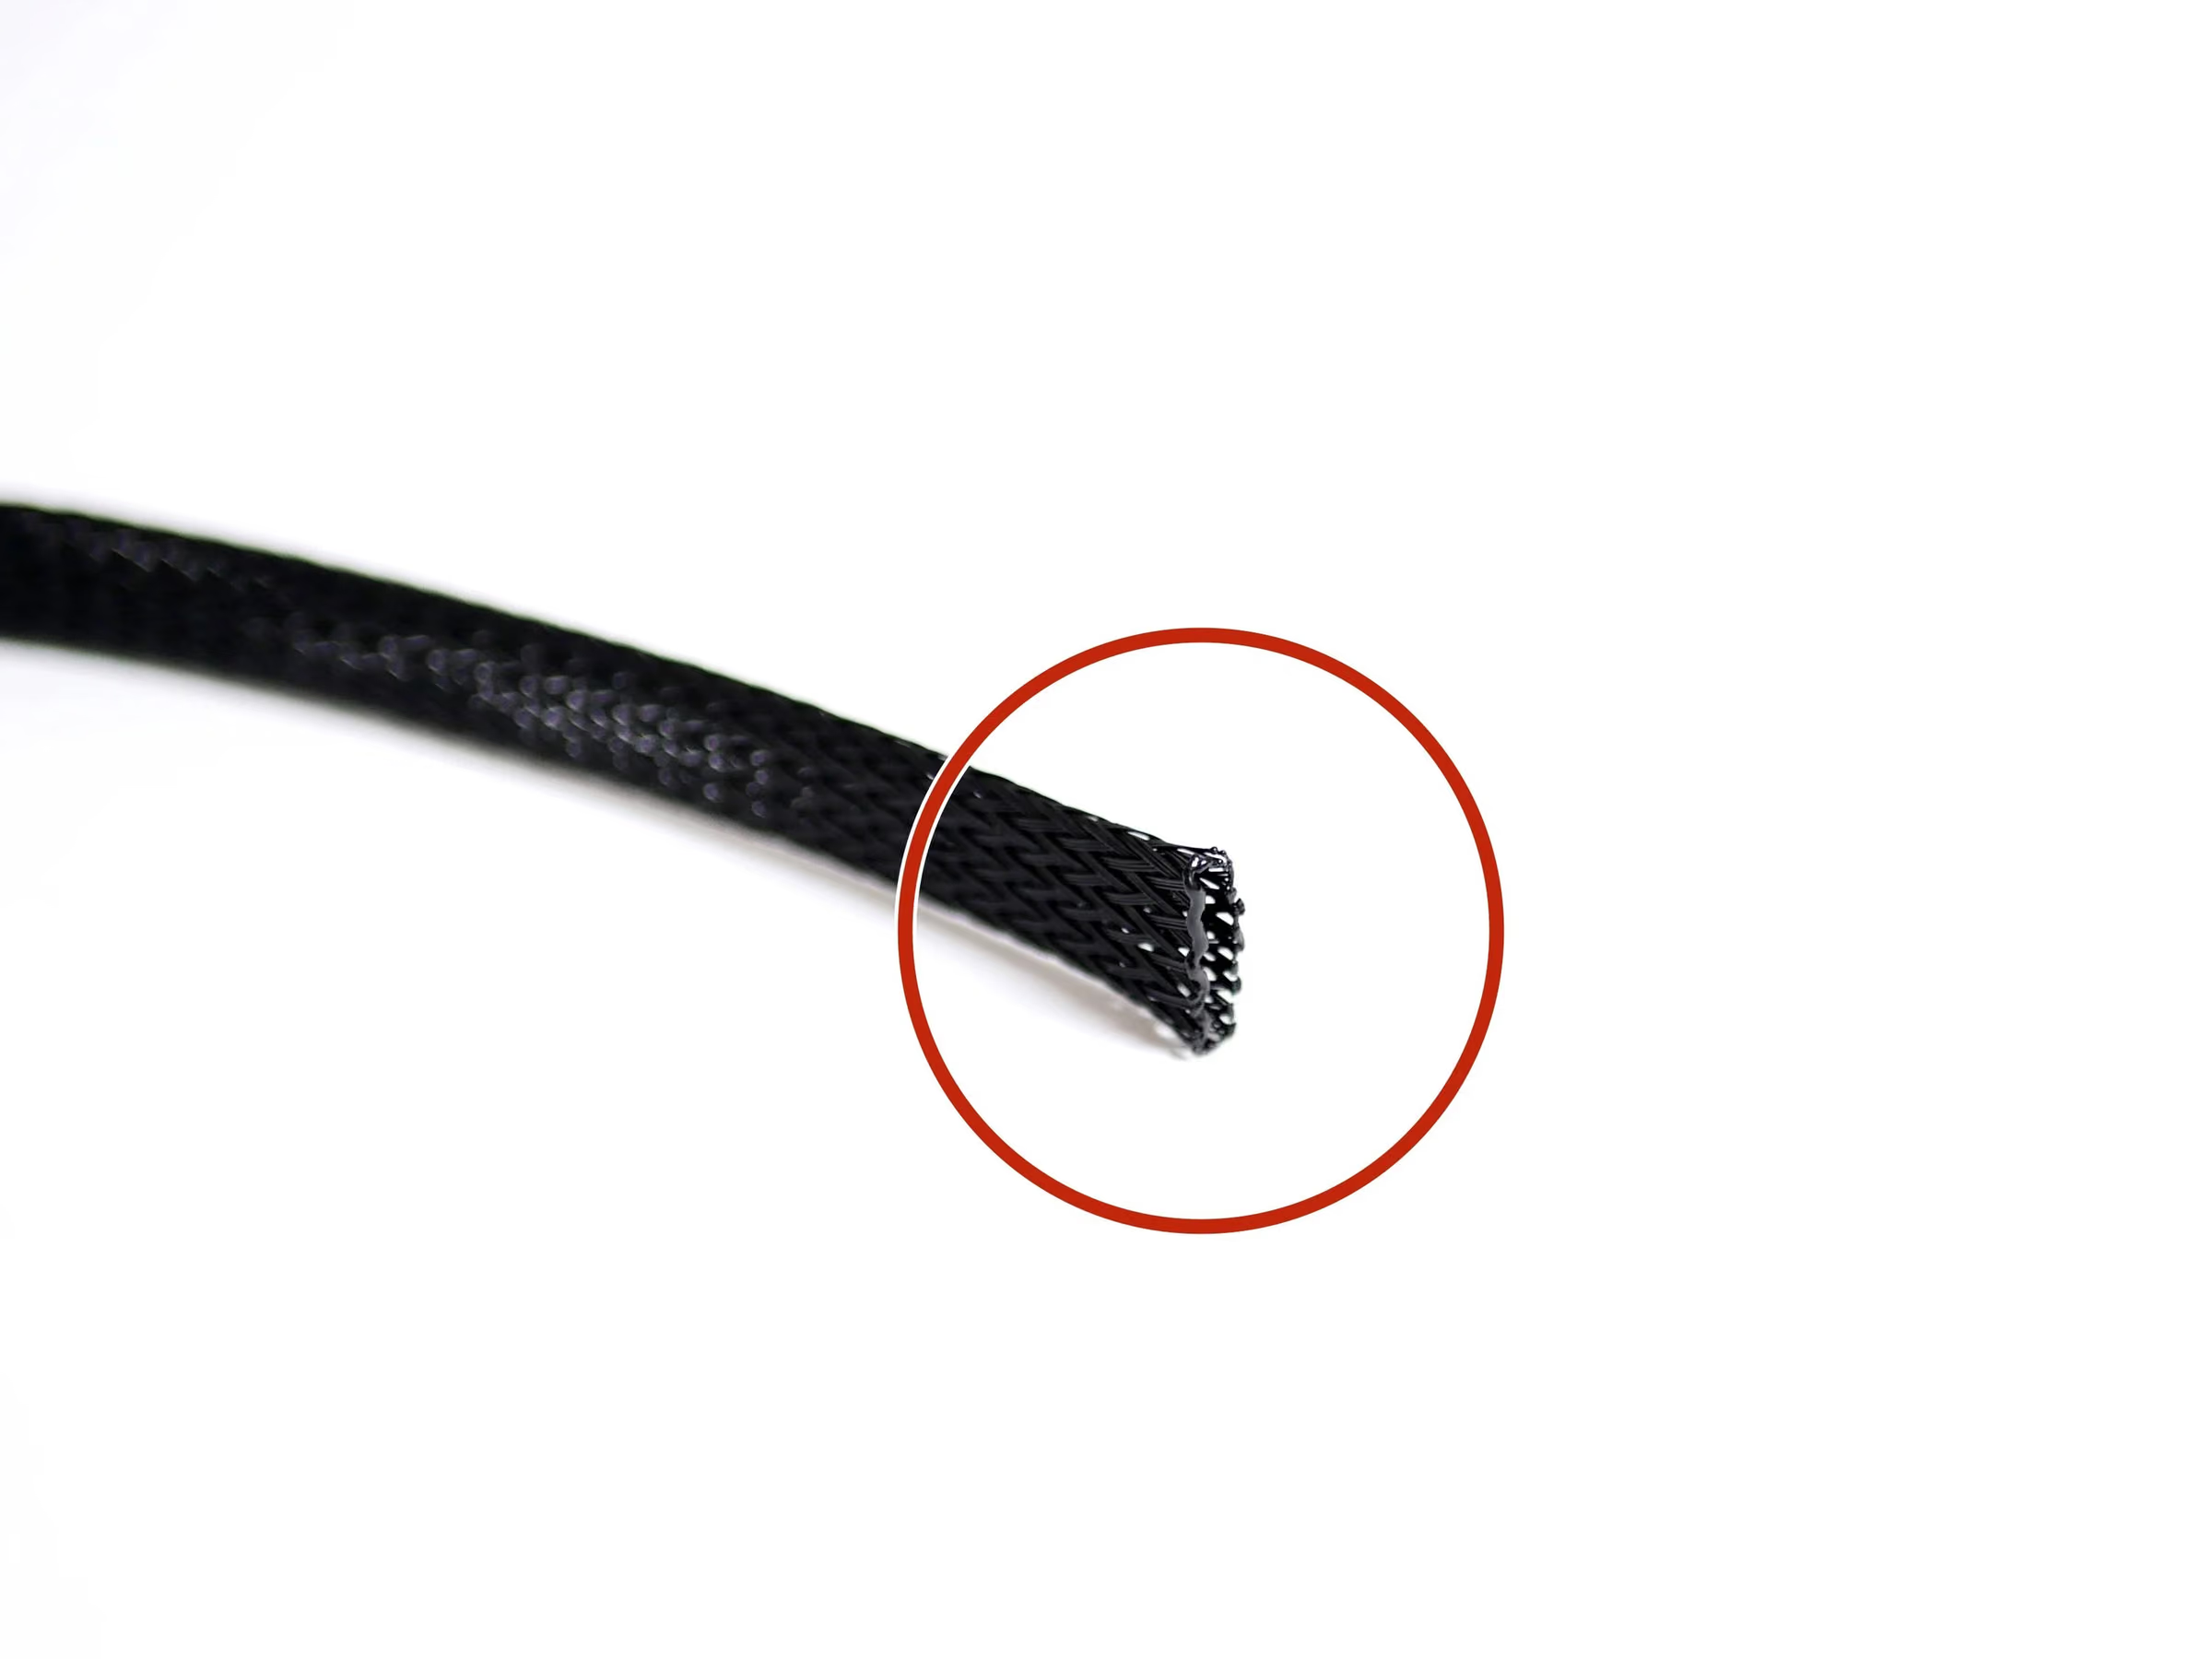
- Note: Cut 60CM of the braided cable sleeving.
- Melt the ends with a lighter to stop them from fraying out.
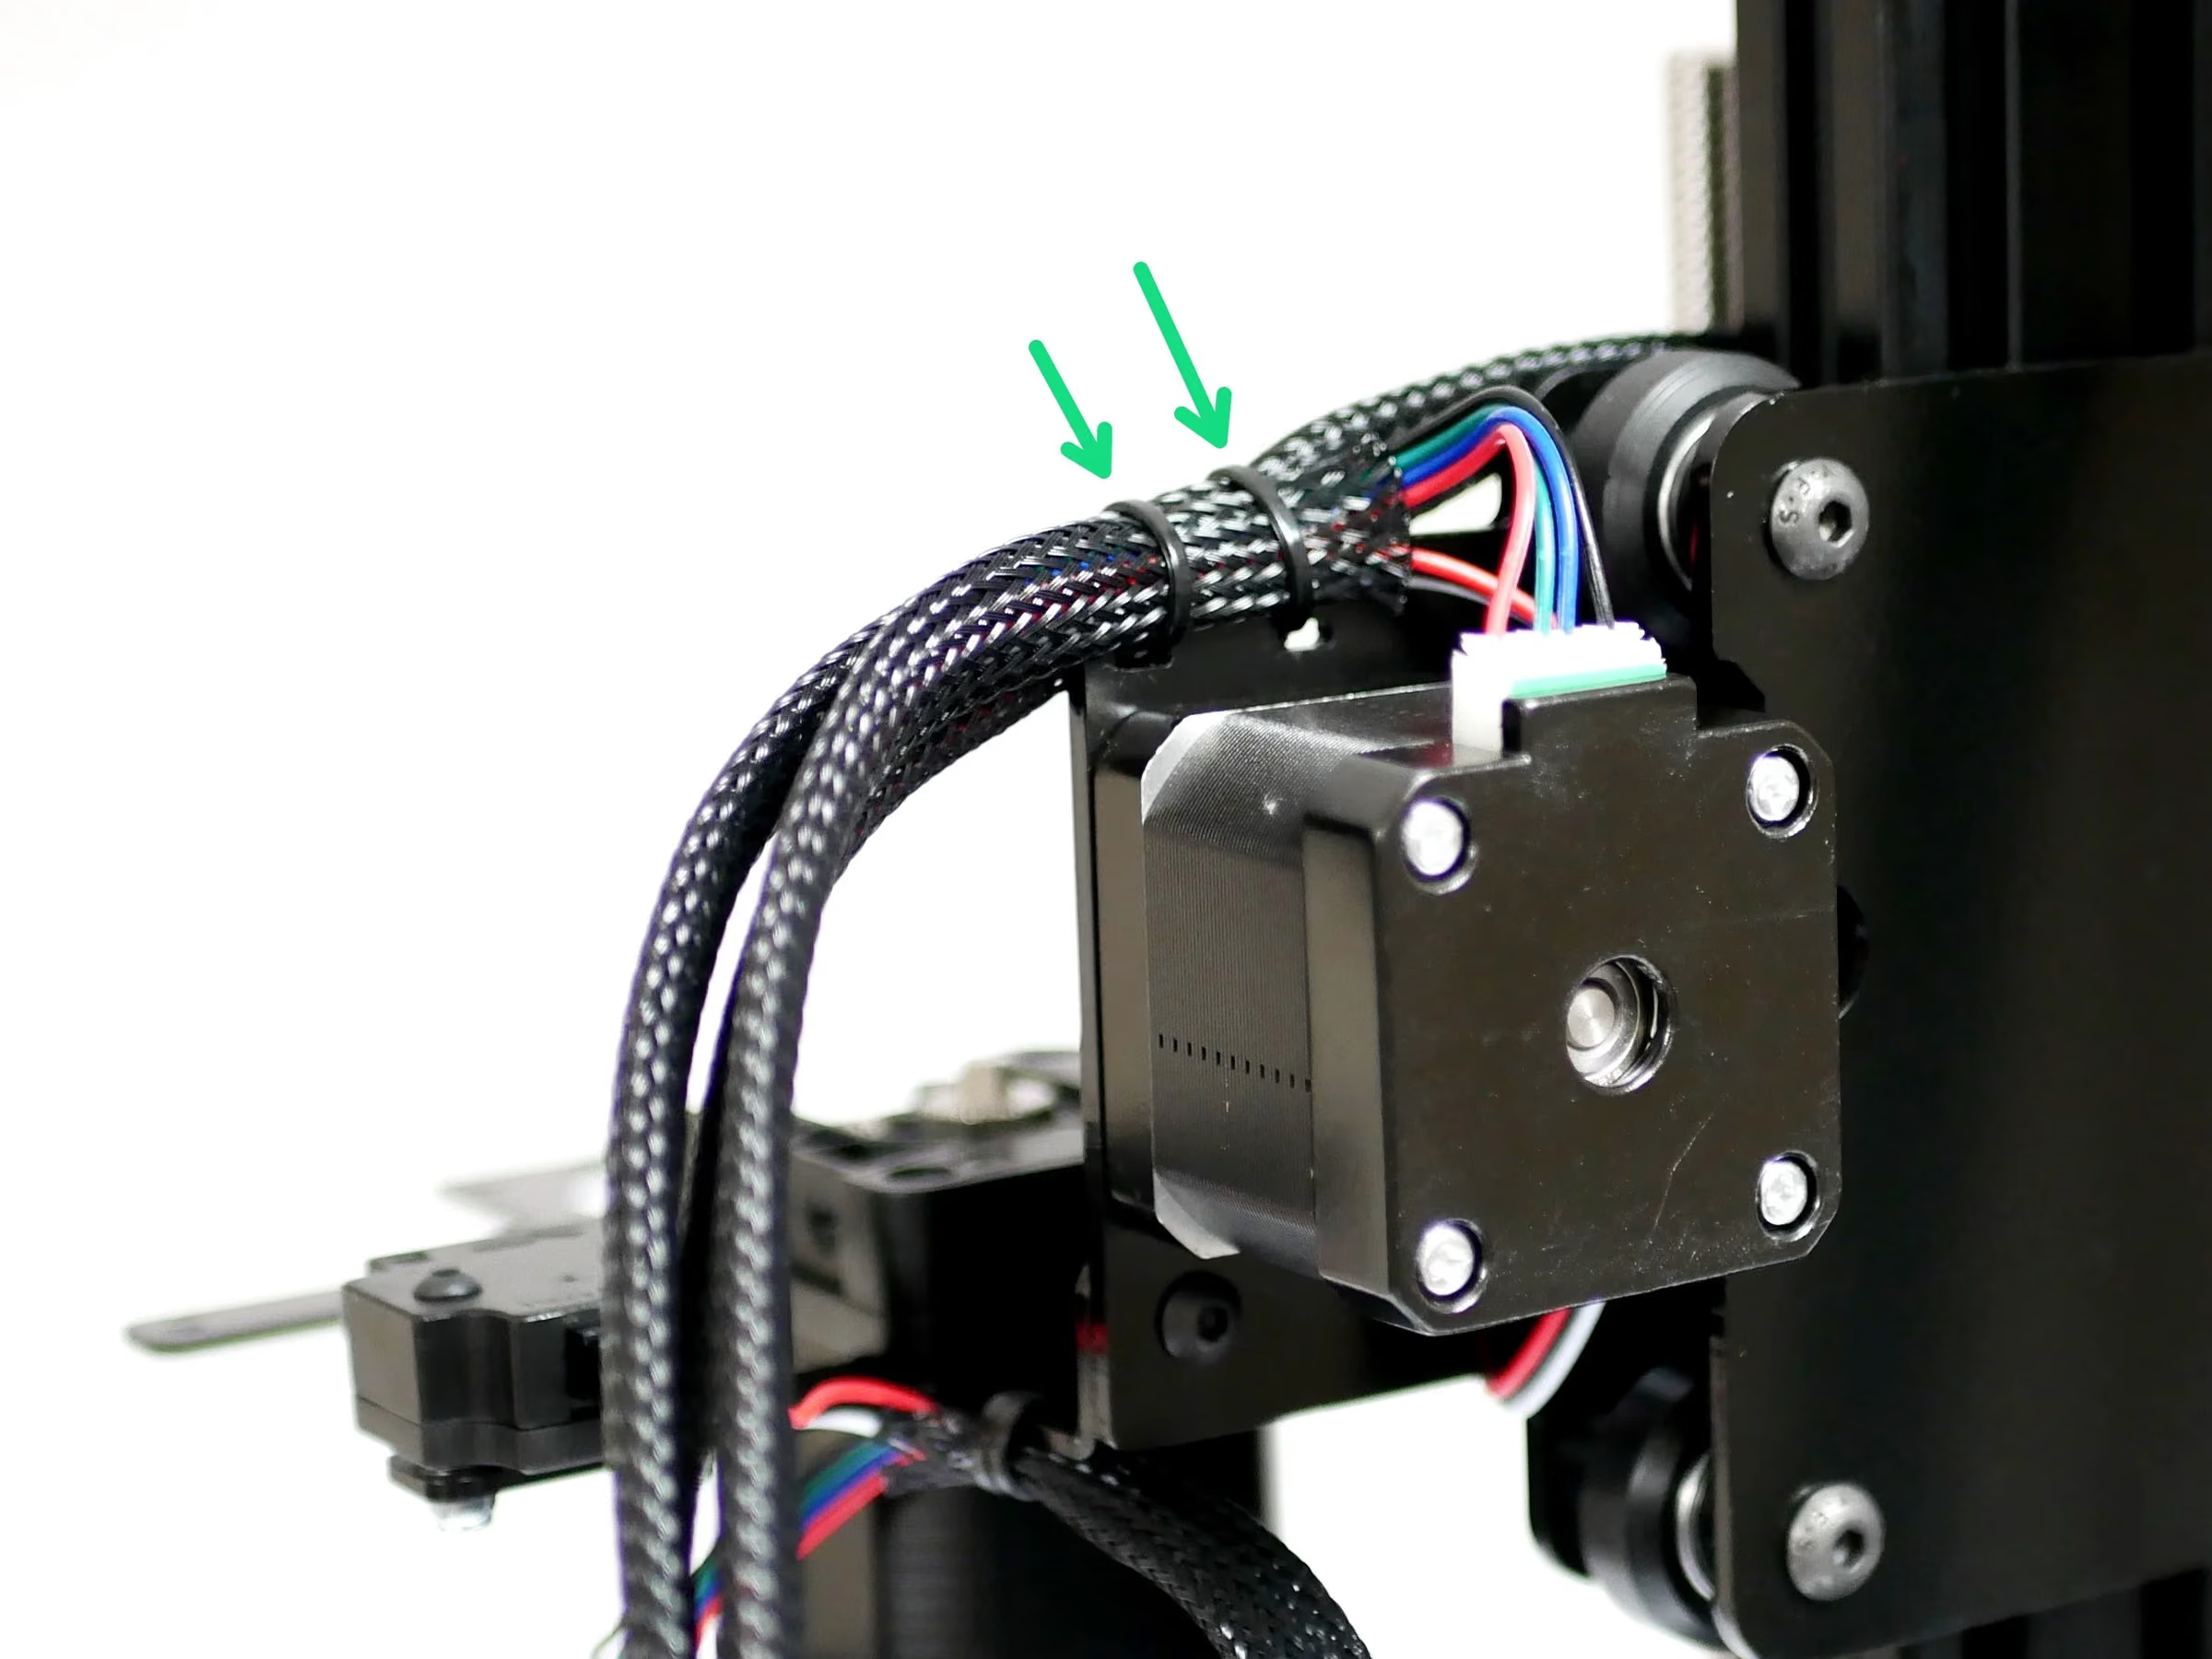
- Feed the sleeving onto both the Endstop and Motor cables.
Loading comments…
Step 4 Wrapping the Cables
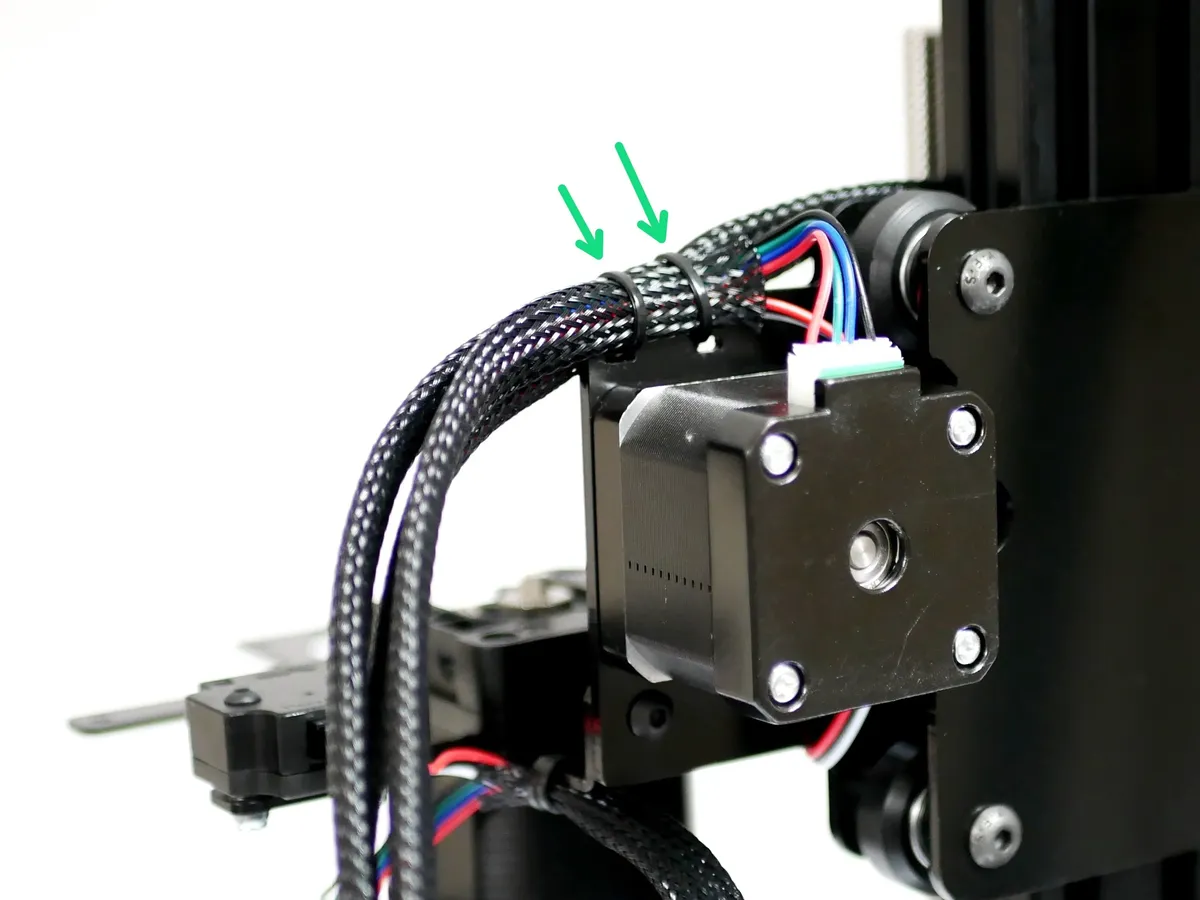
- Cable tie the cables to the Z-Carriage bracket.
- Use a second cable tie to connect the cables from the gantry to the extruder's cables.
Loading comments…
Step 5 Cable Tying
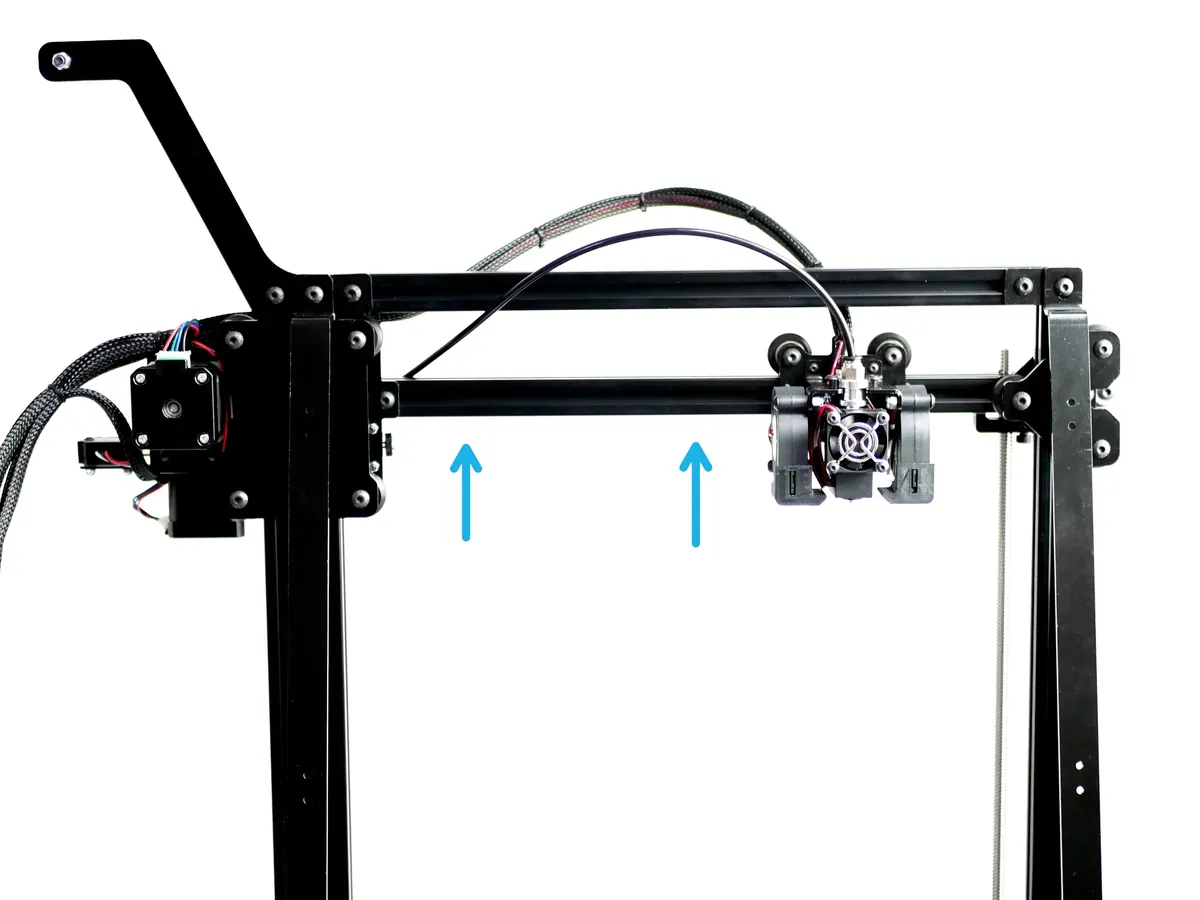
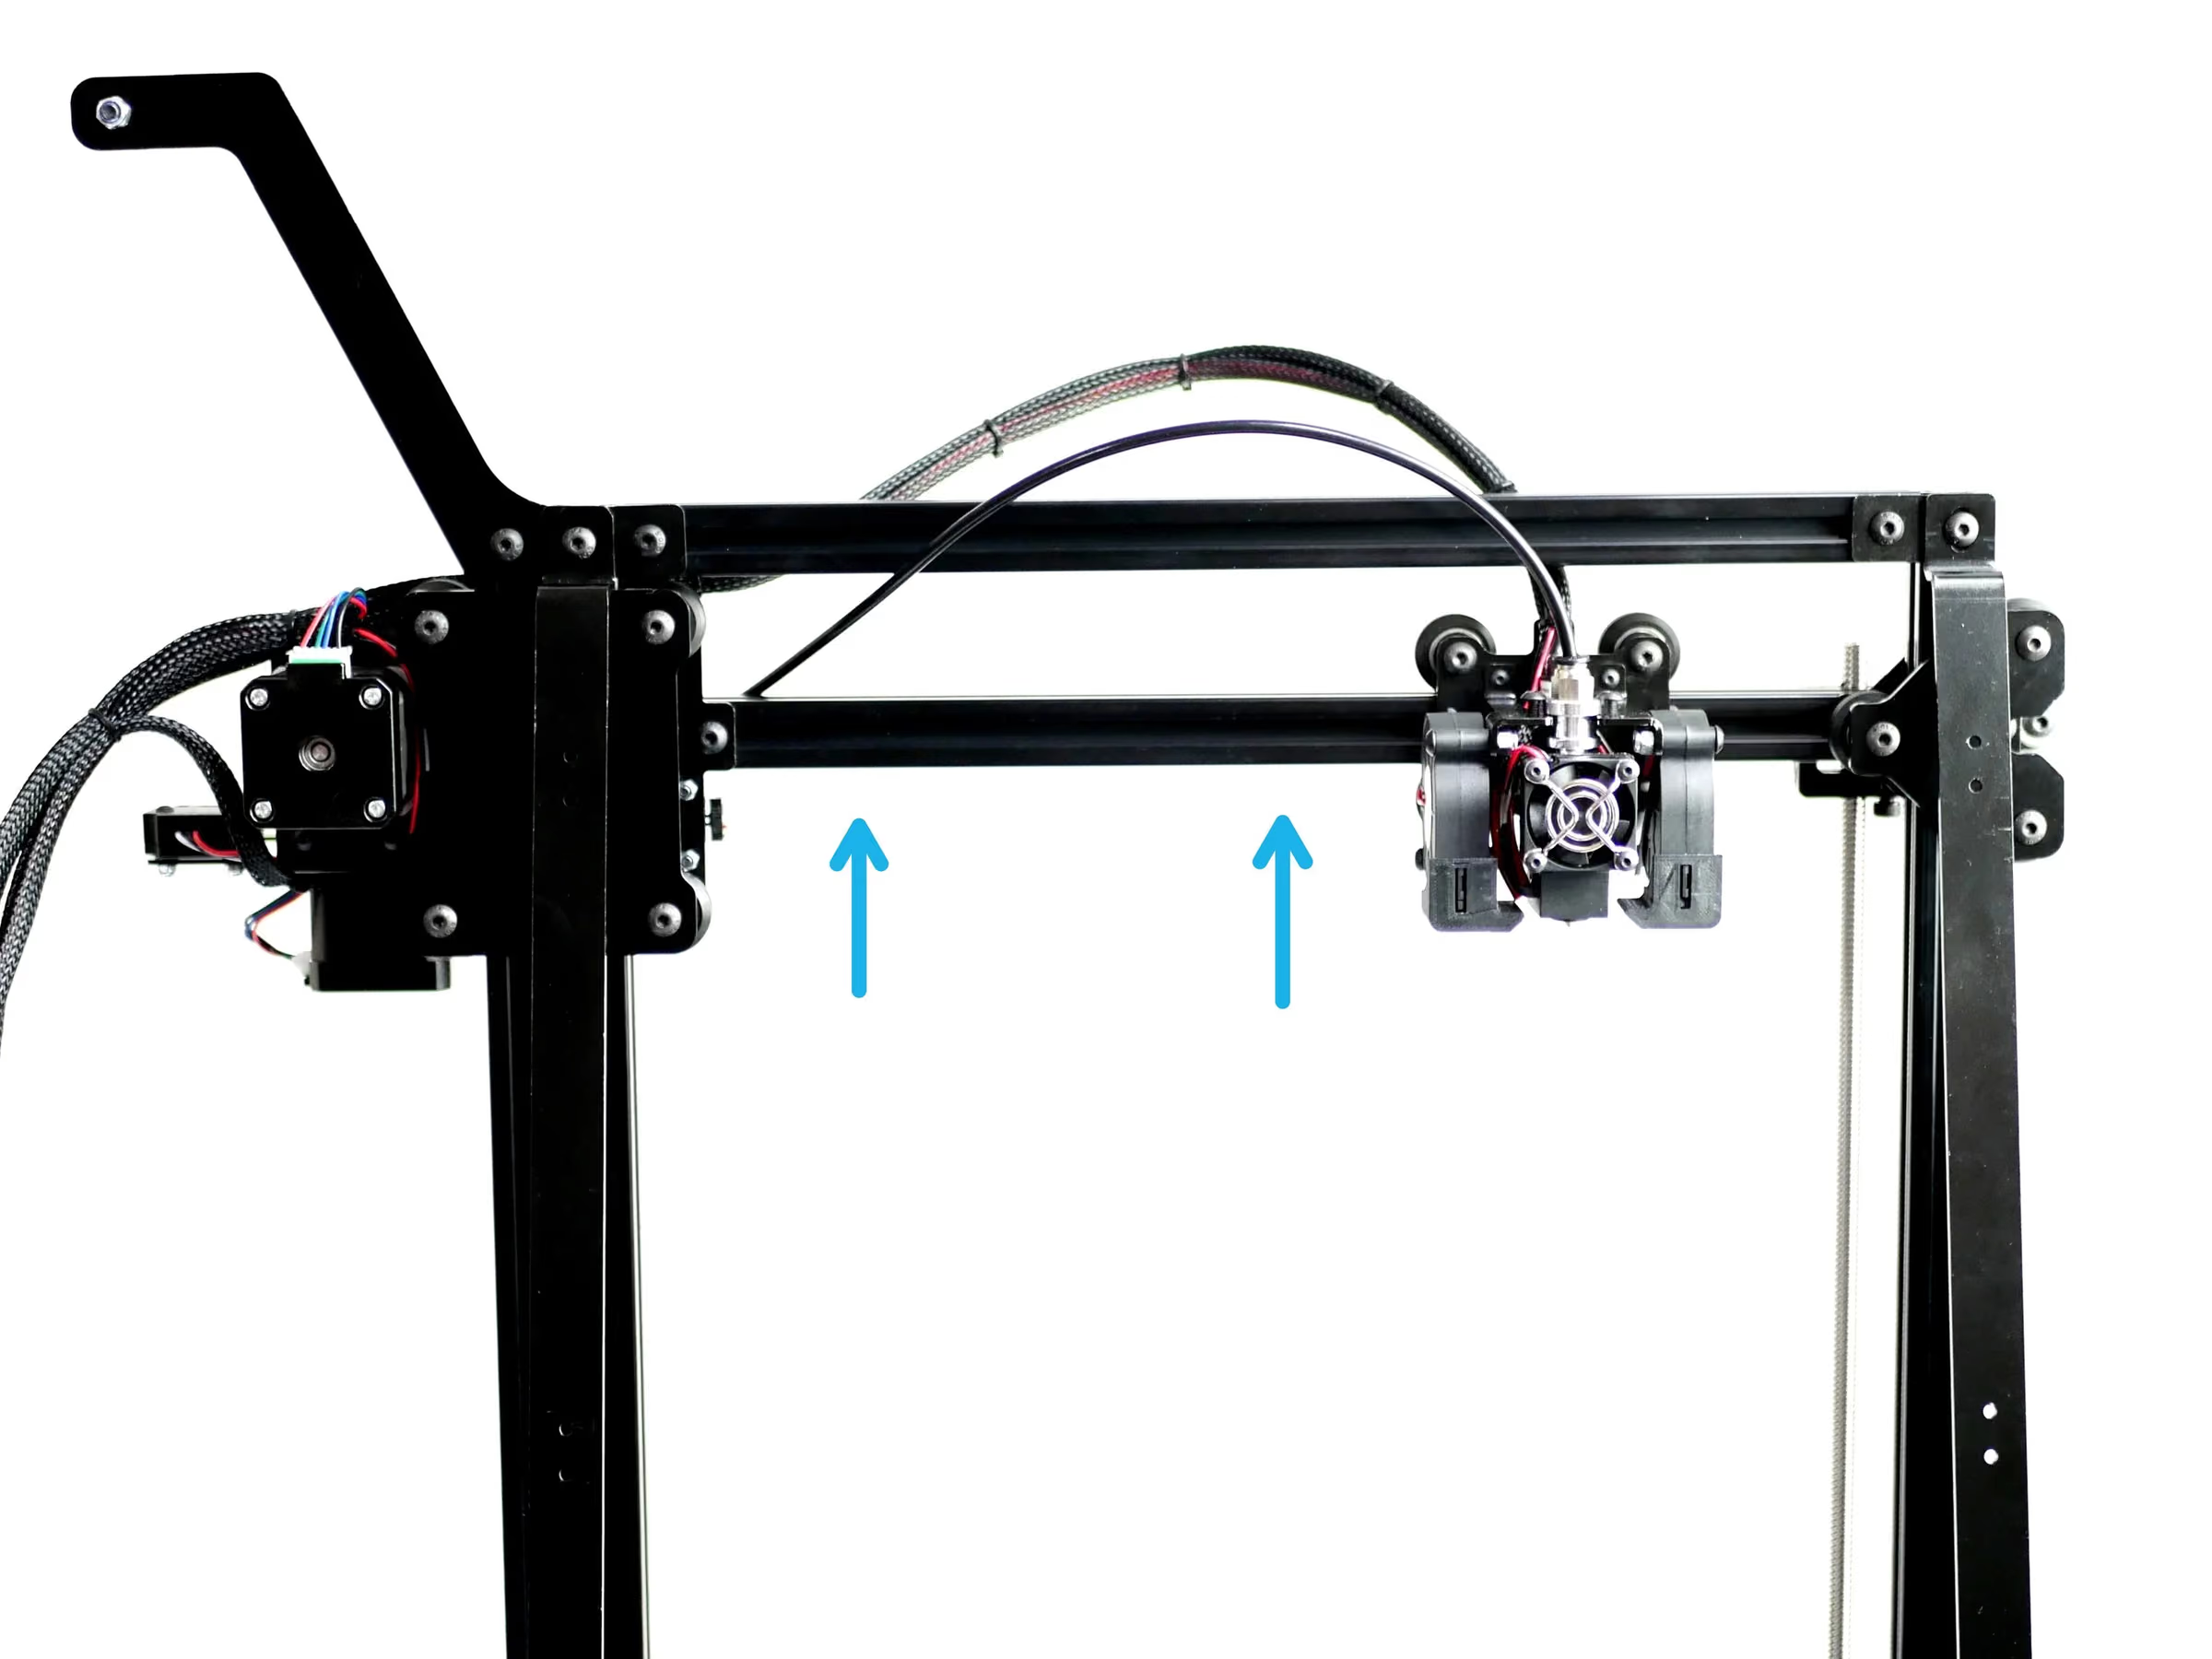
- Raise the Gantry to its highest position.
- Carefully lay the machine down on its side like shown.
Loading comments…
Step 6 Cable Tying Cont.
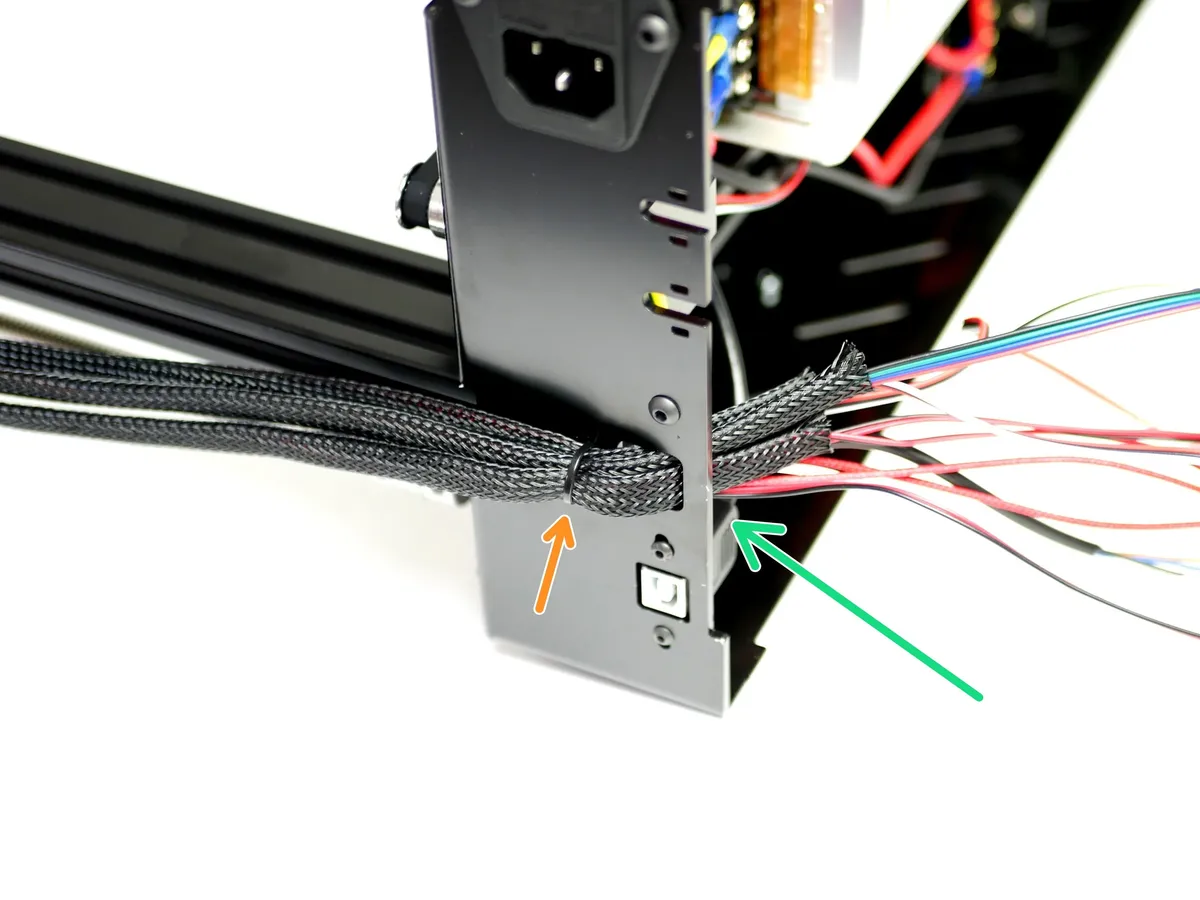
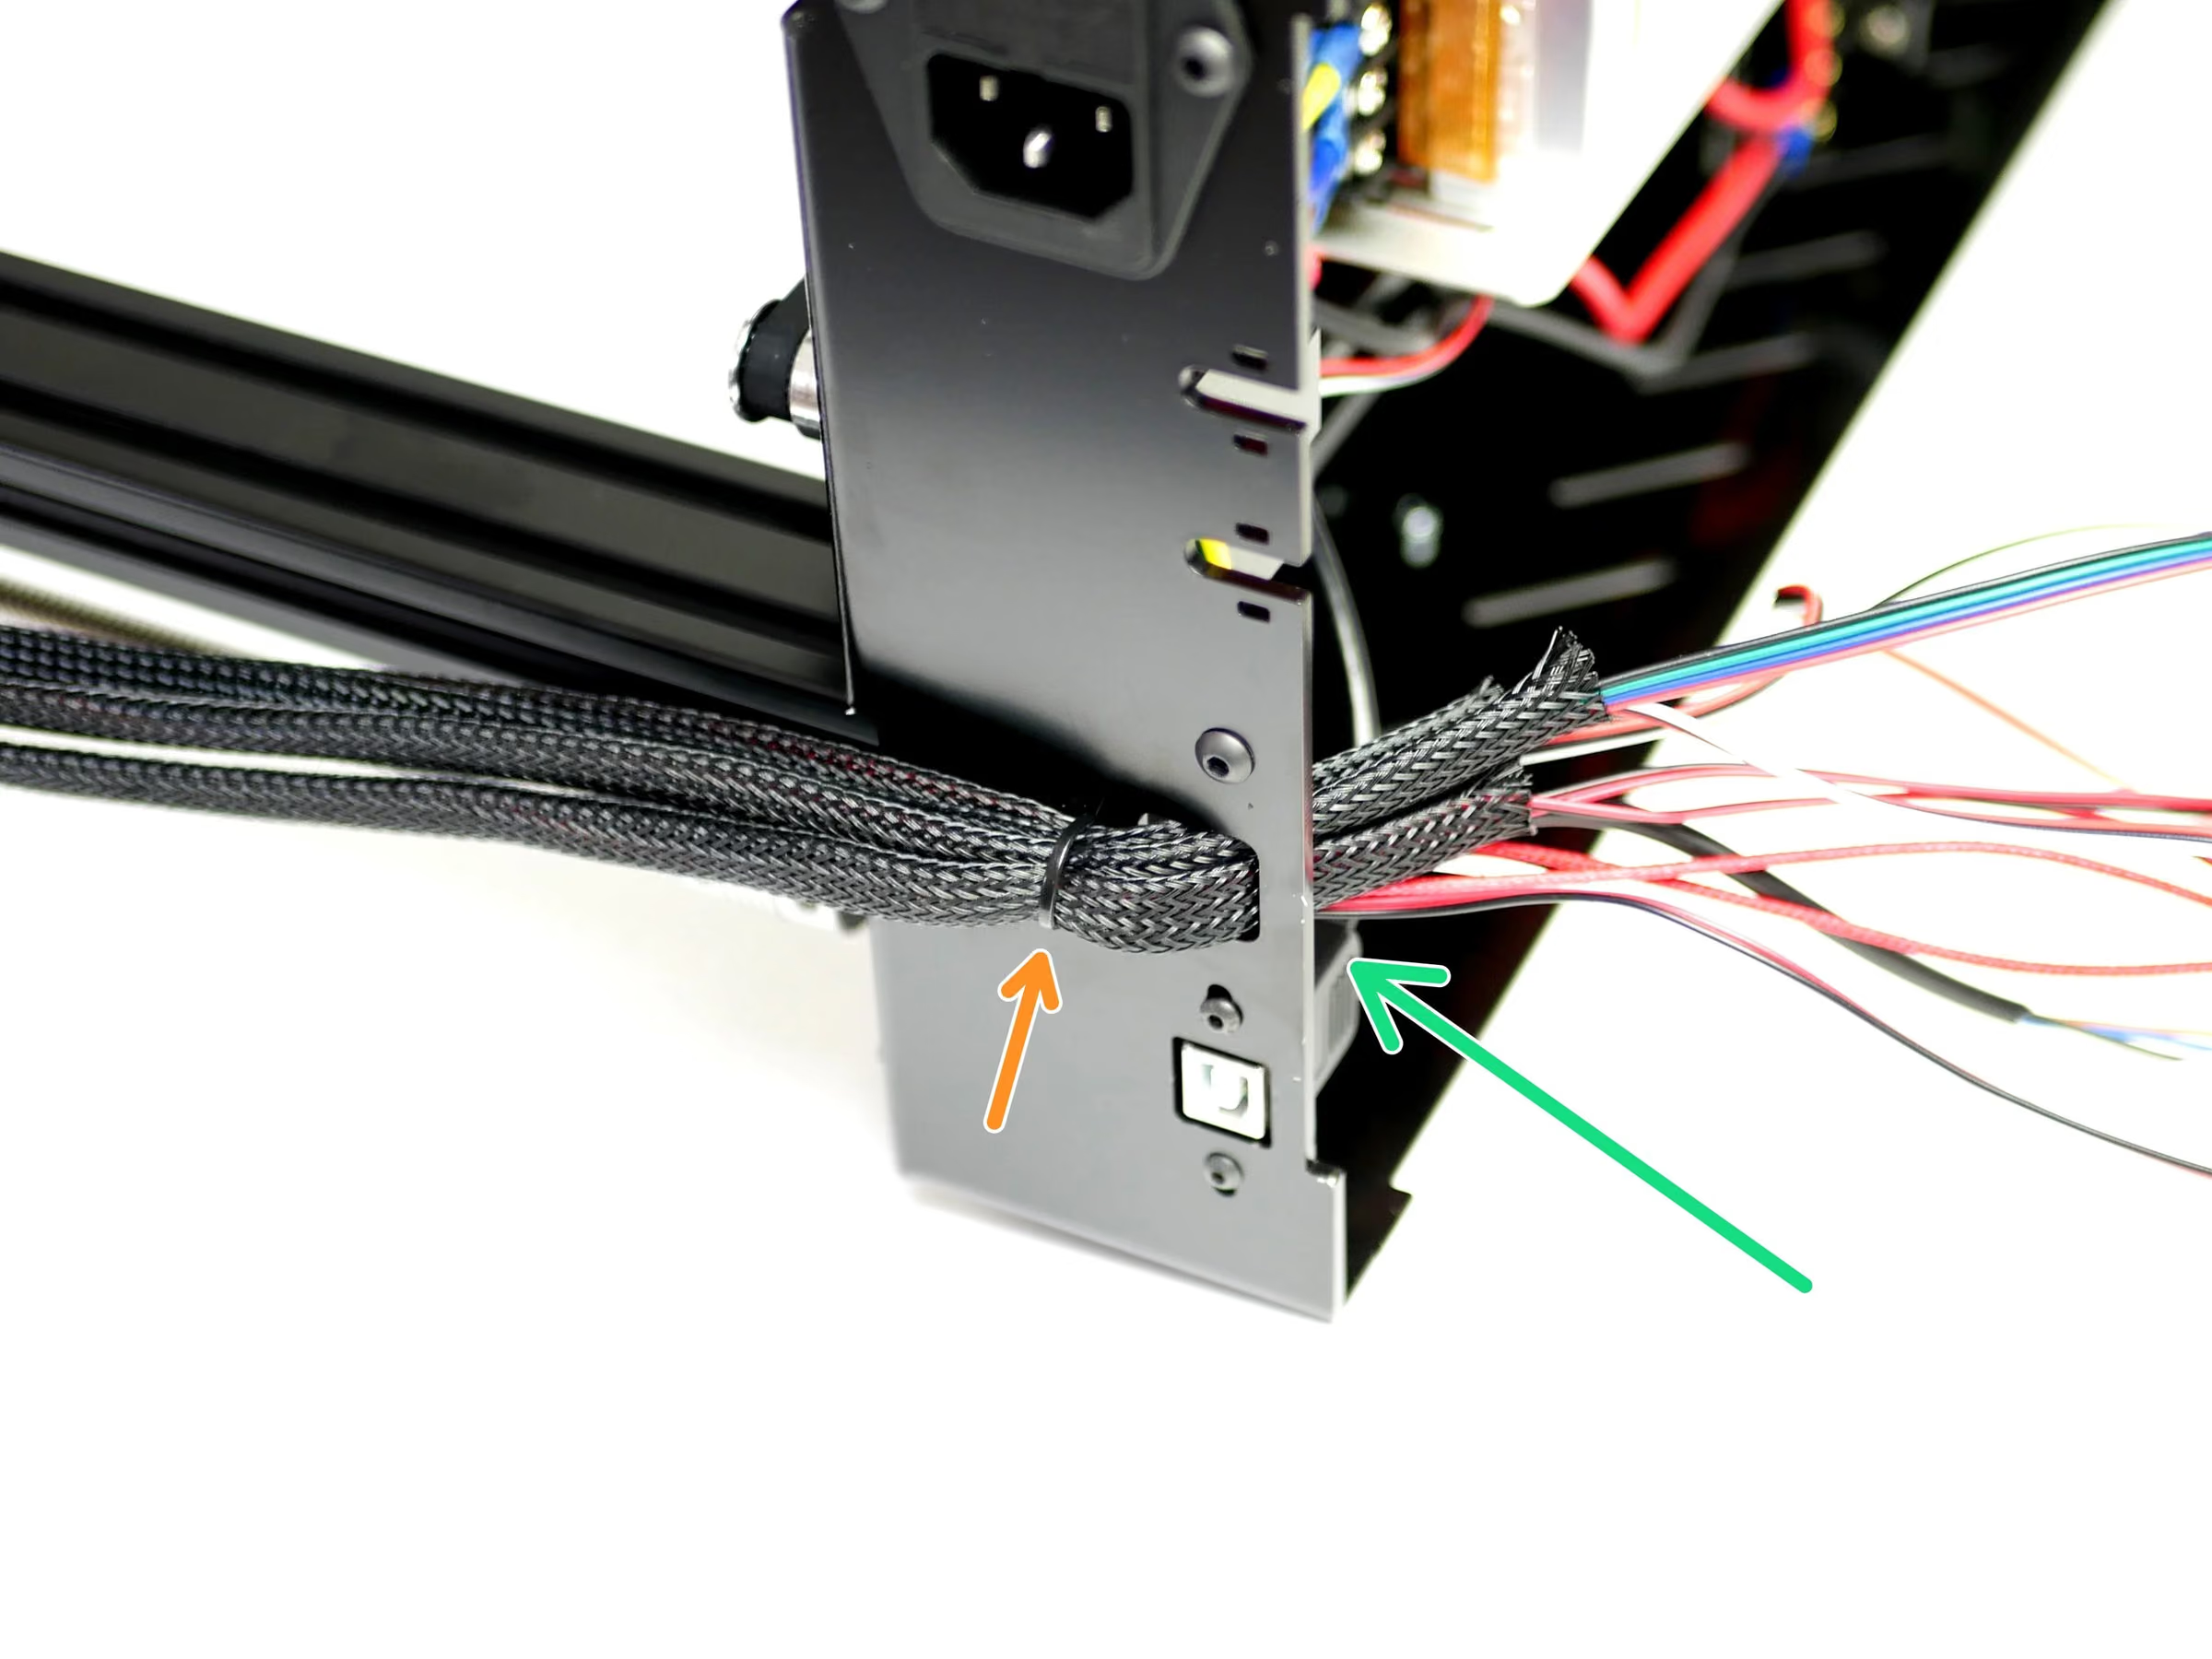
- Feed all of the loose cables through the hole on the back of the Base.
- Cable tie the cables to the Base.
- Use multiple cable ties to create a single stem of all the cables.
Loading comments…
Step 7 Hotend Wiring
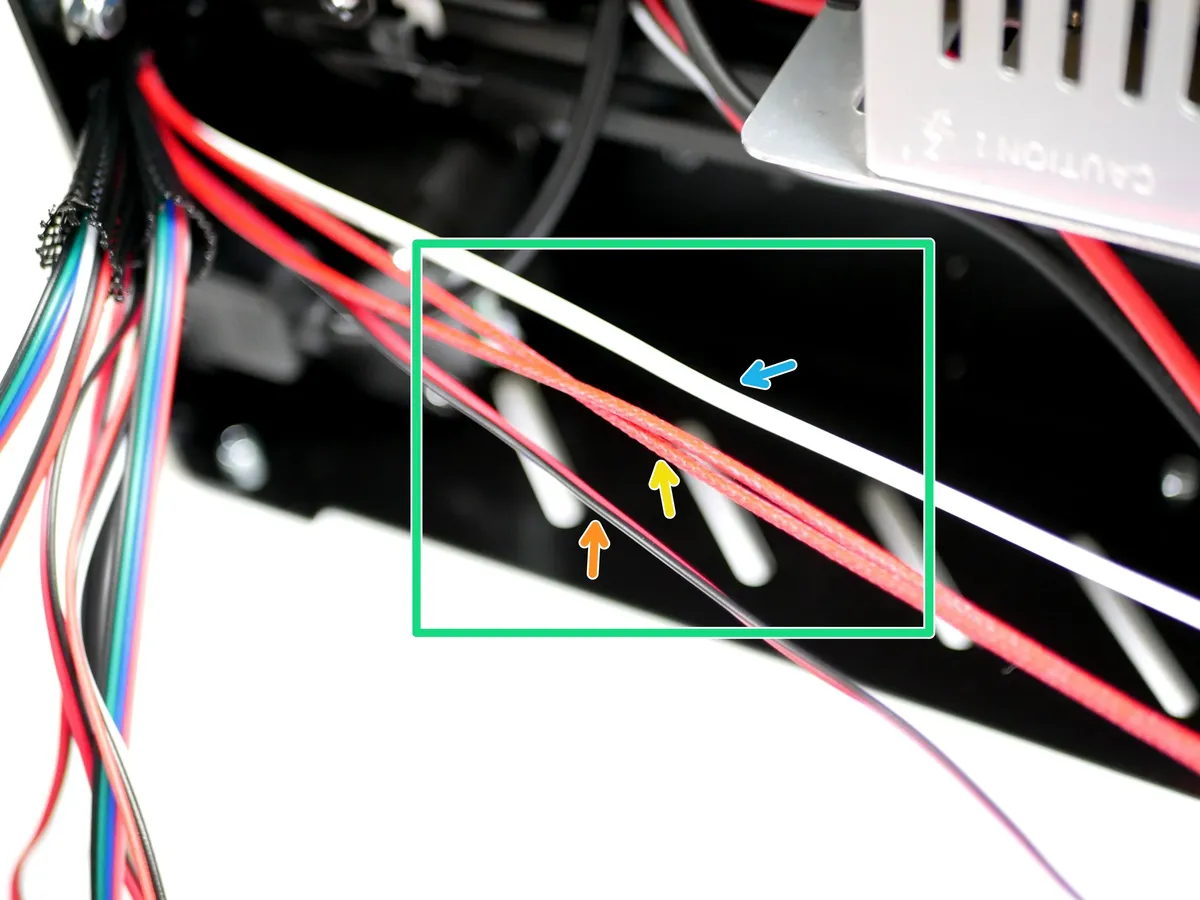
- Caution: If building with the Dual Switching Hotend upgrade this is Hotend #1 (on the left).
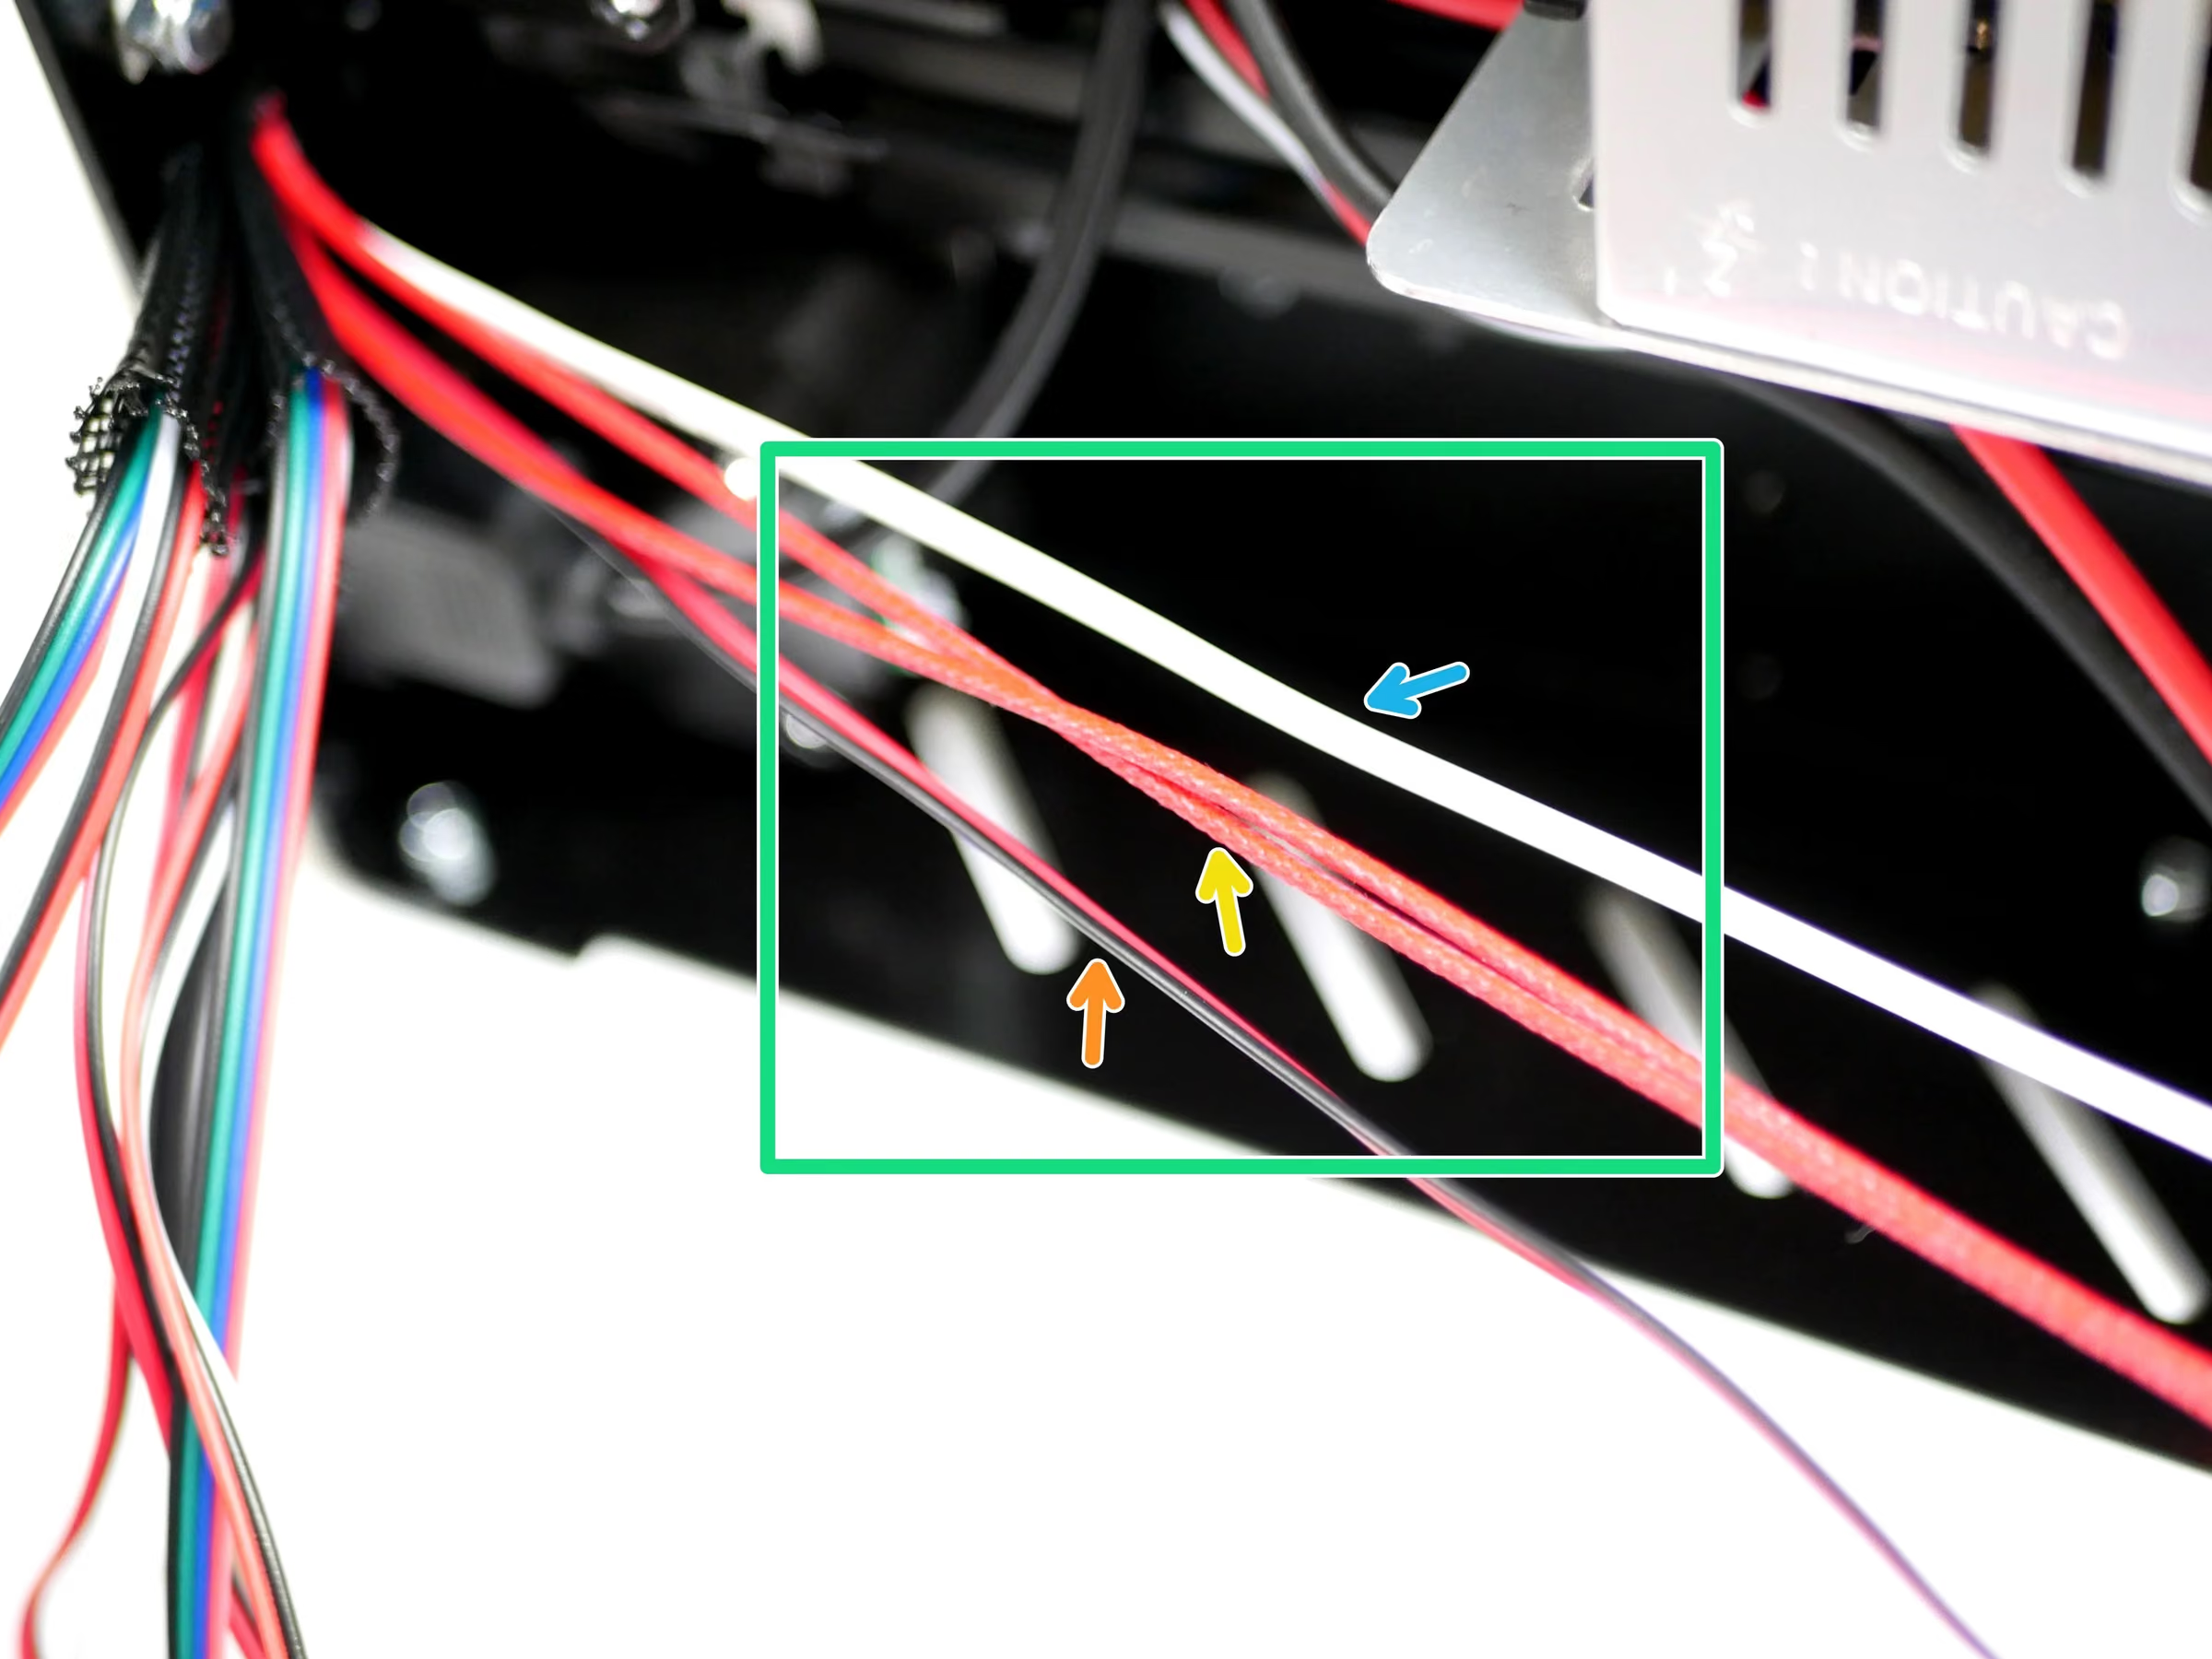
- Find the group of cables from the Hotend.
- Hotend Heater Cables
- Thermistor Cables
- Hotend Fan Cables
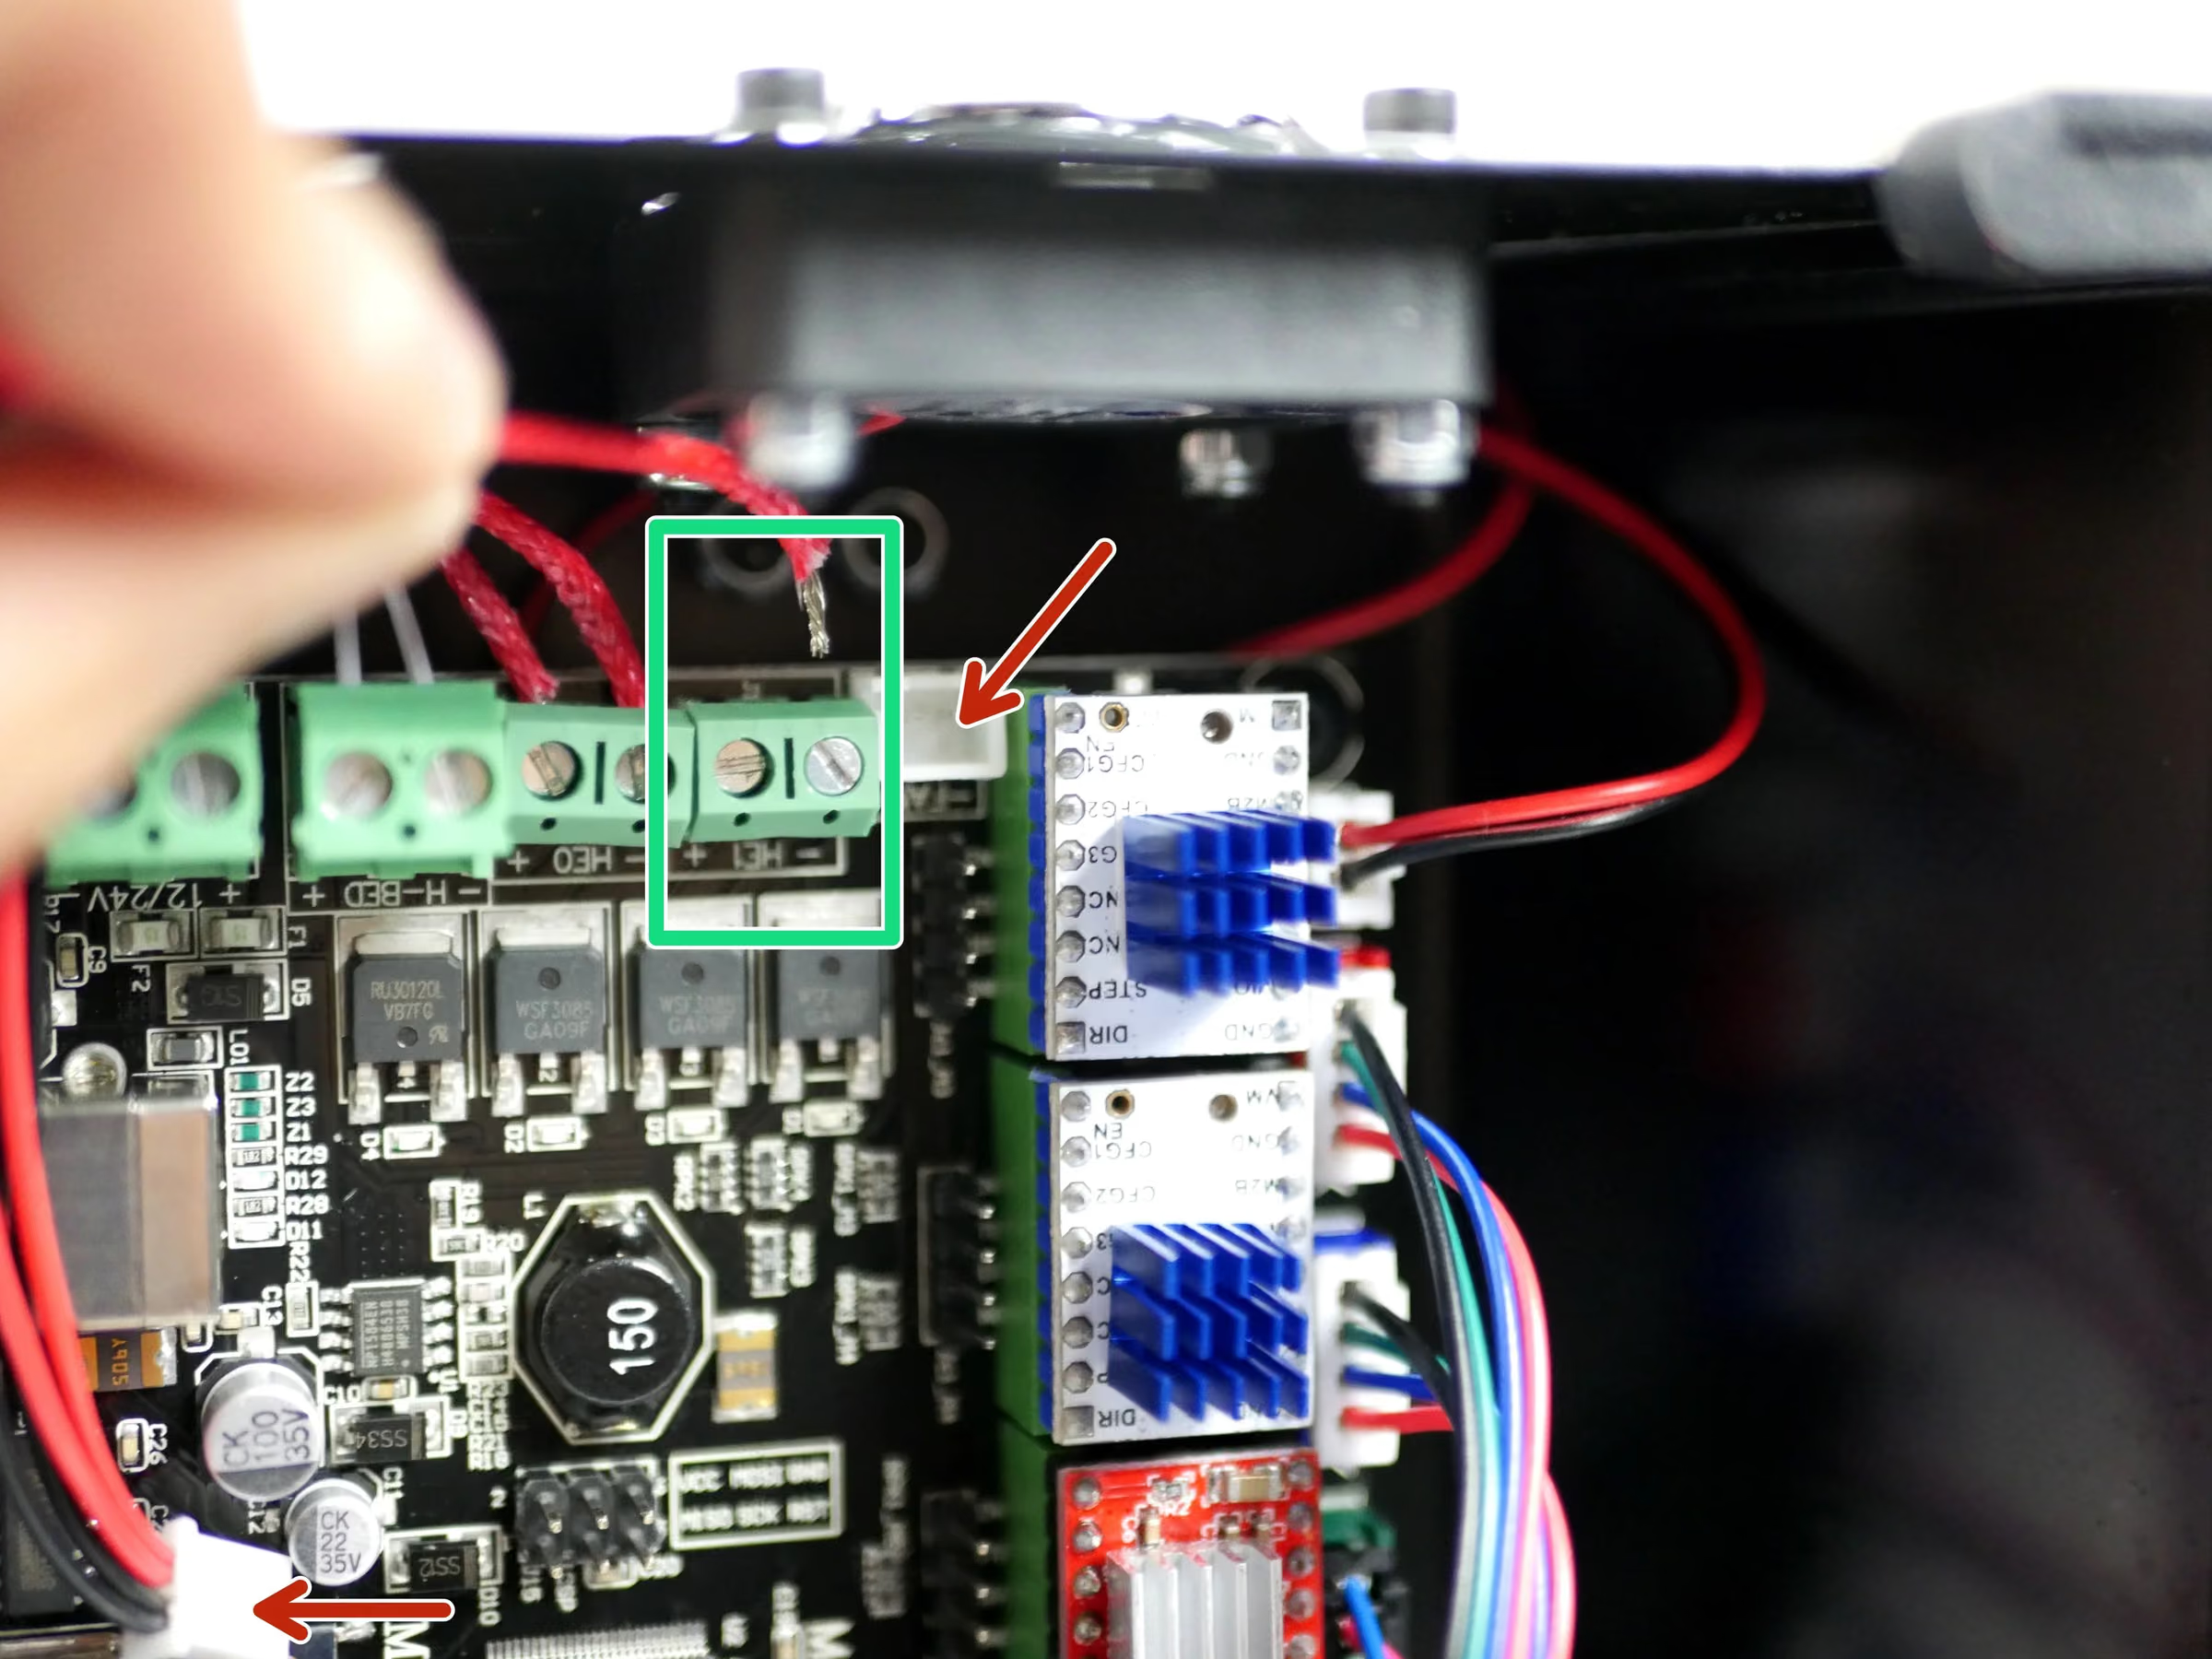
- Connect the Hotend heater cables to the HE0 terminal on the control board.
- Reminder: The +/- position of the cables is not important. You may need to unscrew the board from its mounts to properly access it.
- Connect the Thermistor cables to the TH1 connector on the board.
Loading comments…
Step 8 DSH: Second Hotend Wiring
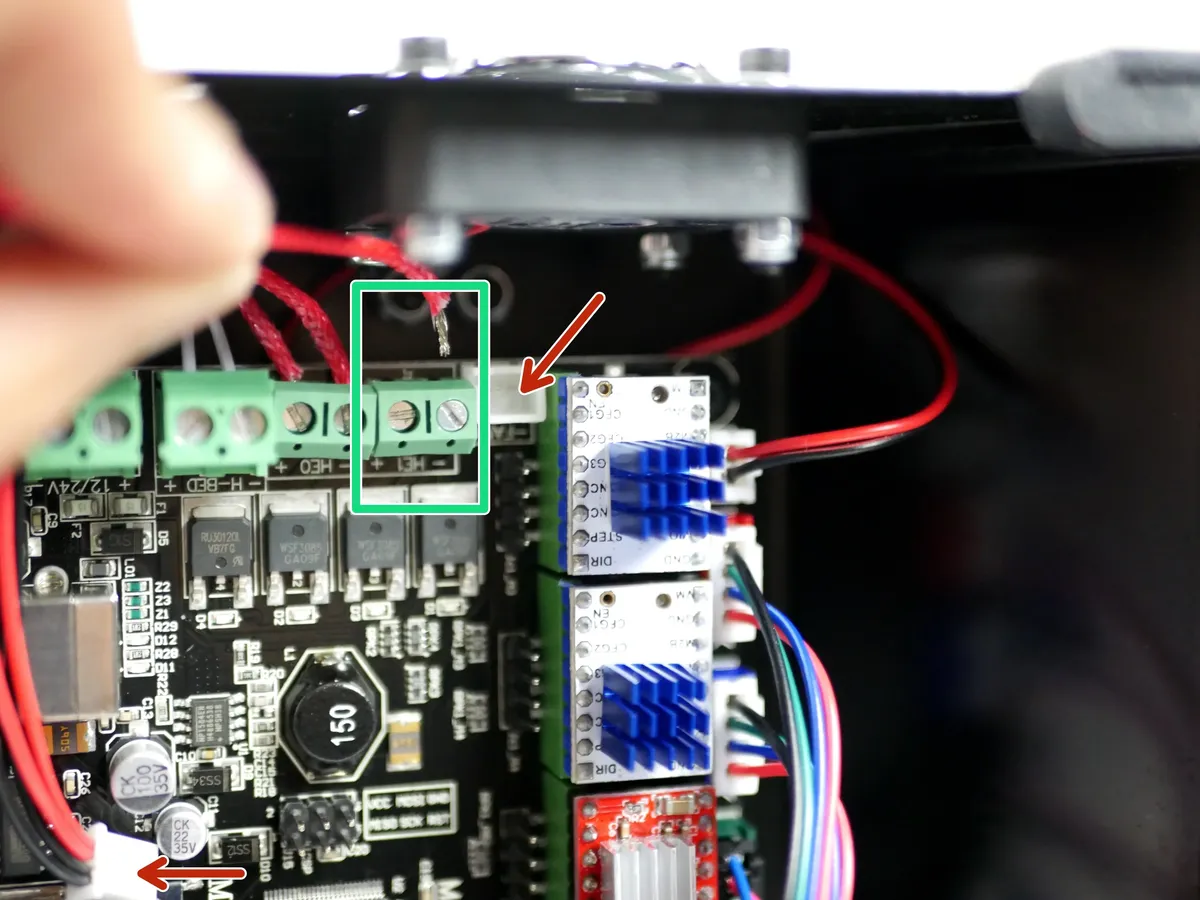
- Connect the Hotend #2 (on the right) heater cables to the electronics board.
- Unplugging the print fan cable for the board should give you better access.
- Reminder: If you're struggling to the get the cables in, removing the electronics board from the base will give you better access to the terminals.
- Connect the Hotend's thermistor to the electronics board (TH2).
Loading comments…
Step 9 Hotend Wiring Cont.
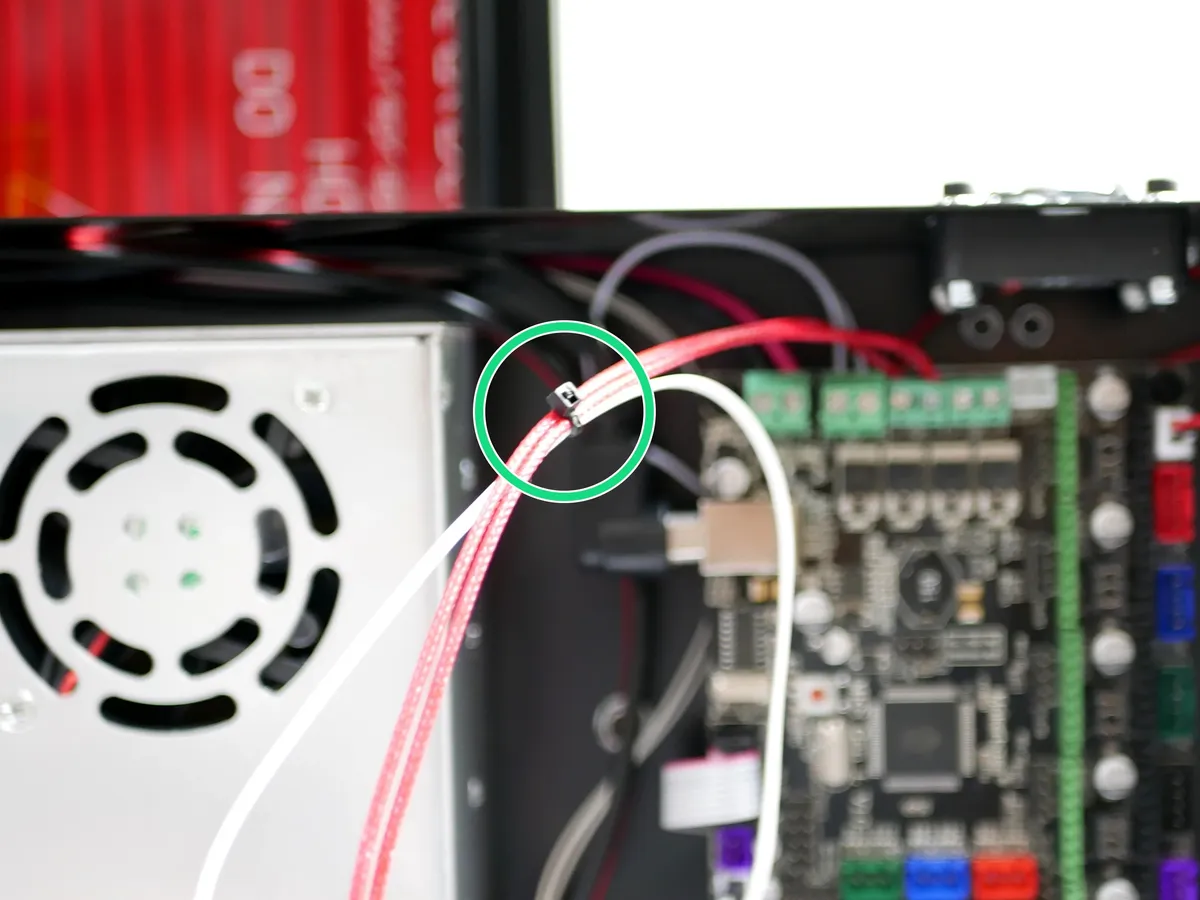
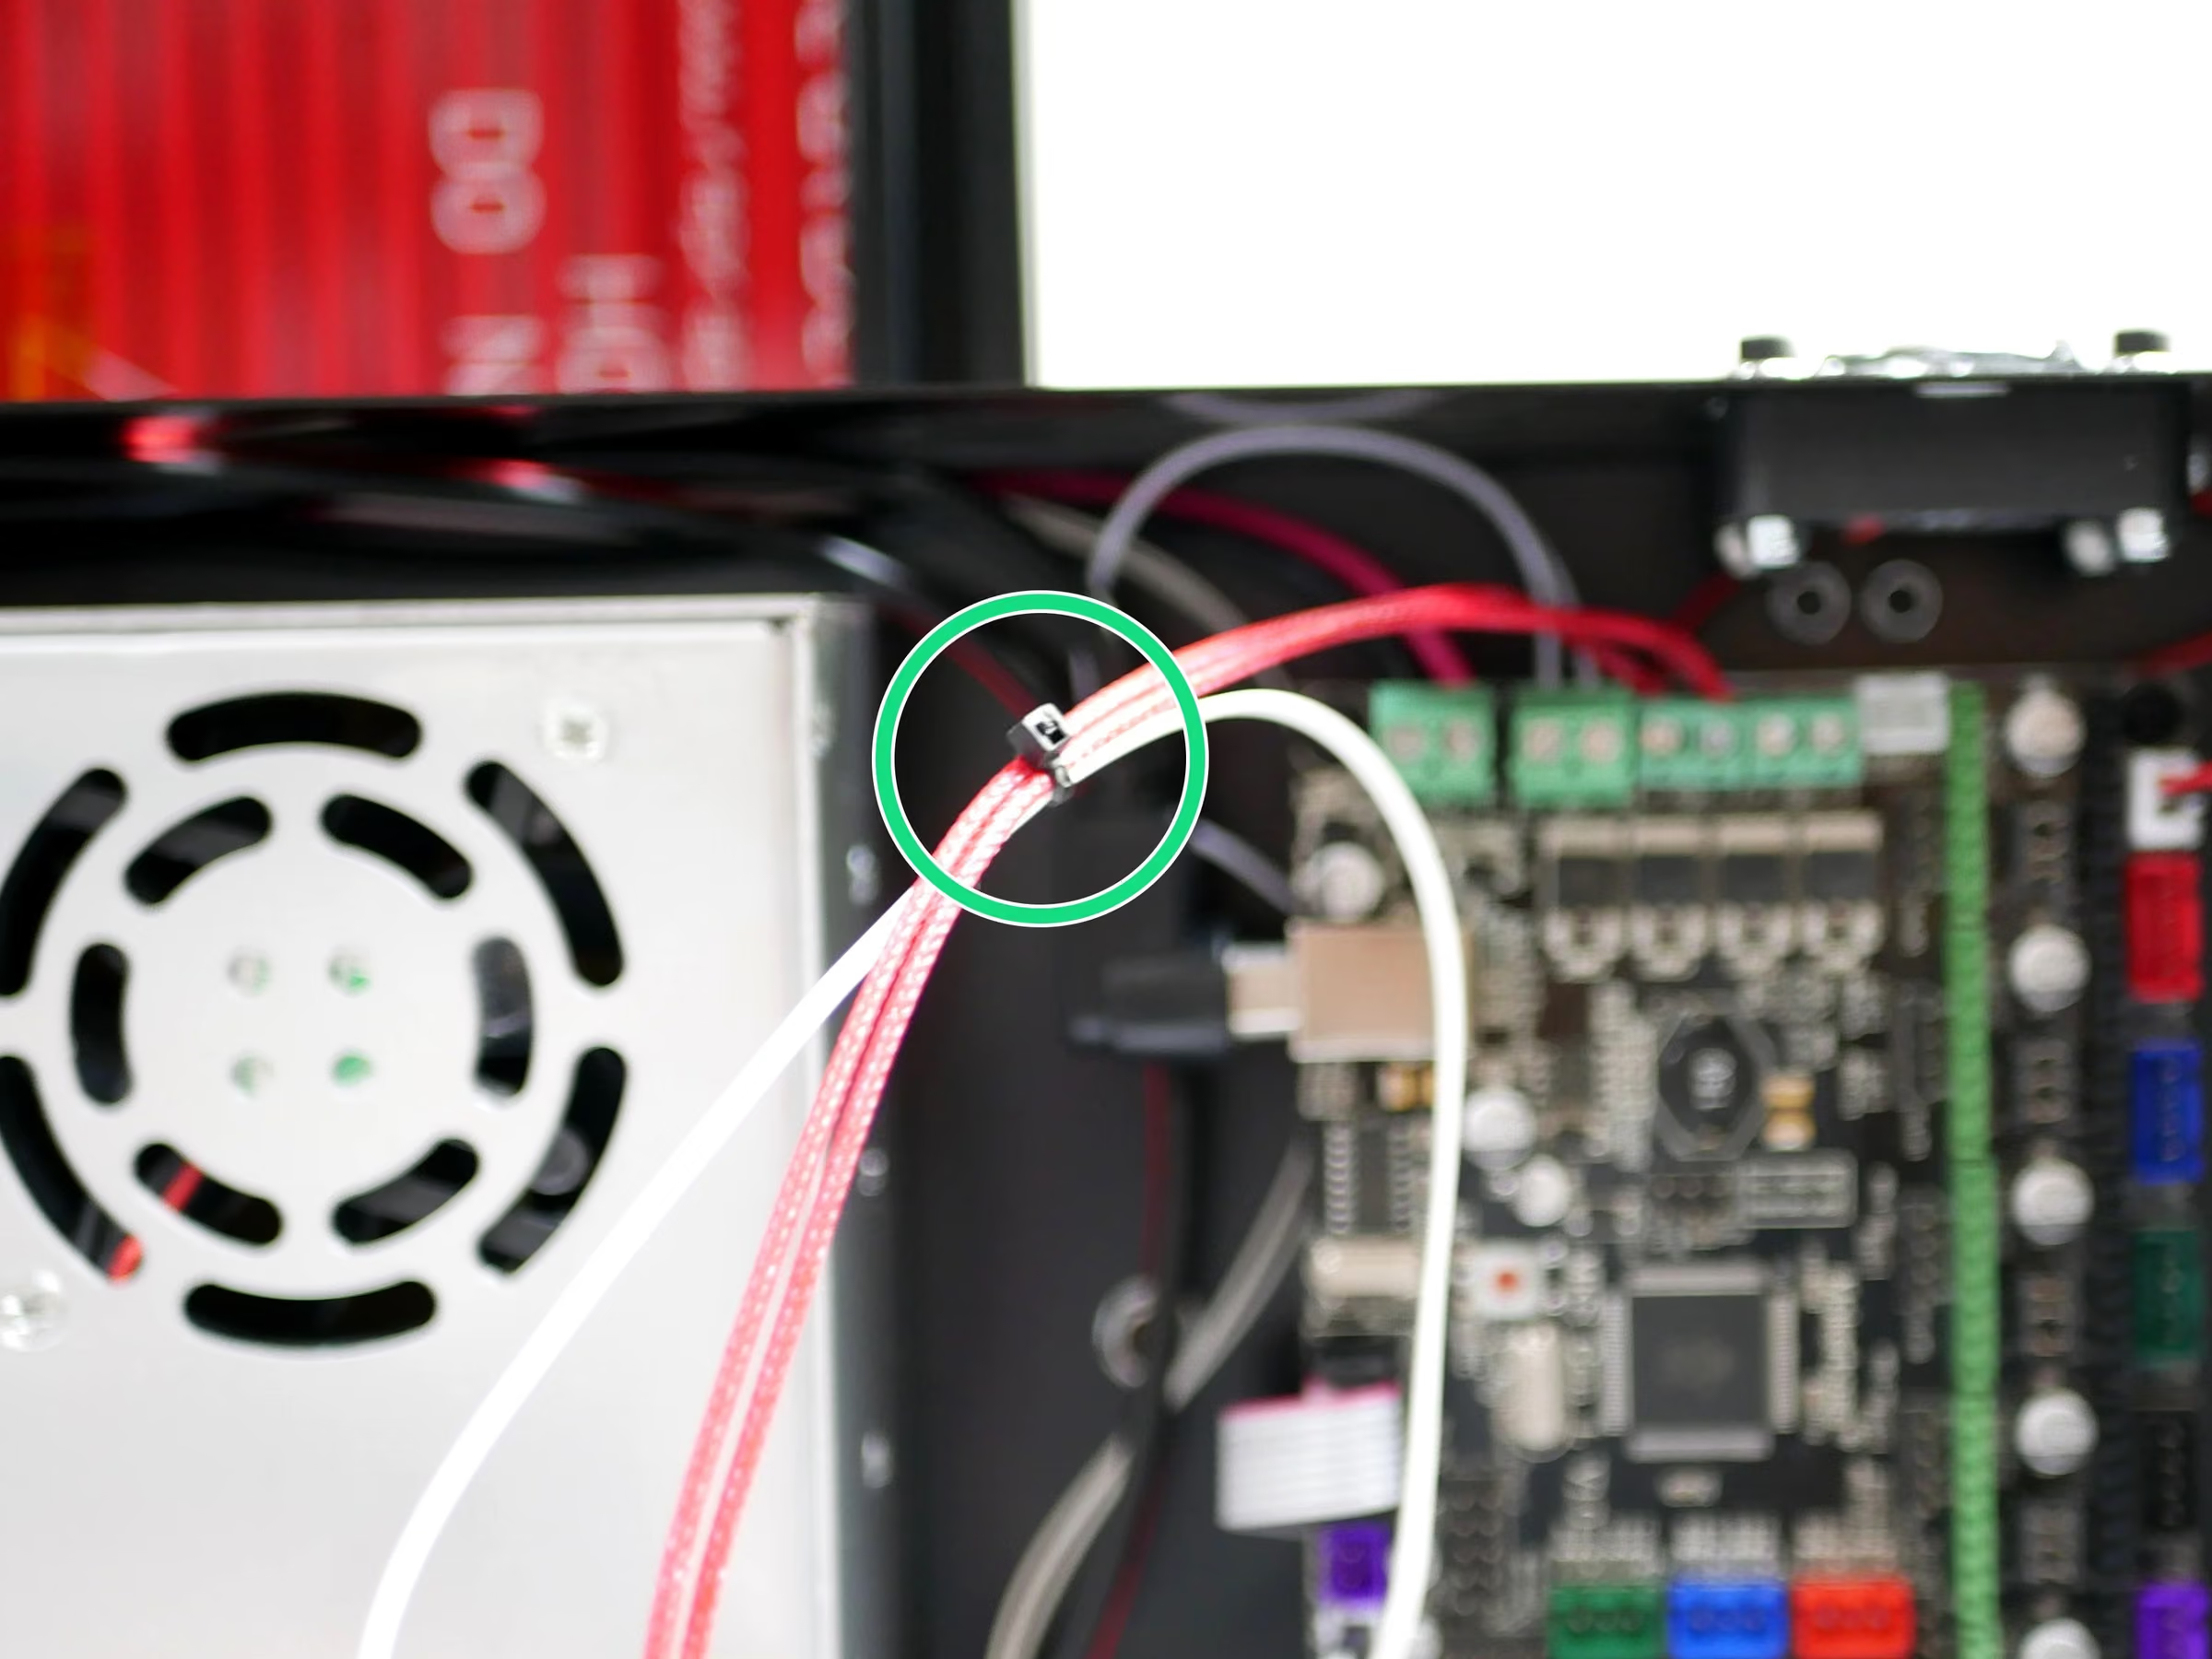
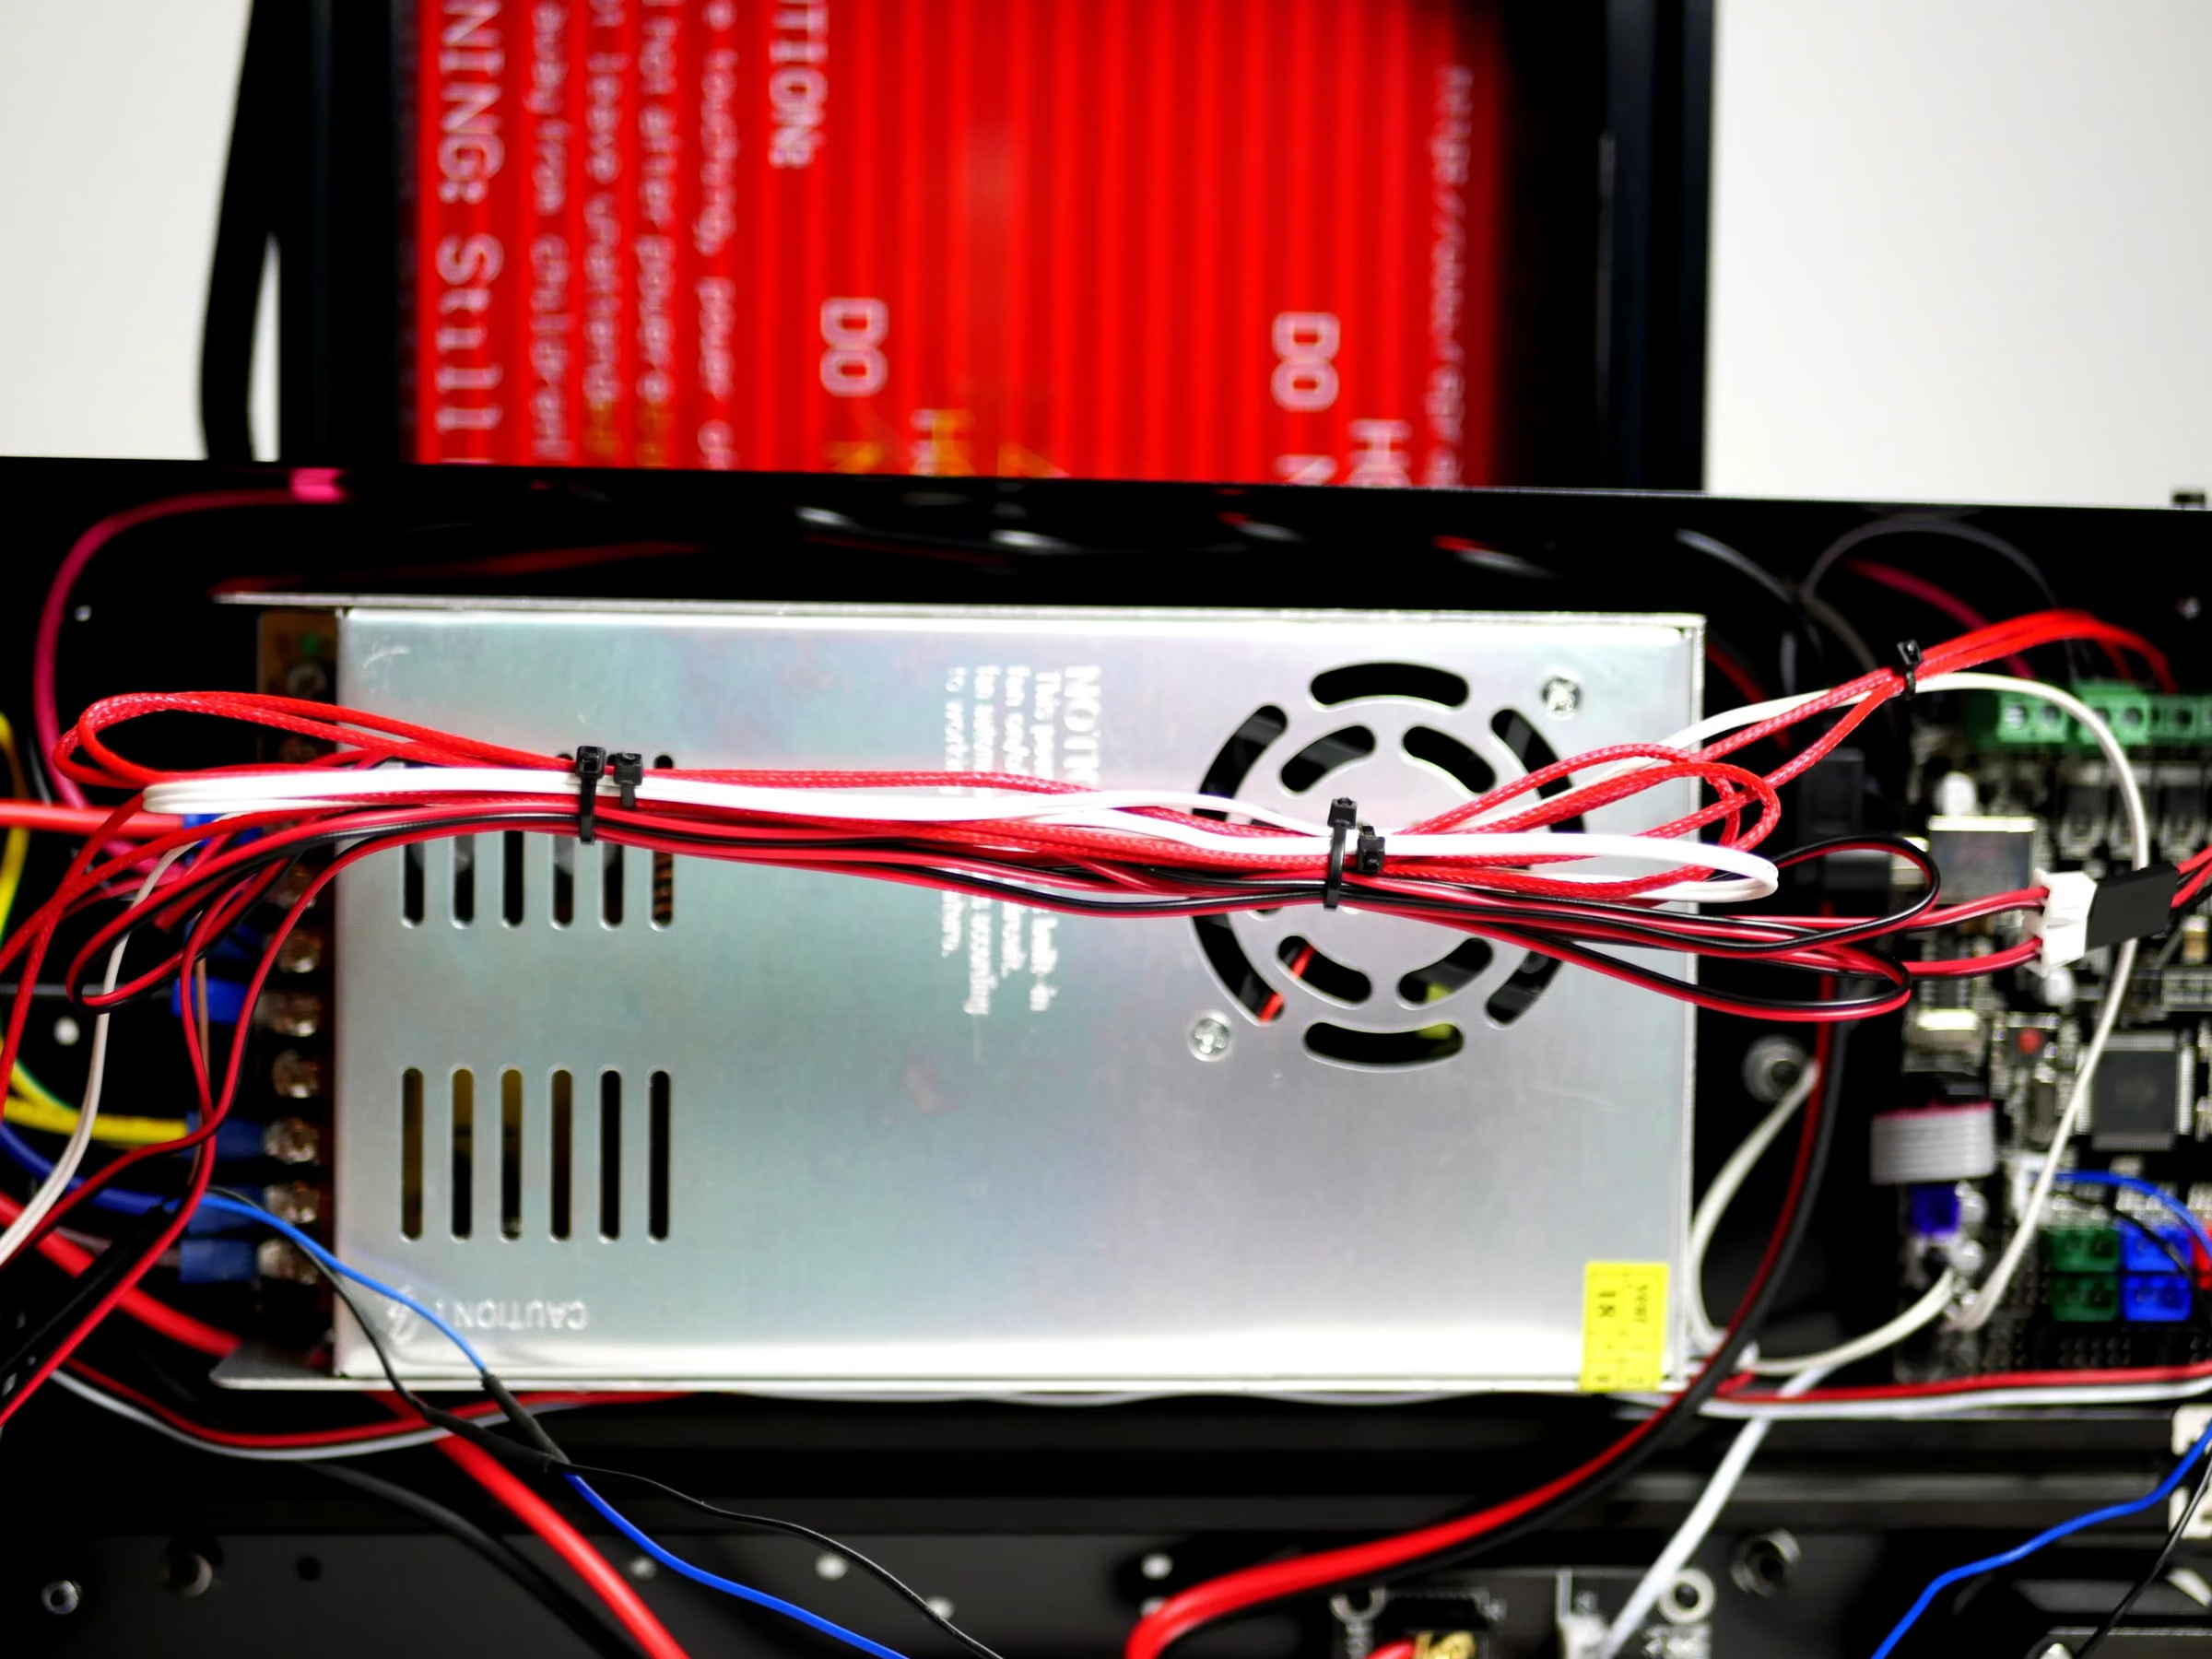
- Cable tie together the Hotend heater and thermistor cables.
- Loop and cable tie the excess cable.
- Reminder: Keep the cable ties a short distance in from the ends so as not to create any sharp bends in the cables.
- Tuck the cables in between the side panel and power supply.
Loading comments…
Step 10 Hotend Fan
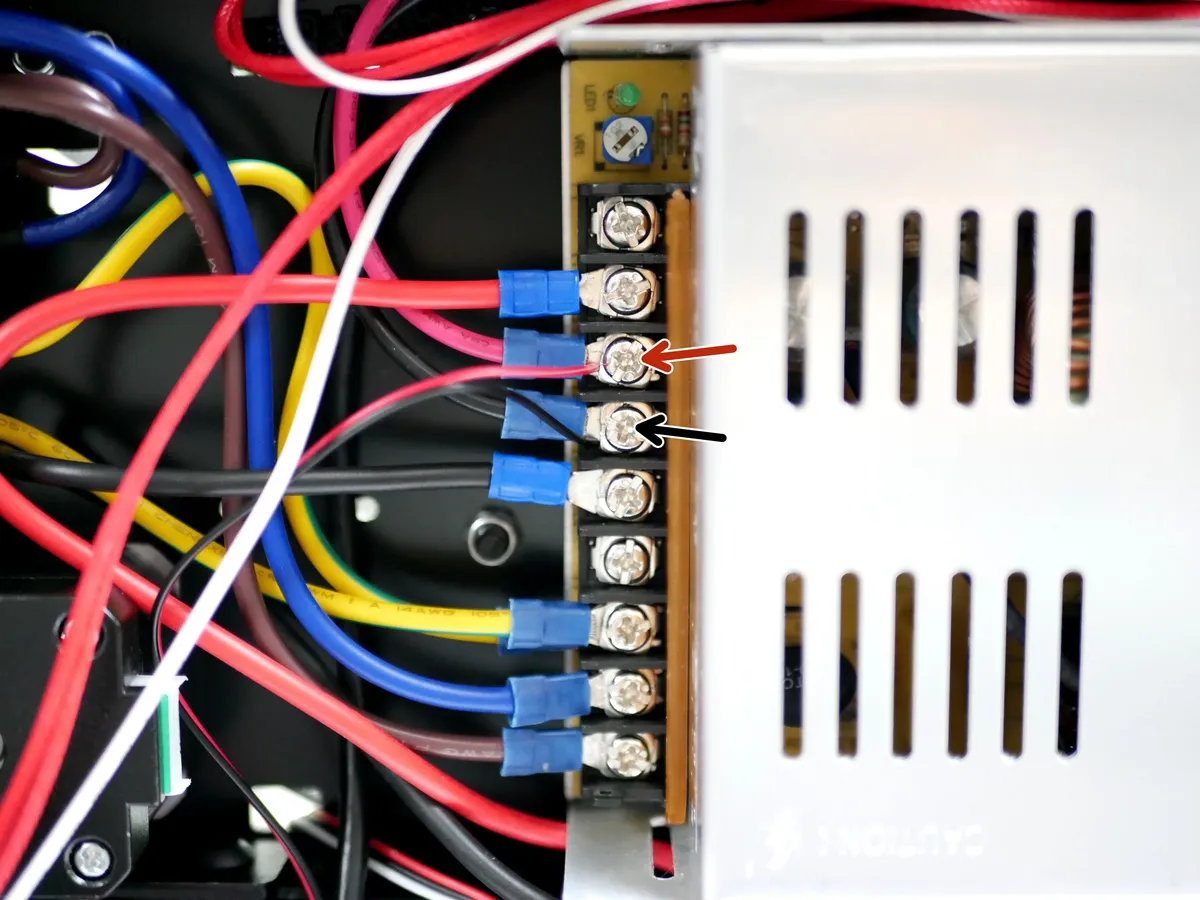
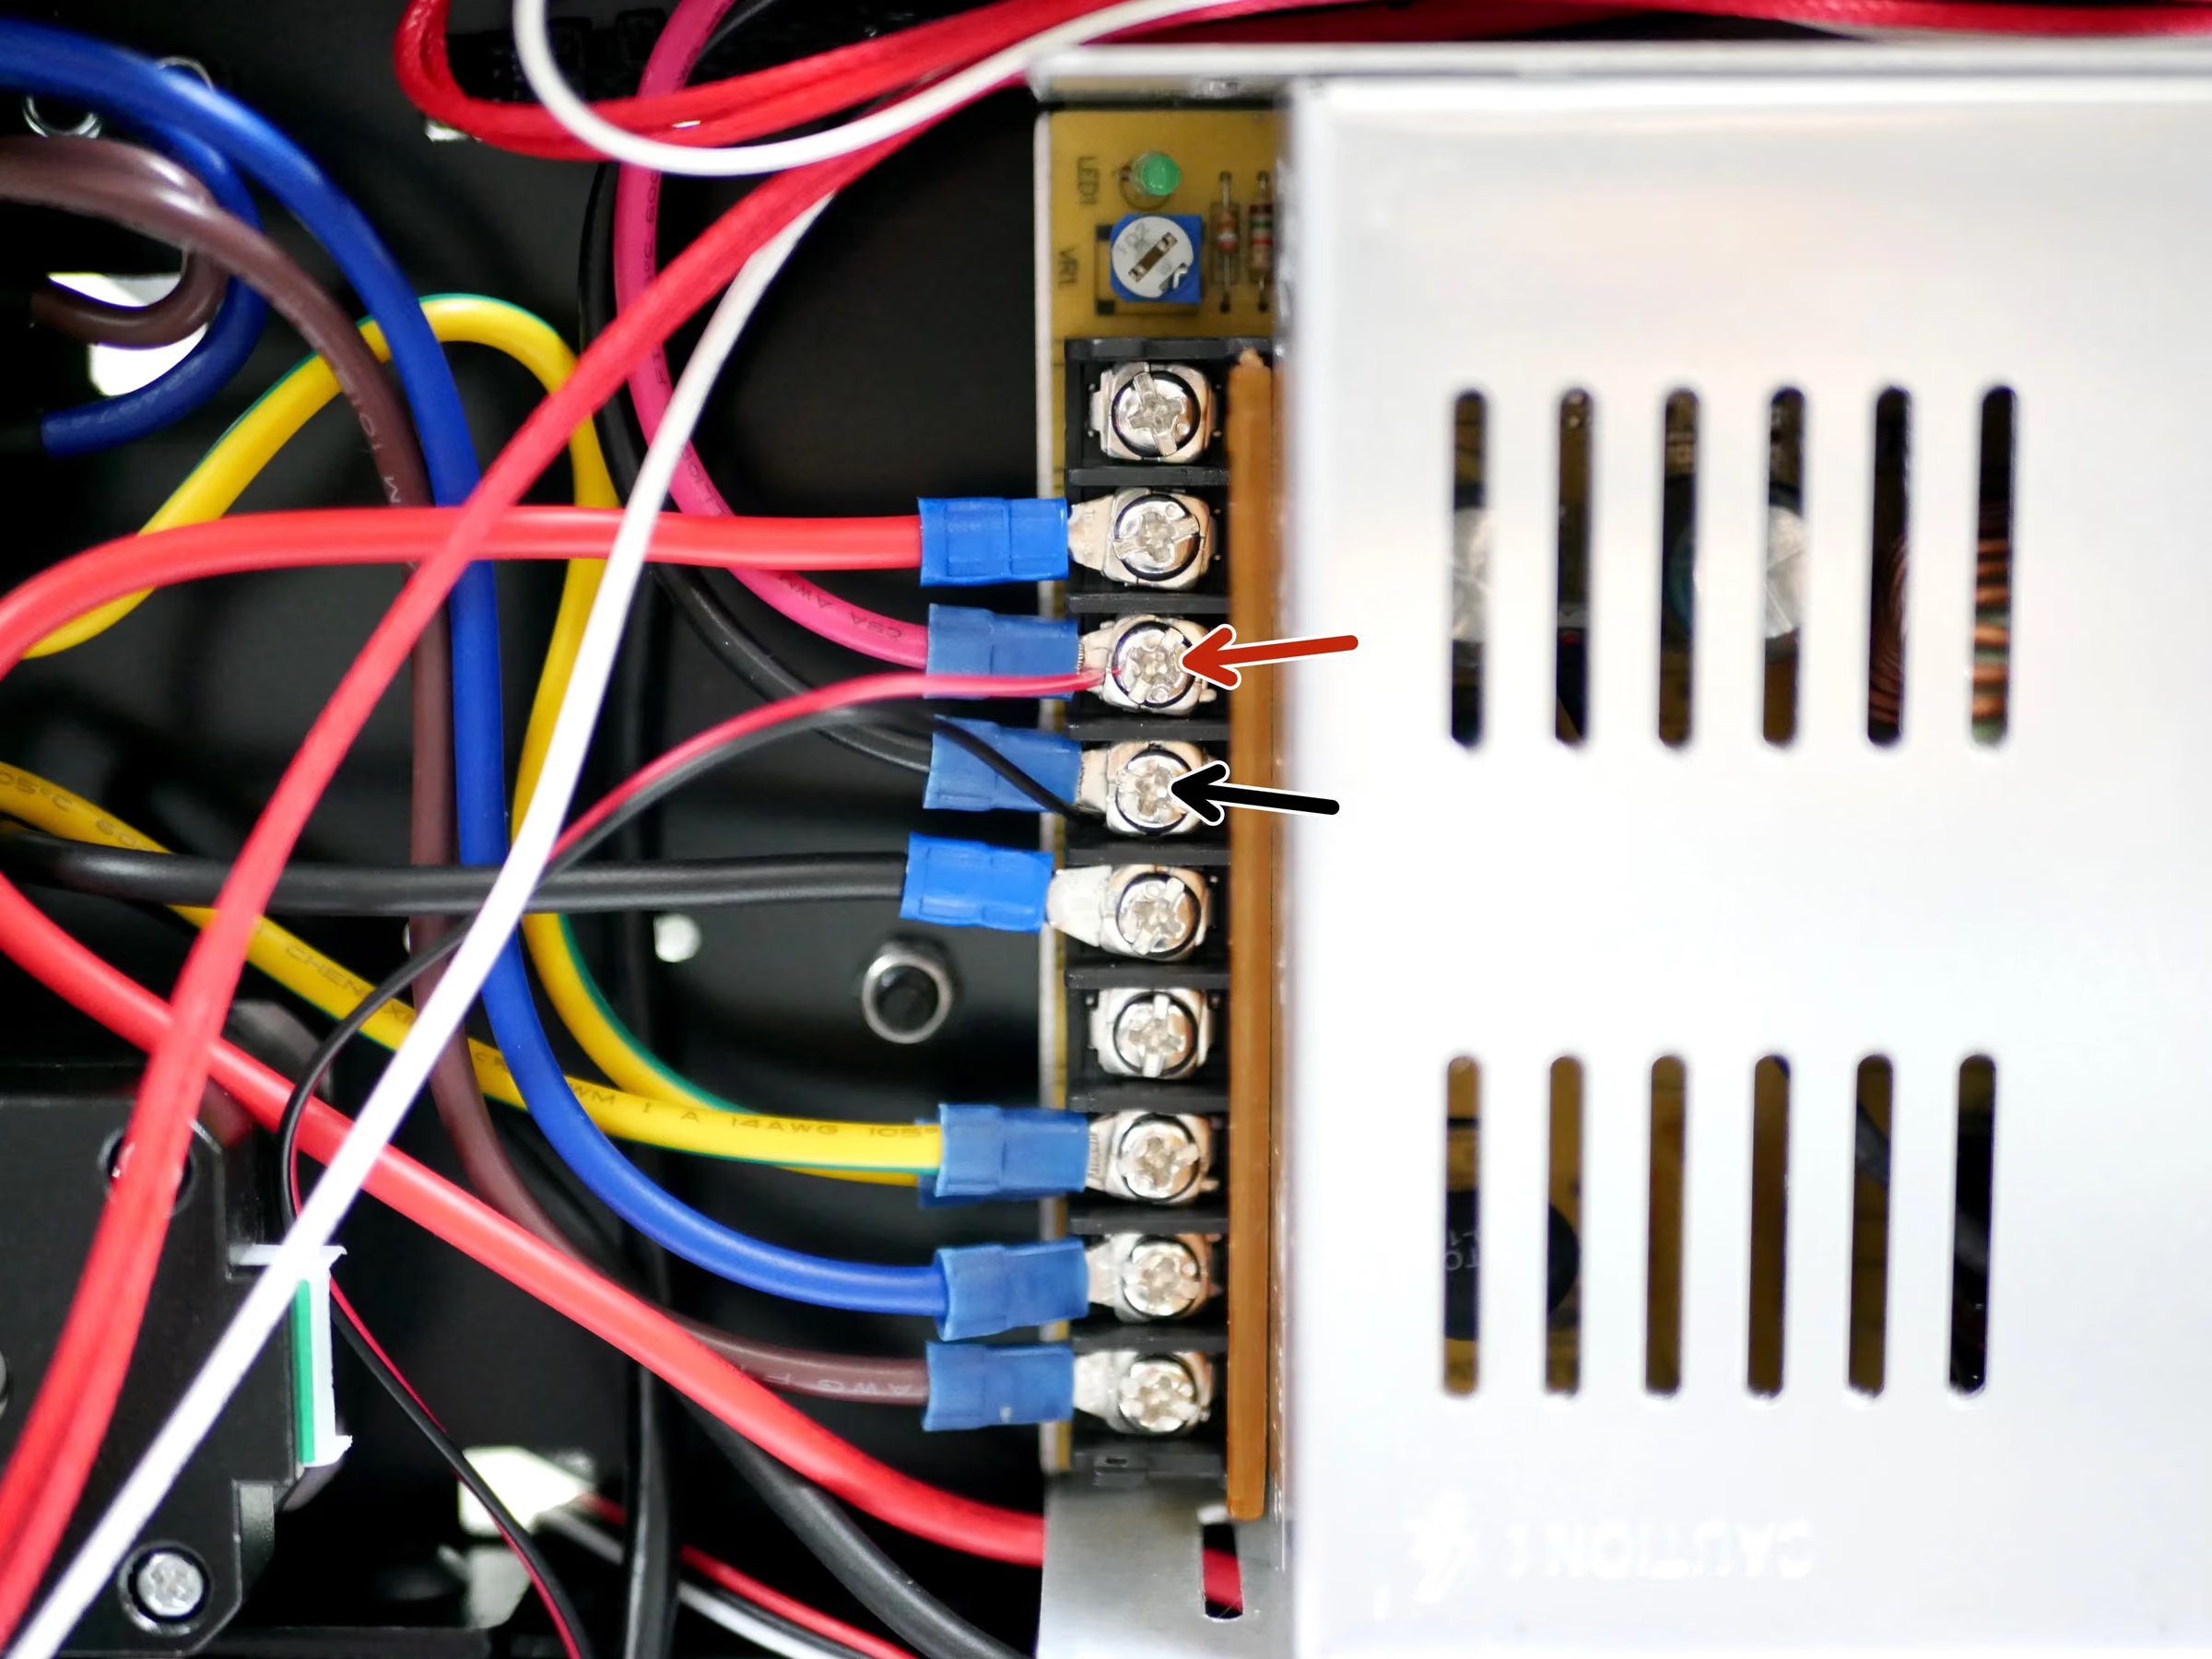
- Note: Connect the Hotend fan directly to the power supply.
- Red cable to positive.
- Black cable to negative.
- Reminder: You can cut the cable down for a better fit but remember to leave some spare if you plan on later upgrading to the Dual Switching Hotend.
Loading comments…
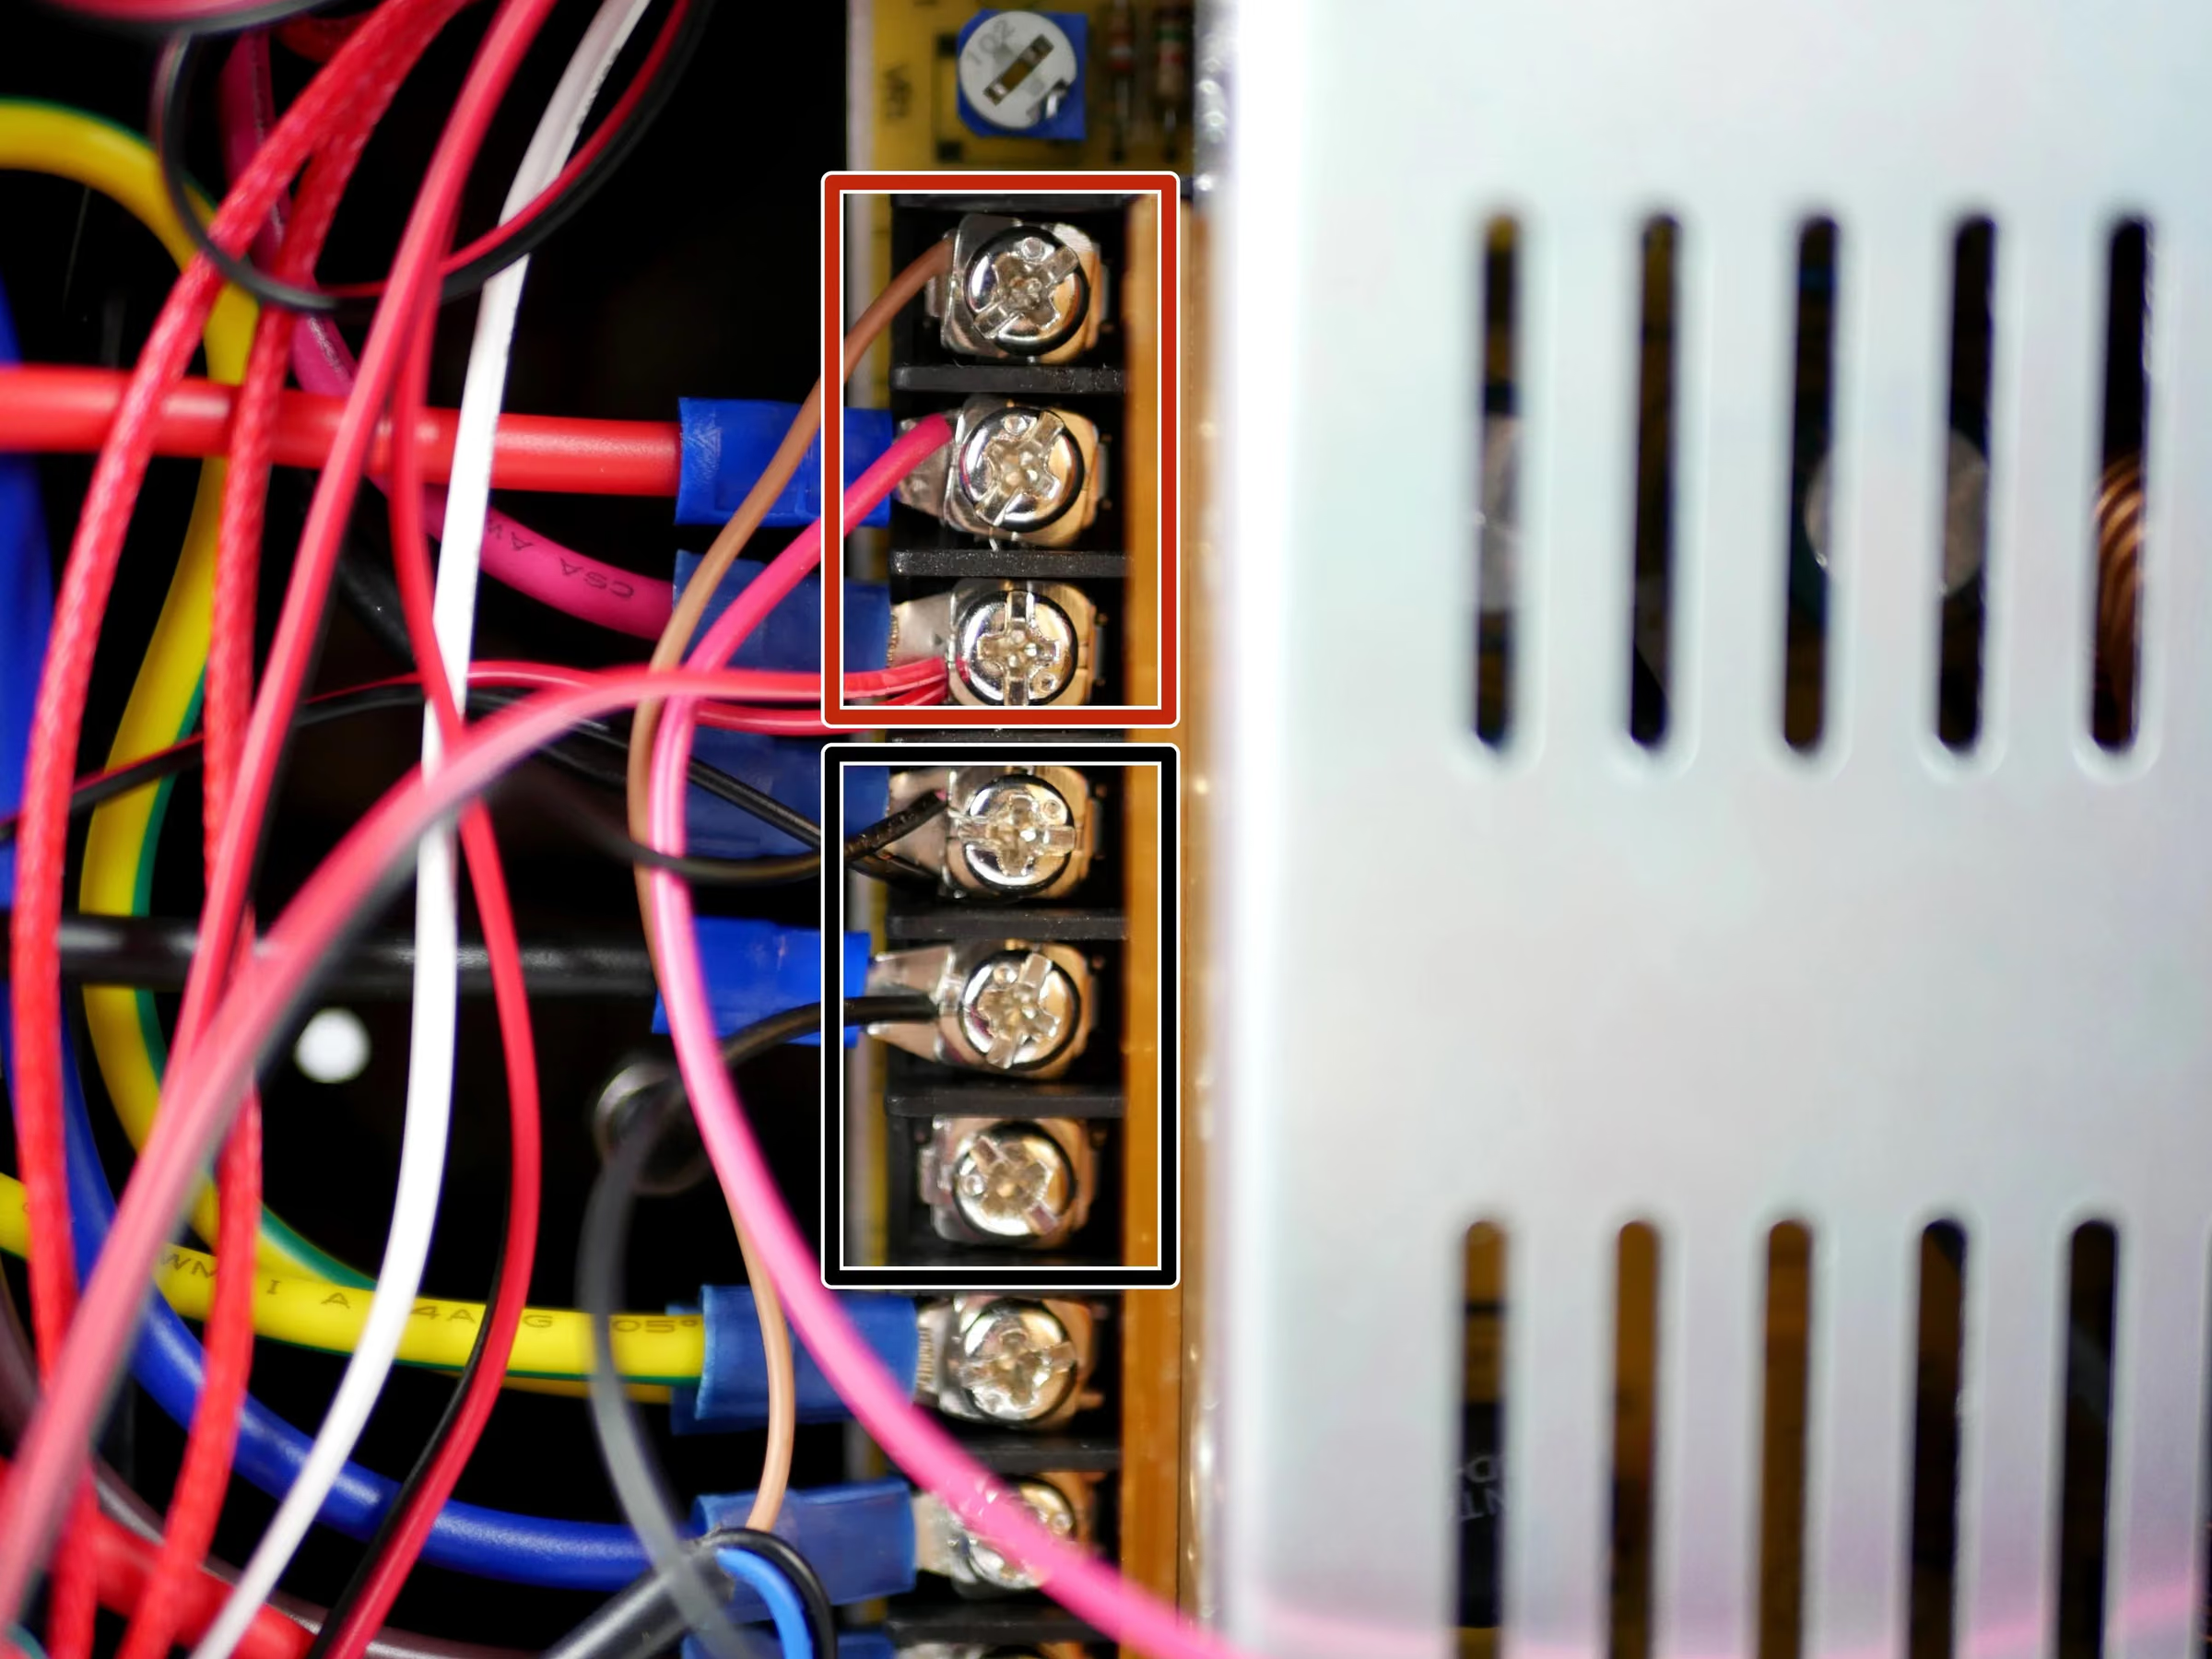
Step 11 DSH: Hotend #2 Fan
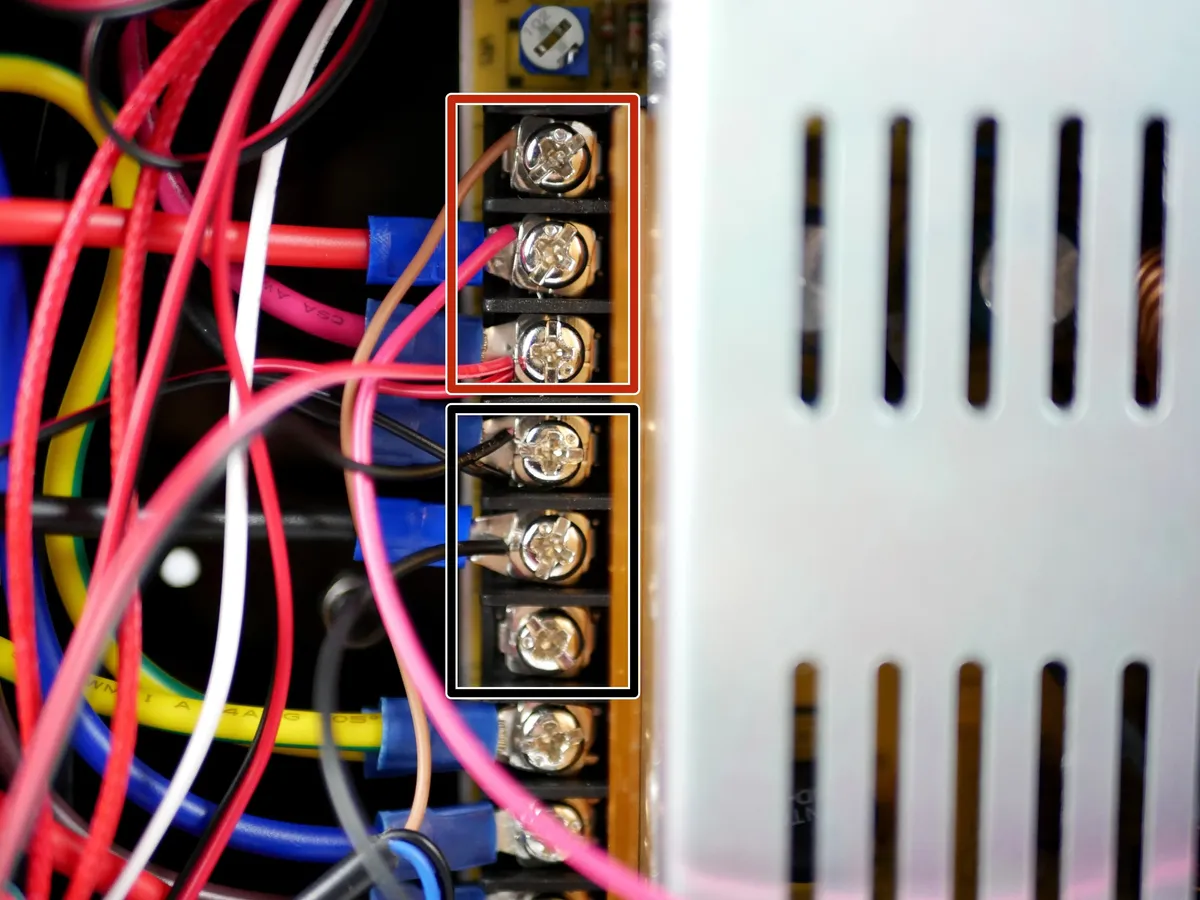
- Note: As before connect the Hotend's fan cables directly to the power supply terminals.
- Red to Positive
- Black to Negative
Loading comments…
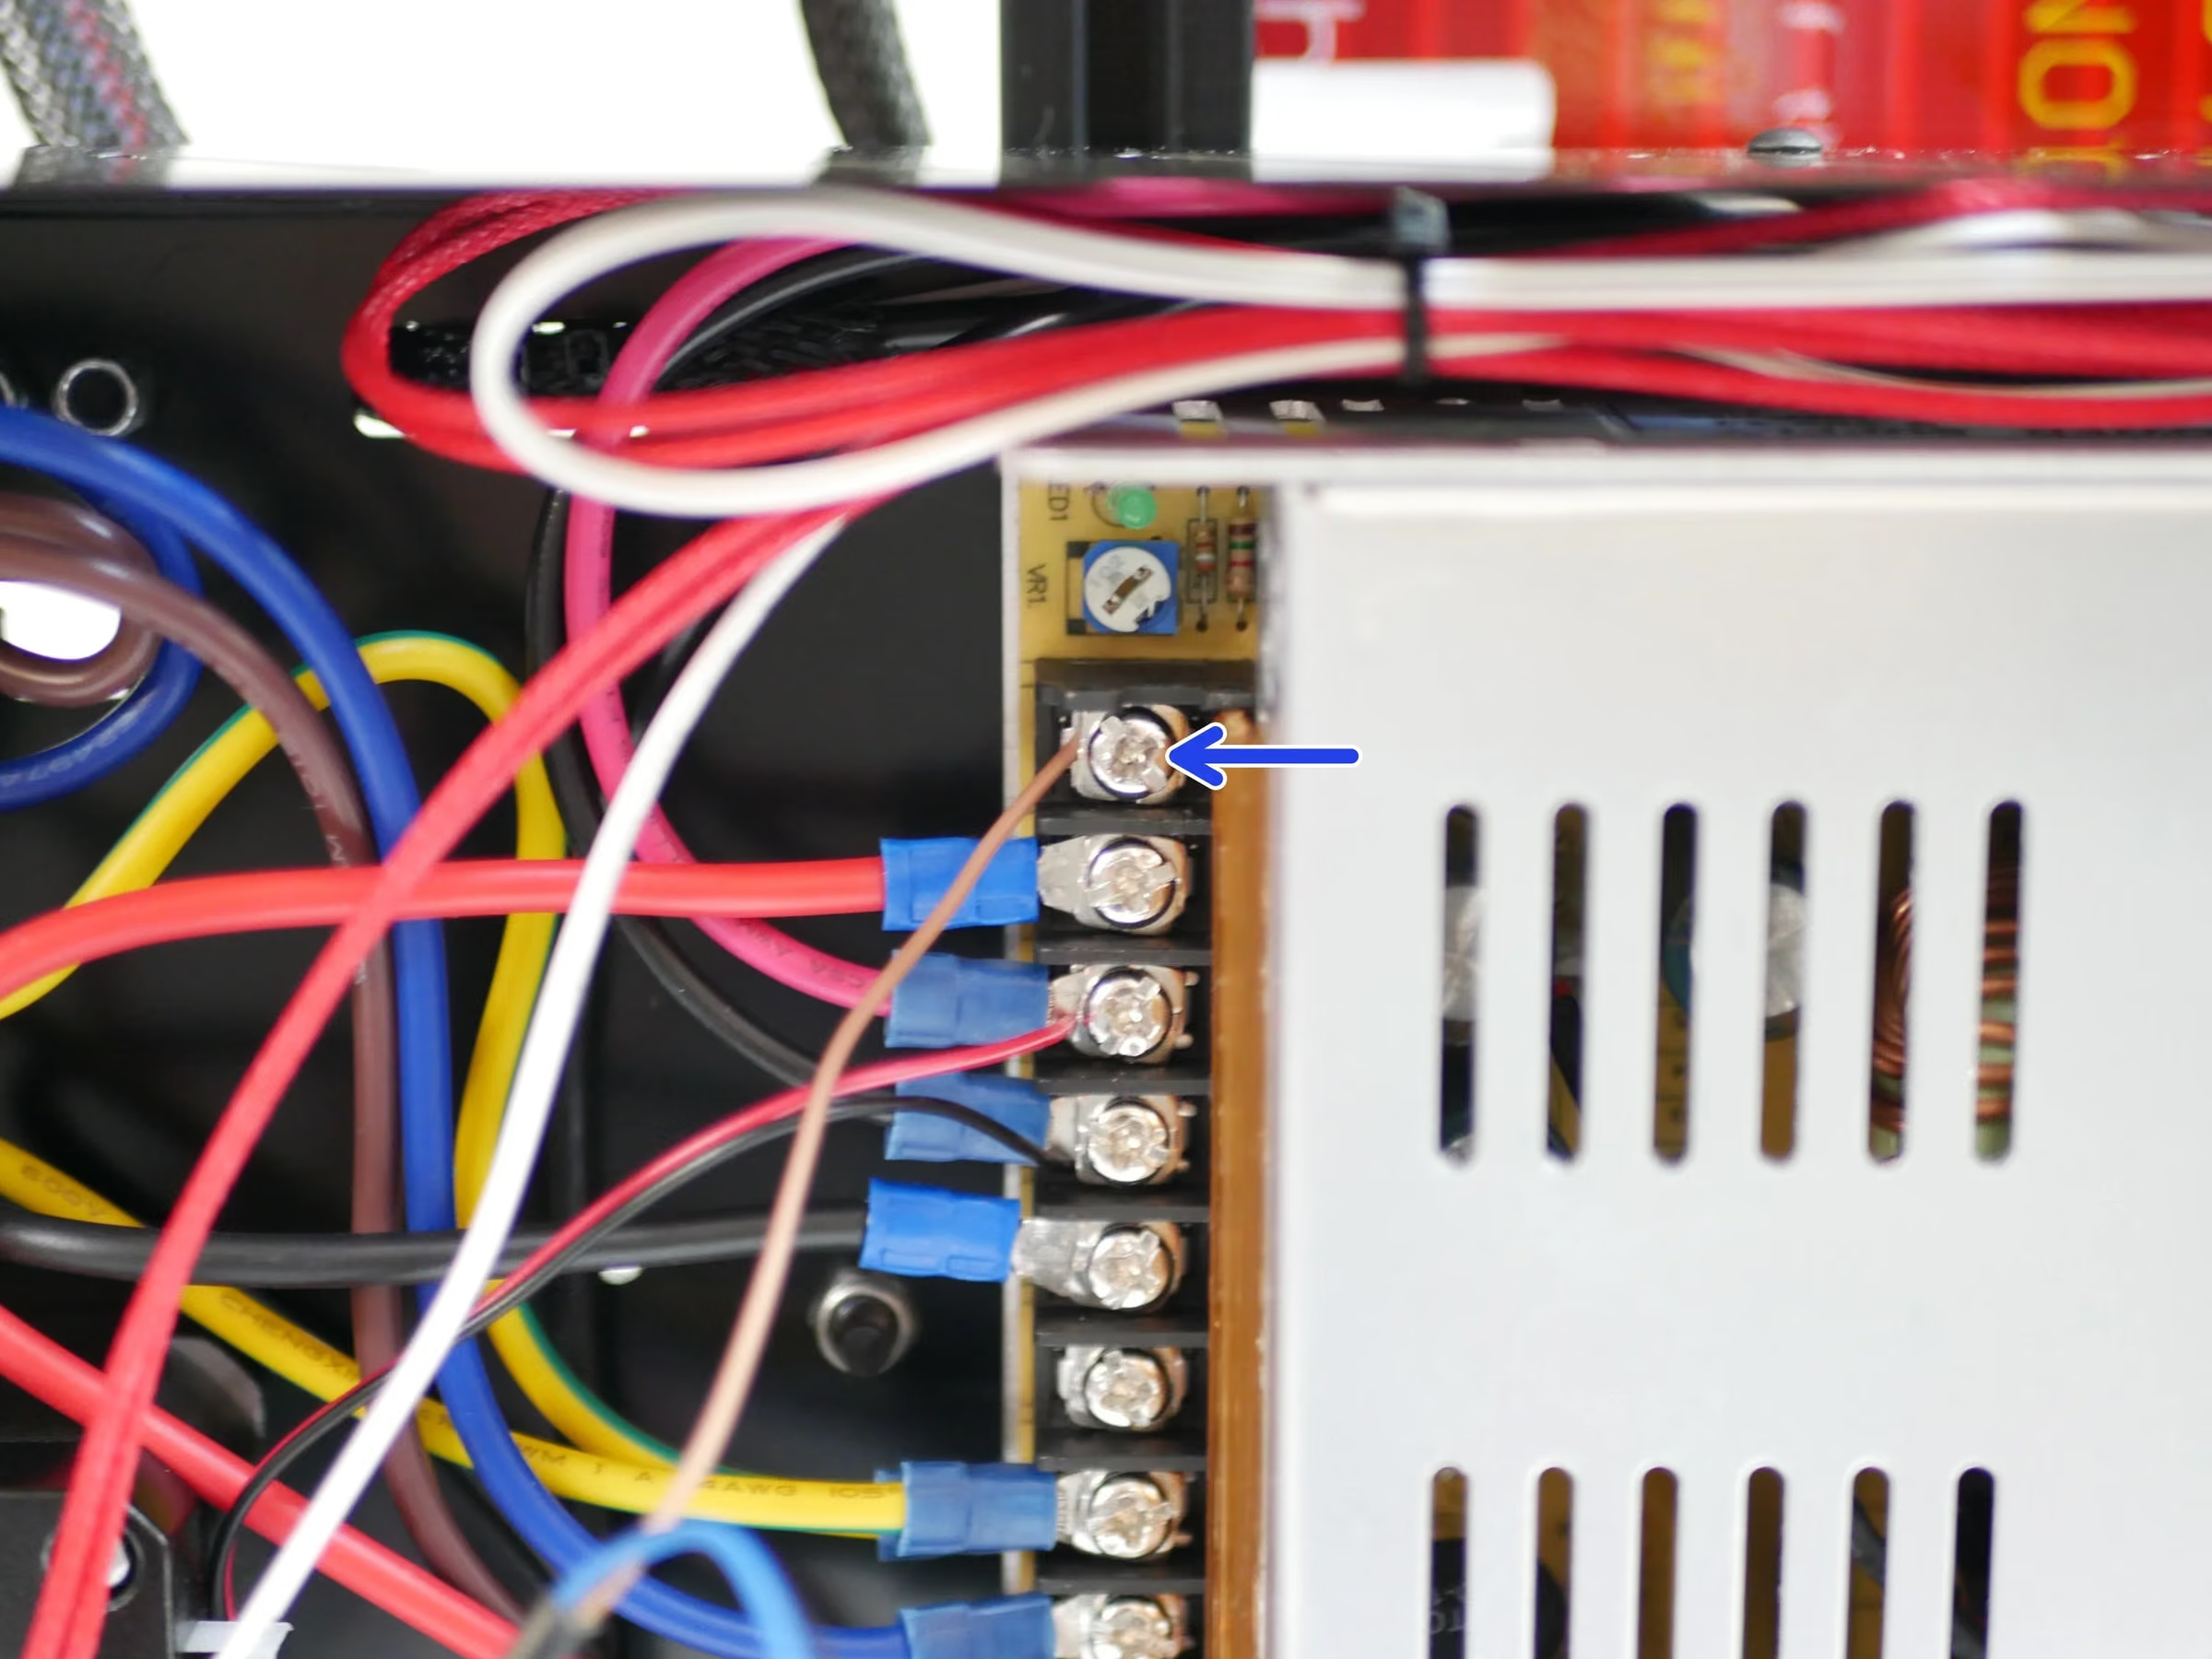
Step 12 Probe Wiring
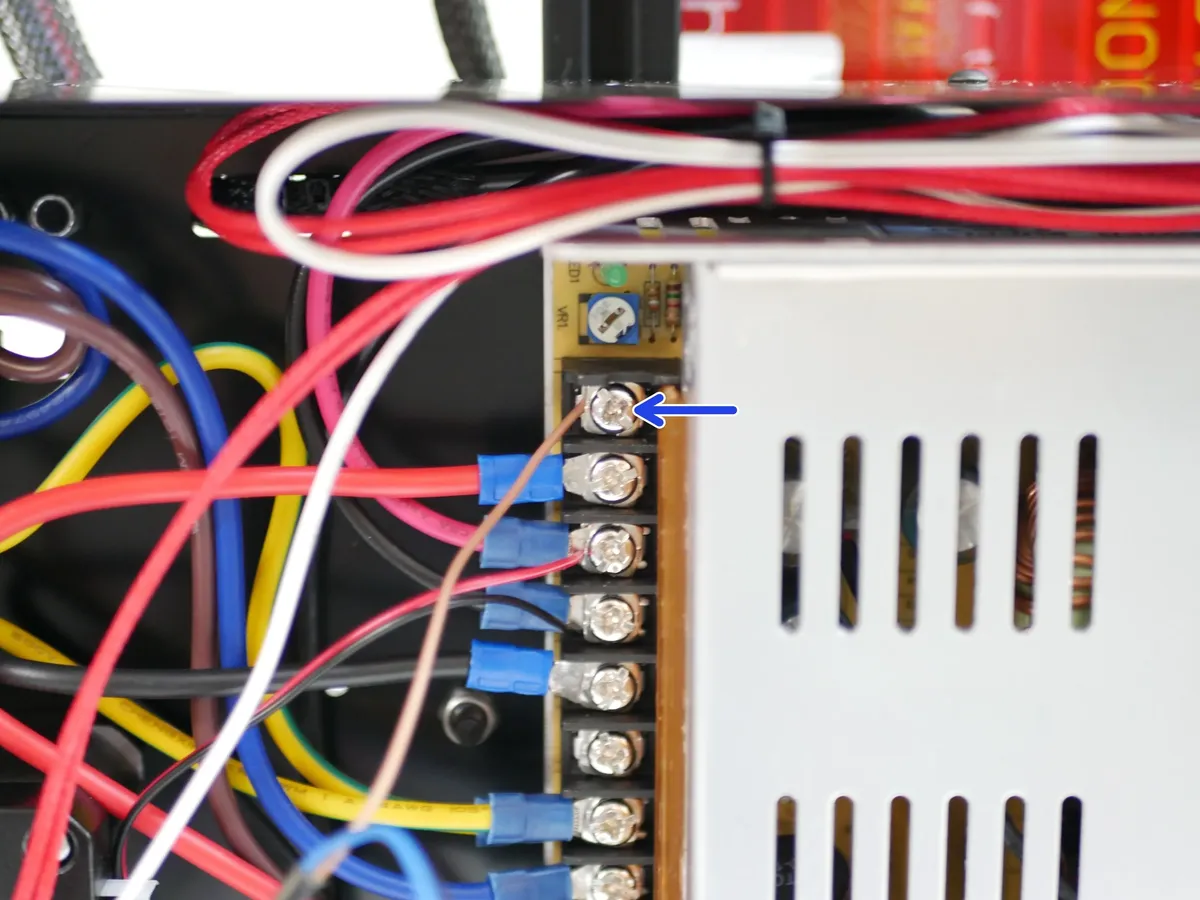
- Connect the brown wire from the probe directly to a positive terminal on the power supply.
- Fix the connector to the electronics board as shown in the second image.
Loading comments…
Step 13 Print Fan Wiring
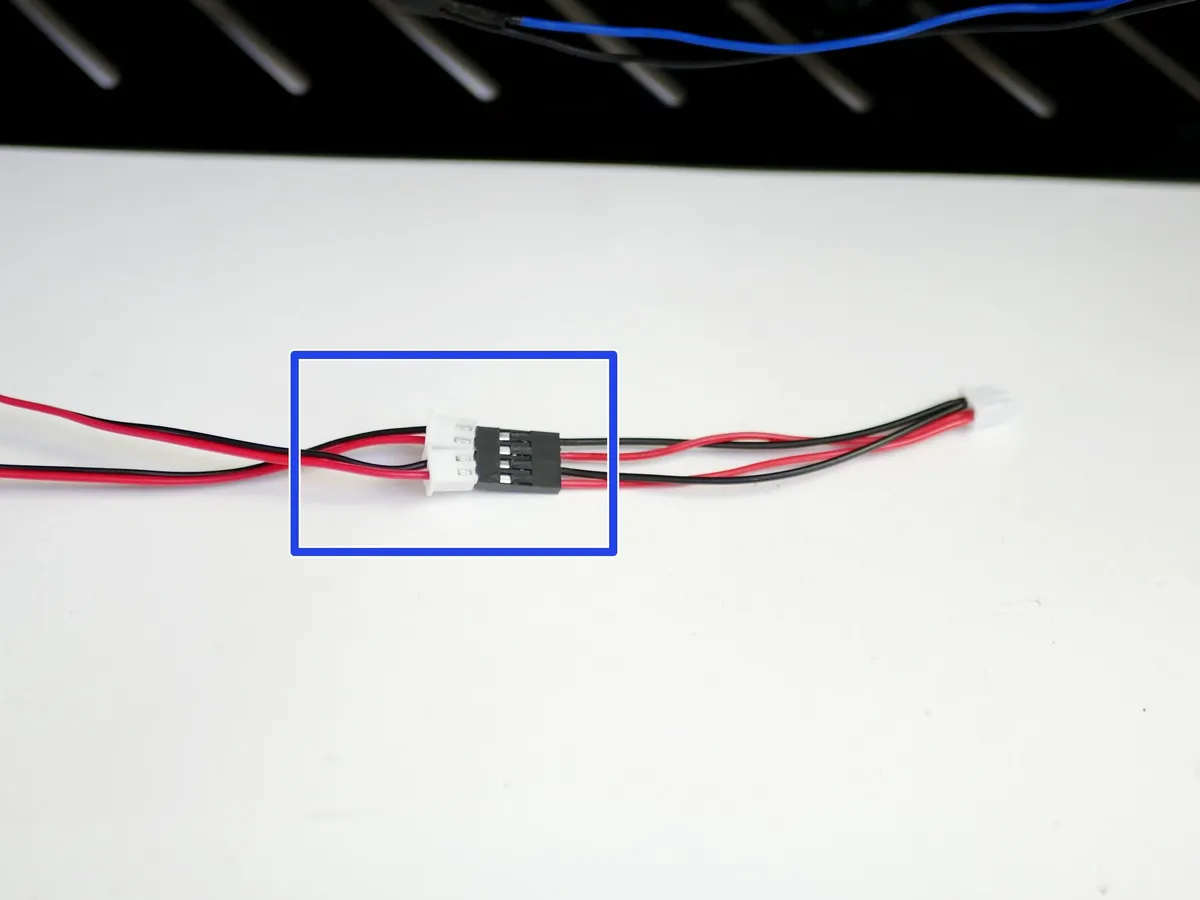
- Connect both cables form the print fans to the print fan adapter.
- Caution: Black to Black and Red to Red
- Connect the other side of the adapter to the electronics board.
Loading comments…
Step 14 Print Fan Wiring Cont.
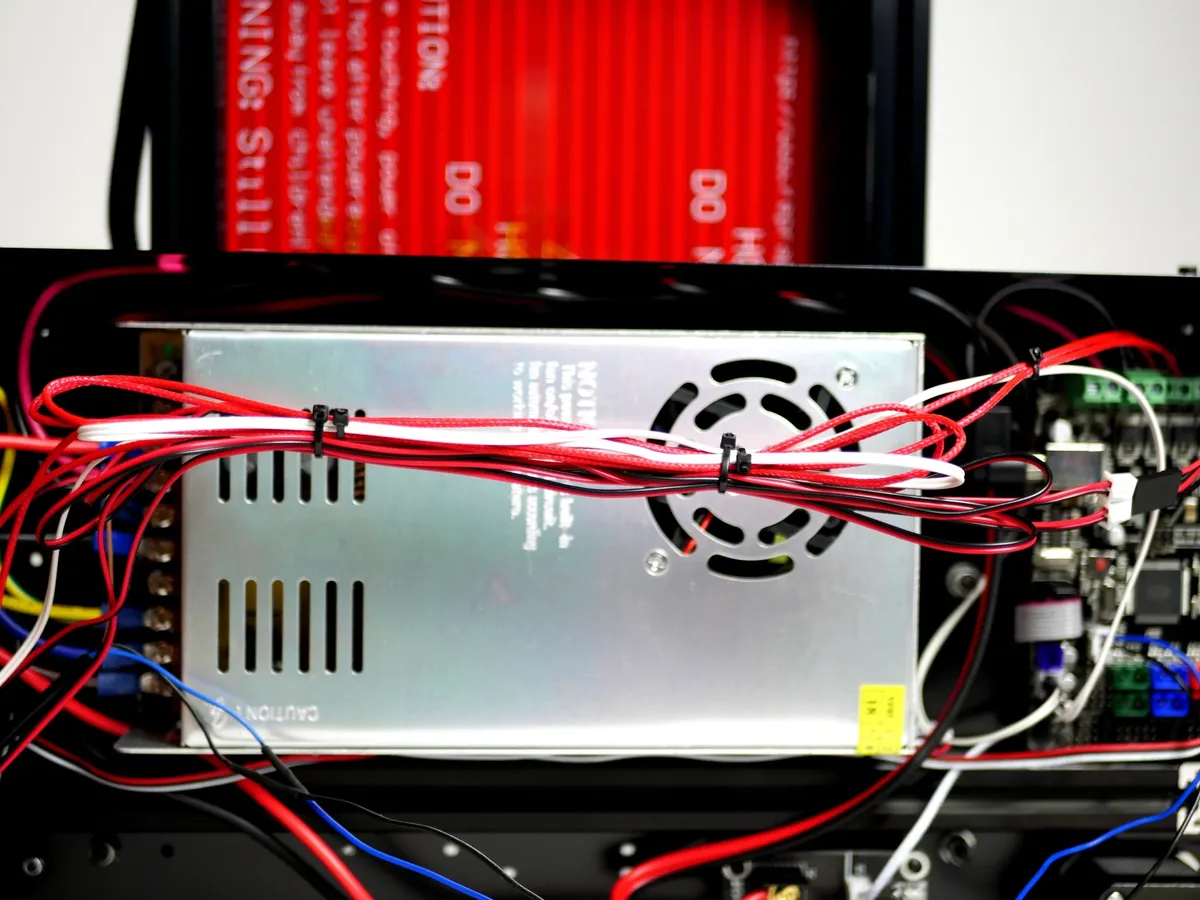
- Note: Cable tie the print fan cables to the Hotend cables and tuck away.
Loading comments…
Step 15 Y-Motor and Endstop
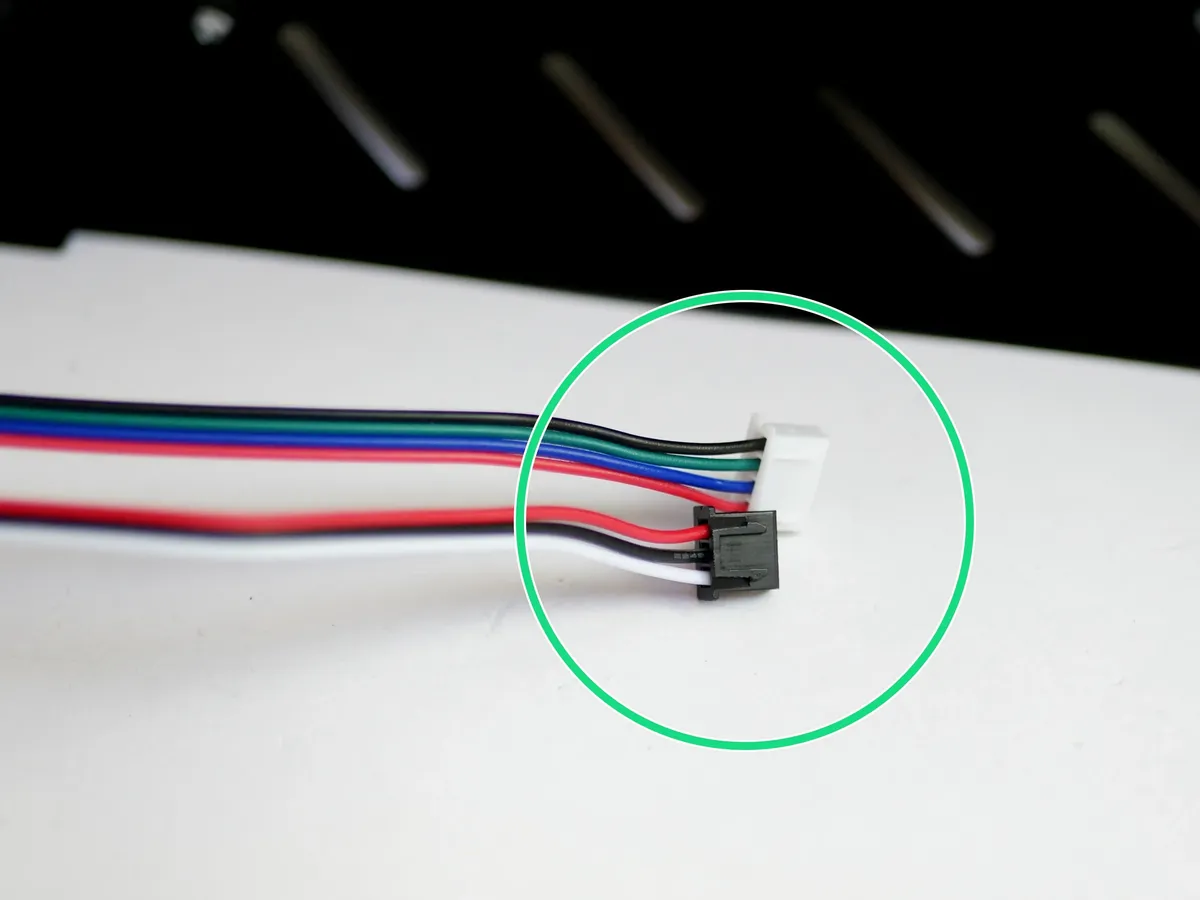
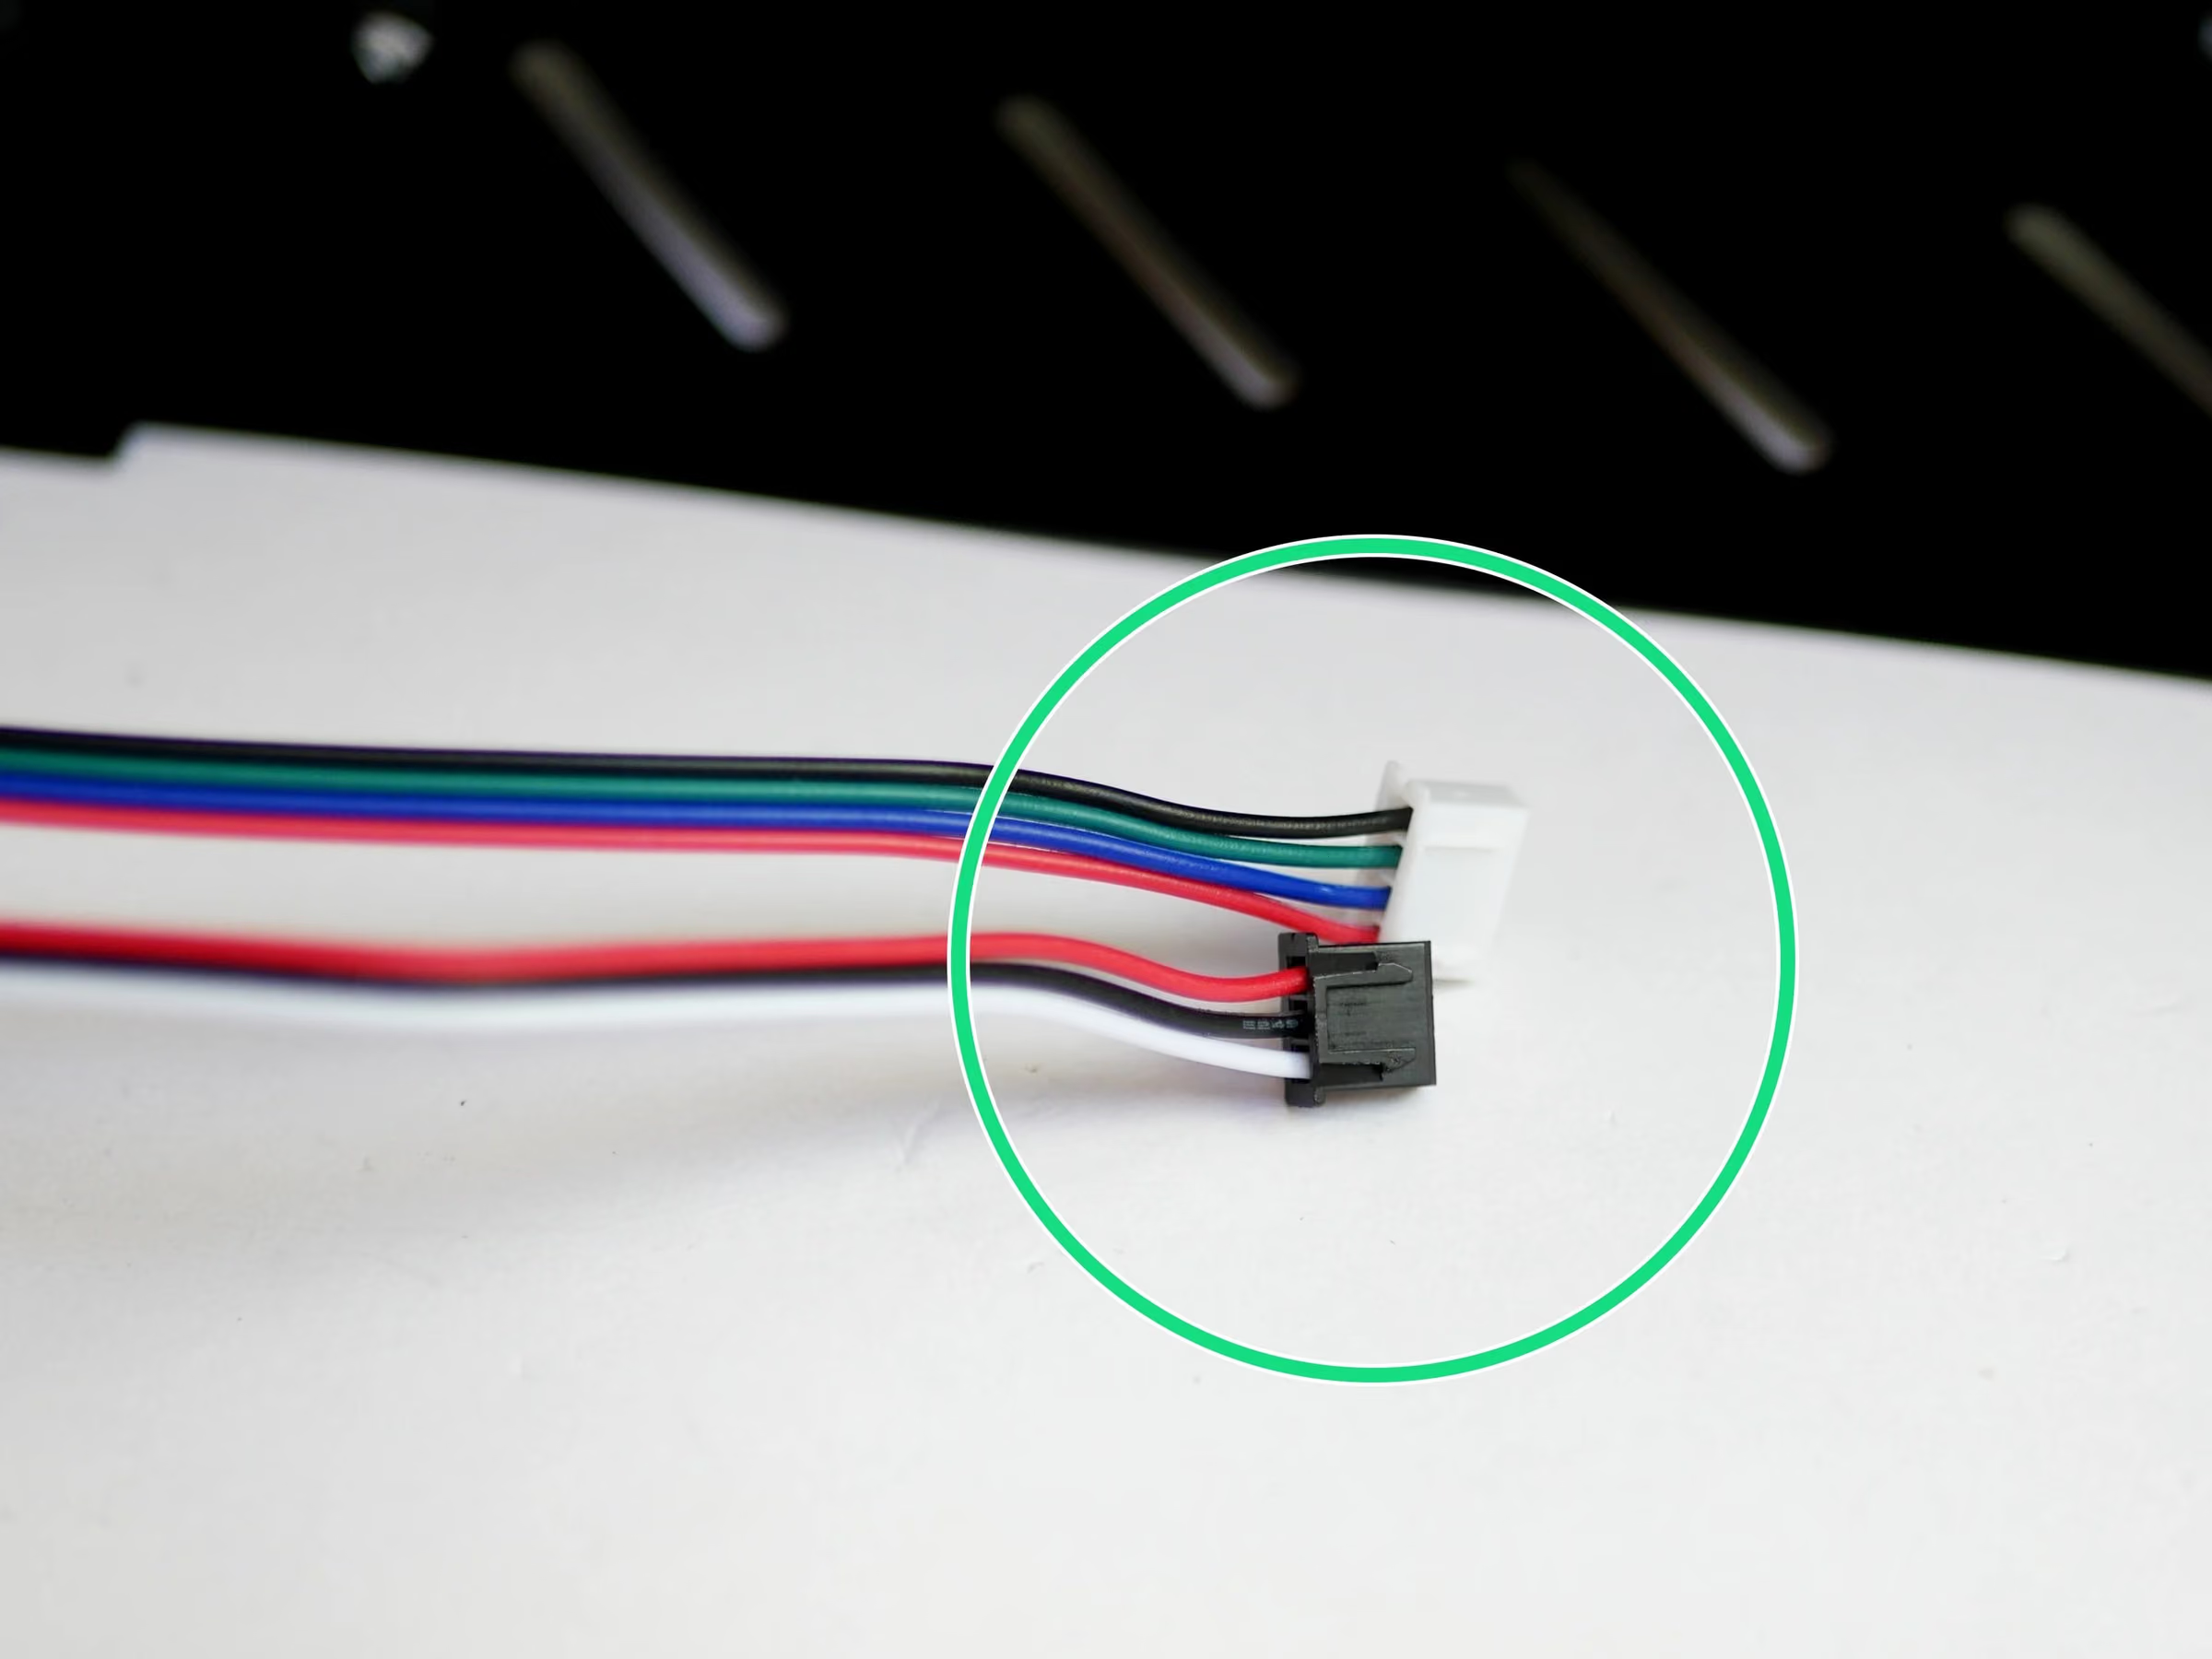
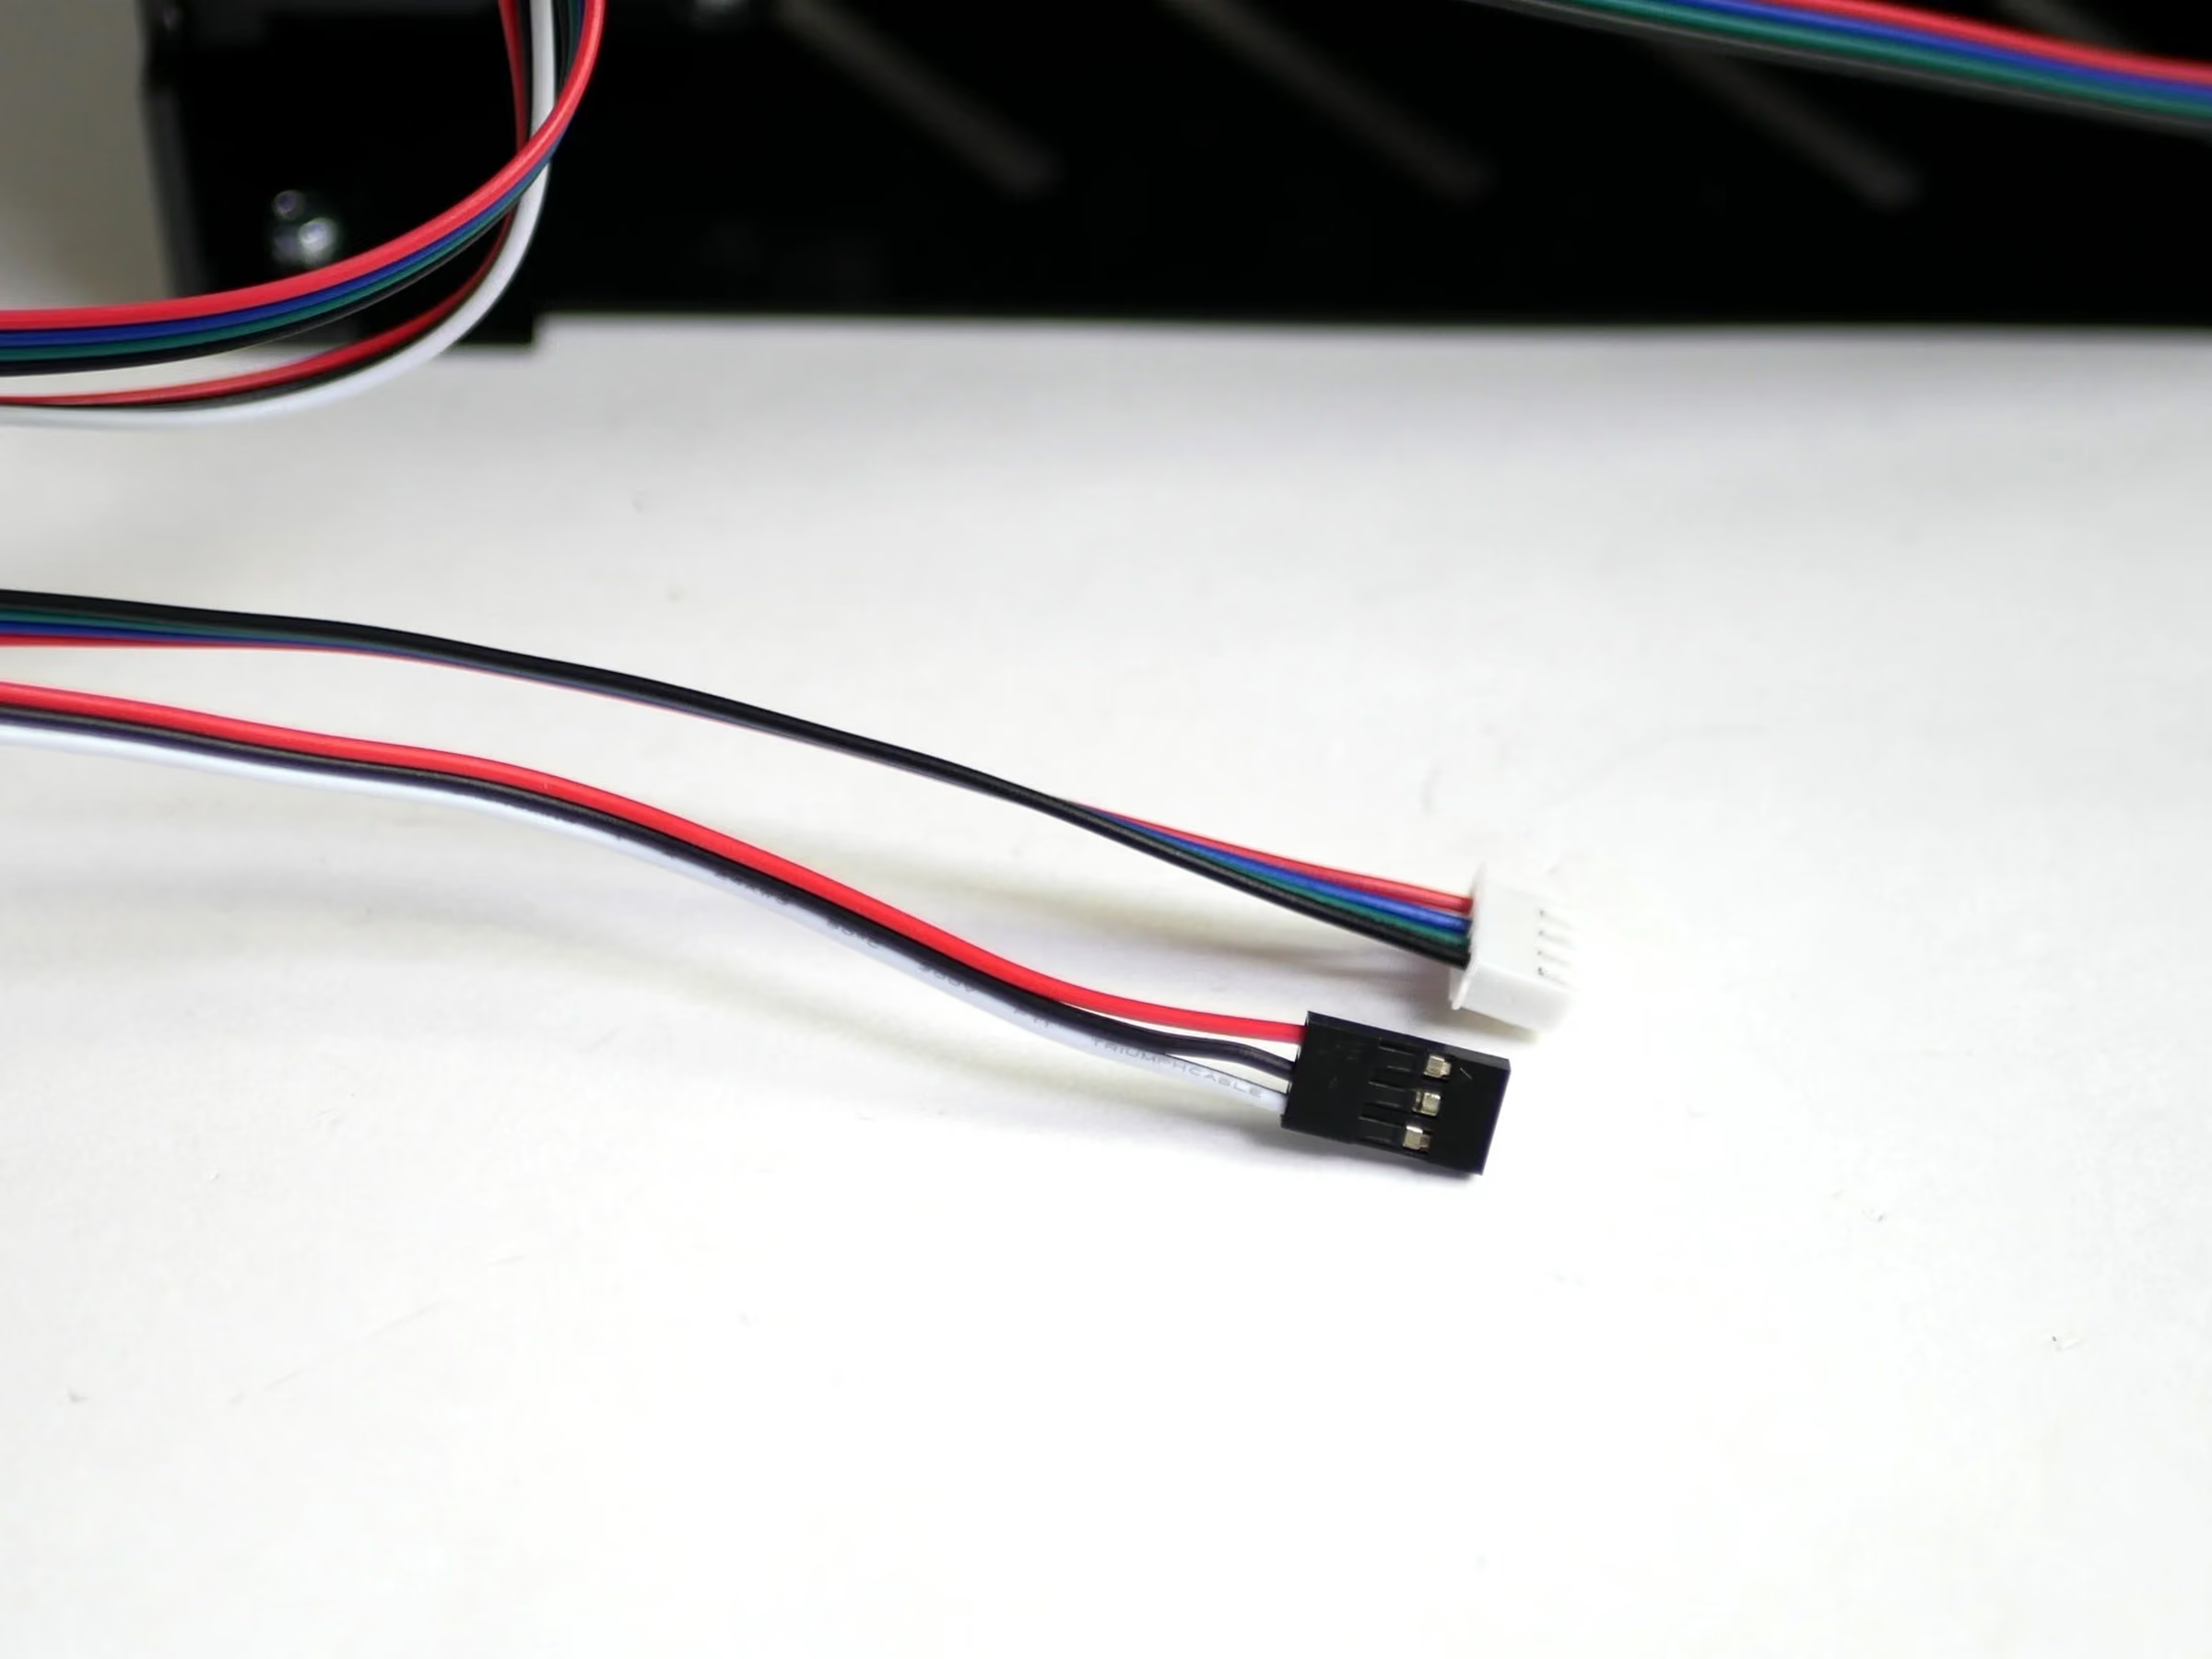
- Find the pair of cables for the Y-Motor and Y-Endstop.
- Connect the Y-Endstop to the board (Y+).
- Connect the Y-Motor to the Board.
Loading comments…
Step 16 Extruder and Filament Sensor
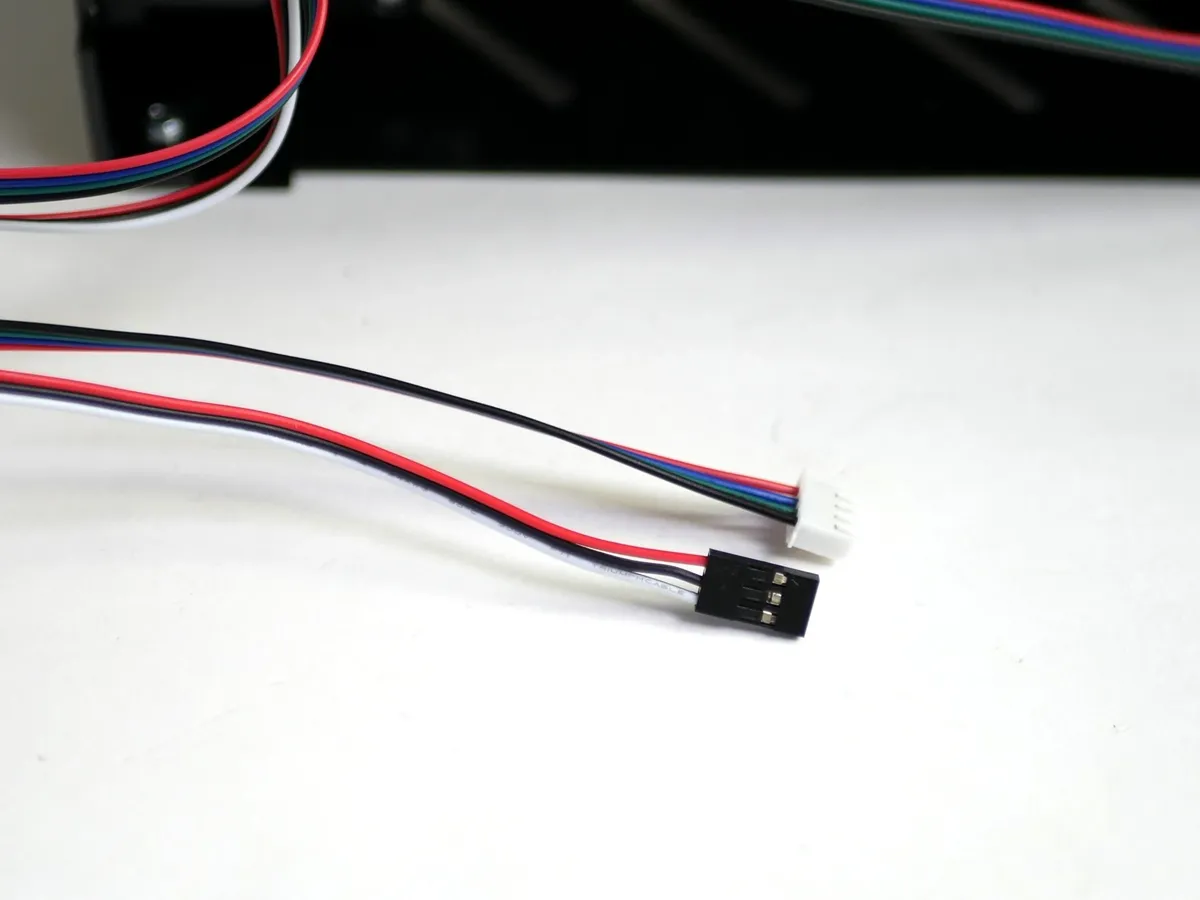
- Note: Find the Extruder motor cable and filament sensor cable.
- Connect the Extruder Motor to the E0 position on the board.
- Connect the filament sensor to the Touch Screen.
Loading comments…
Step 17 DSH: Second Extruder and Filament Sensor
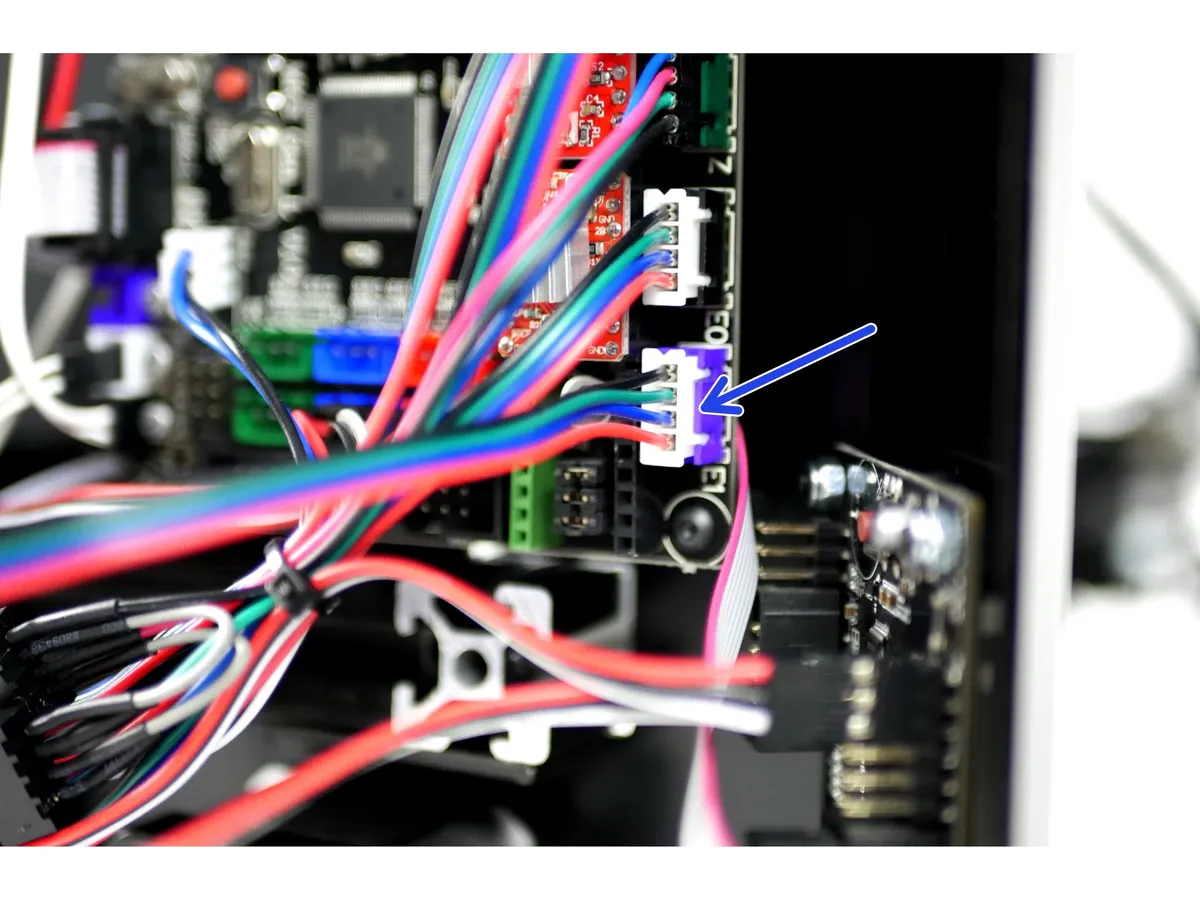
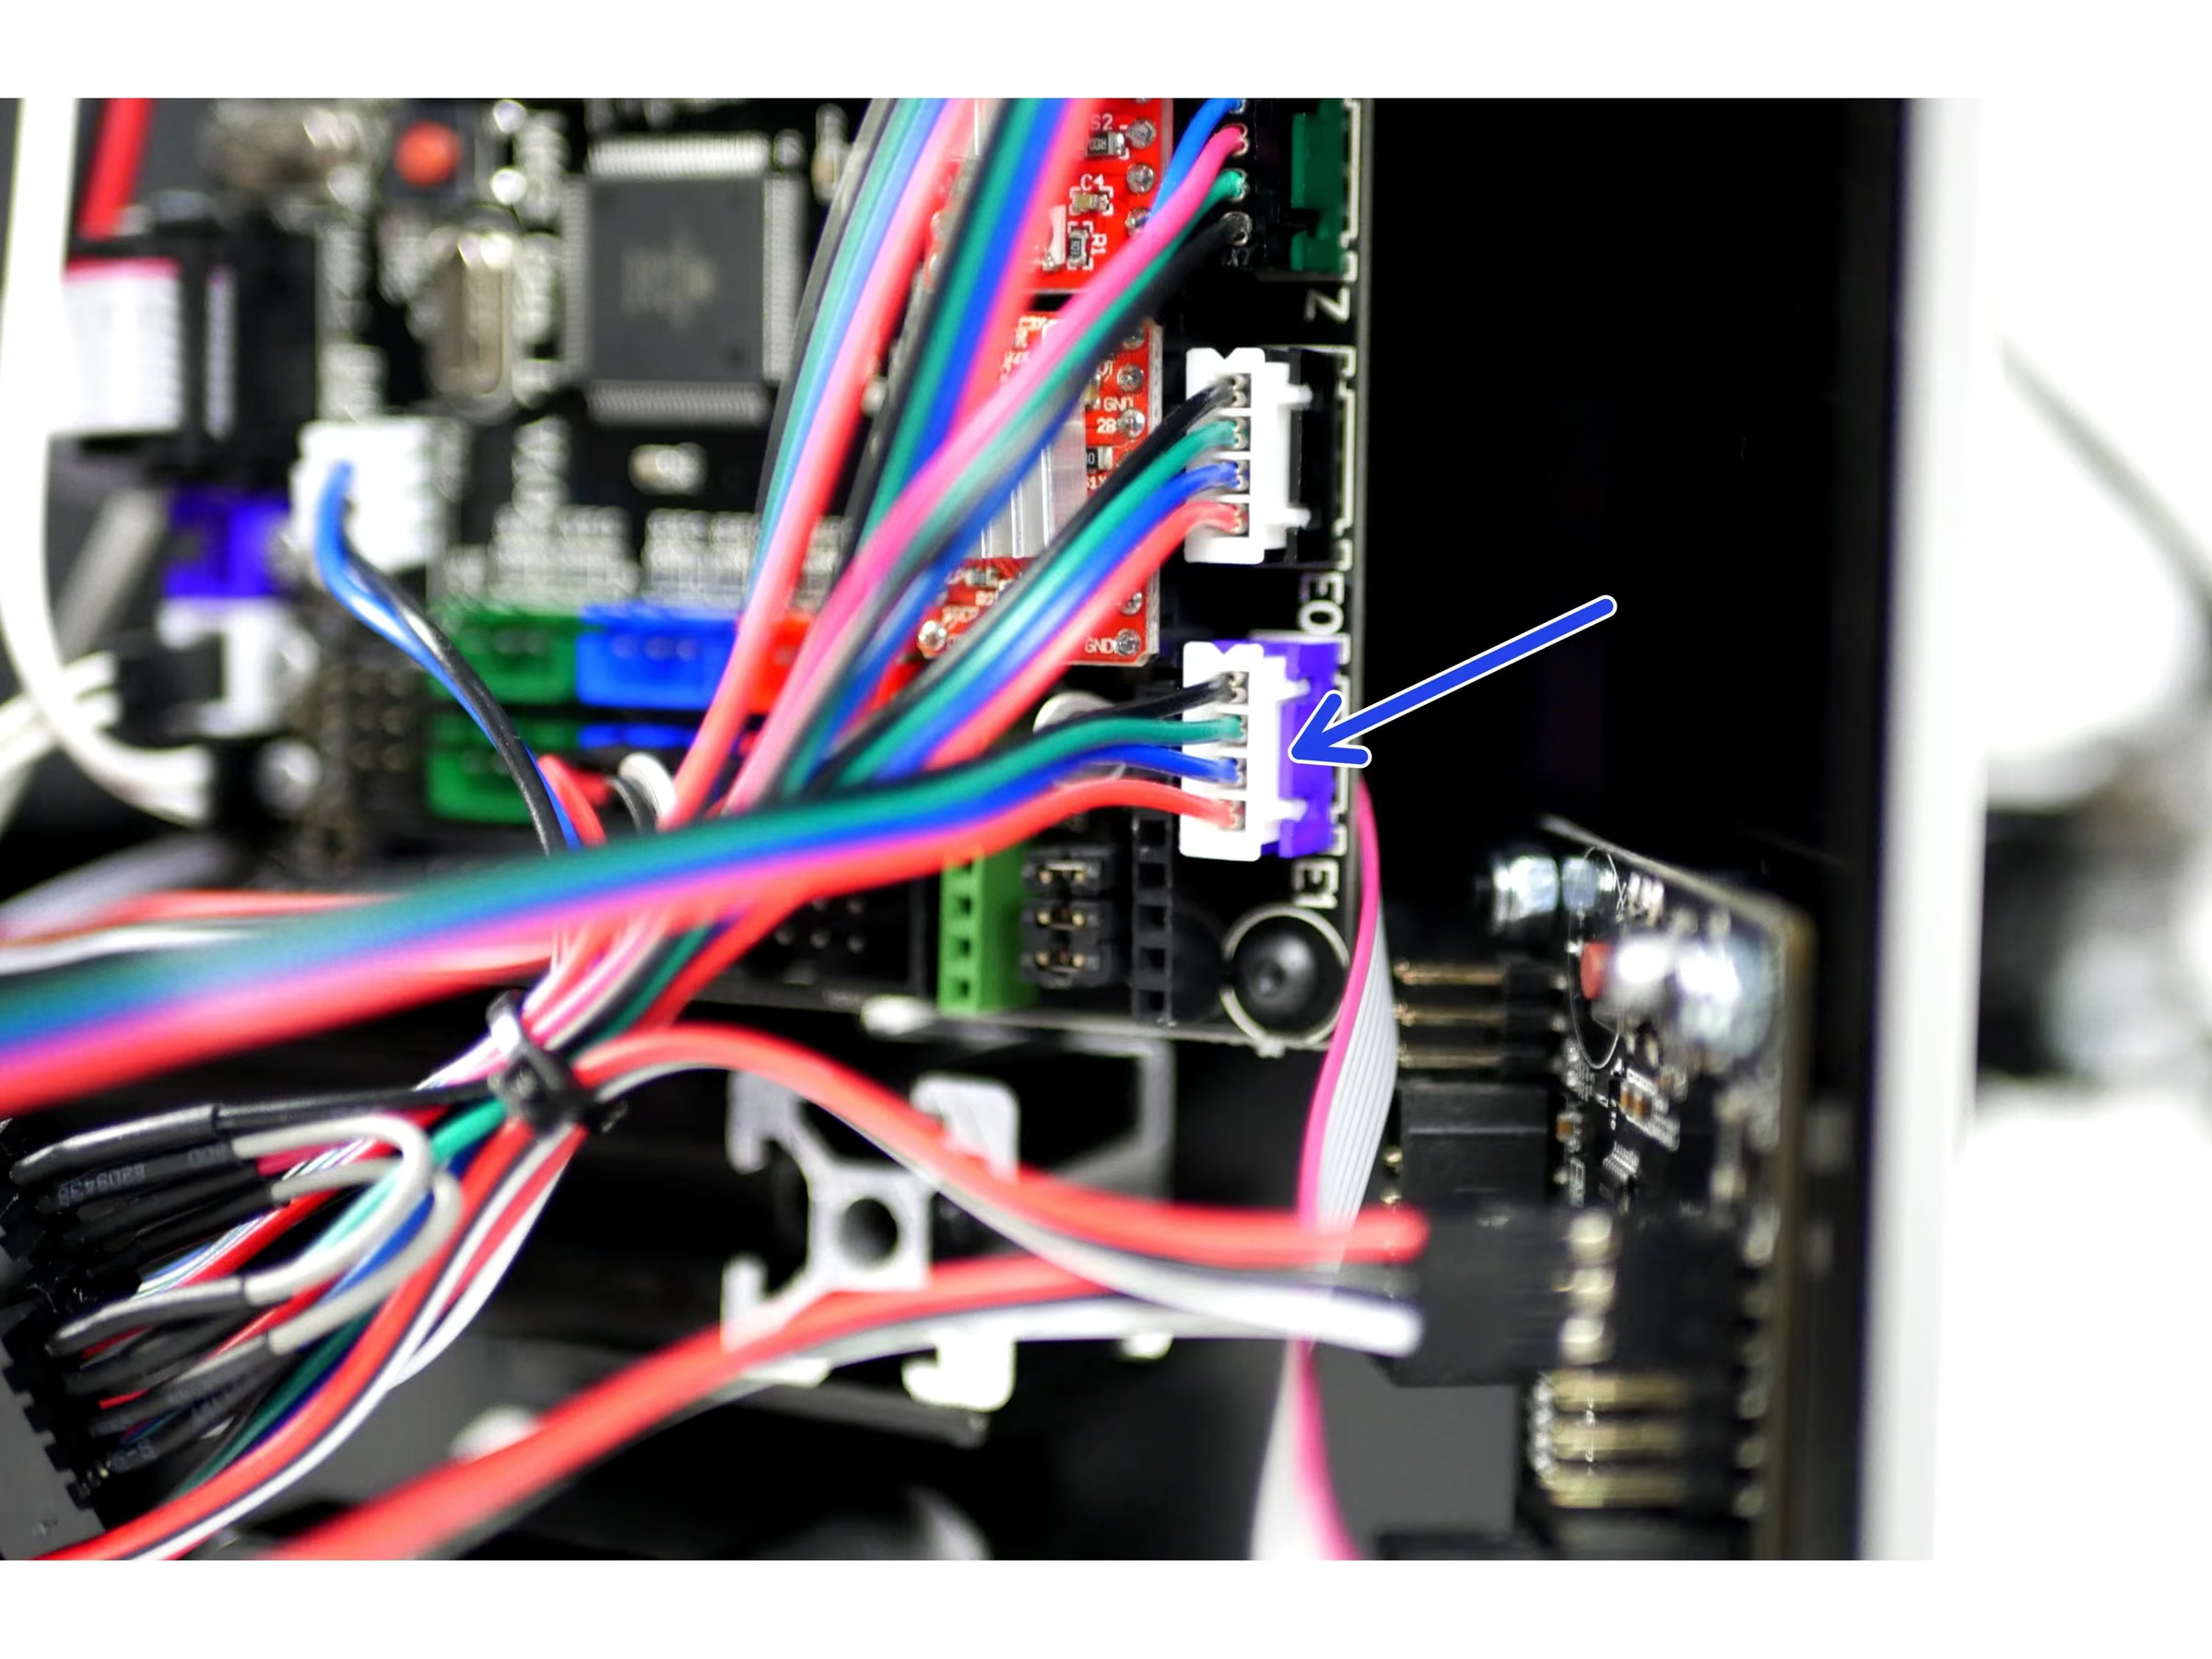
- Connect the 2nd extruder motor cable to the main board in the E1 position.
- Connect the 2nd filament sensor cable to the touch screen.
Loading comments…
Step 18 X-Motor
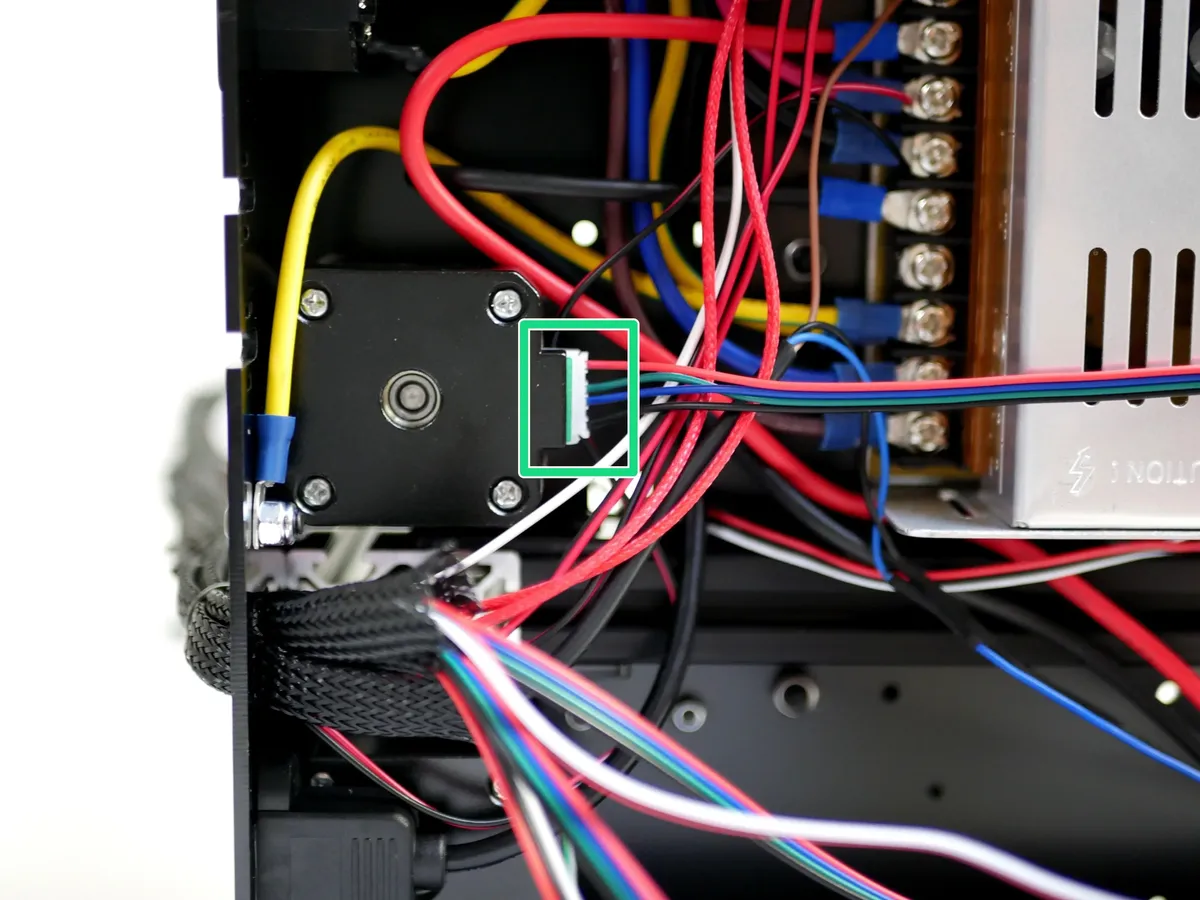
- Connect a motor cable to the X-motor.
- Connect the X-motor to the control board.
Loading comments…
Step 19 Z-Motors
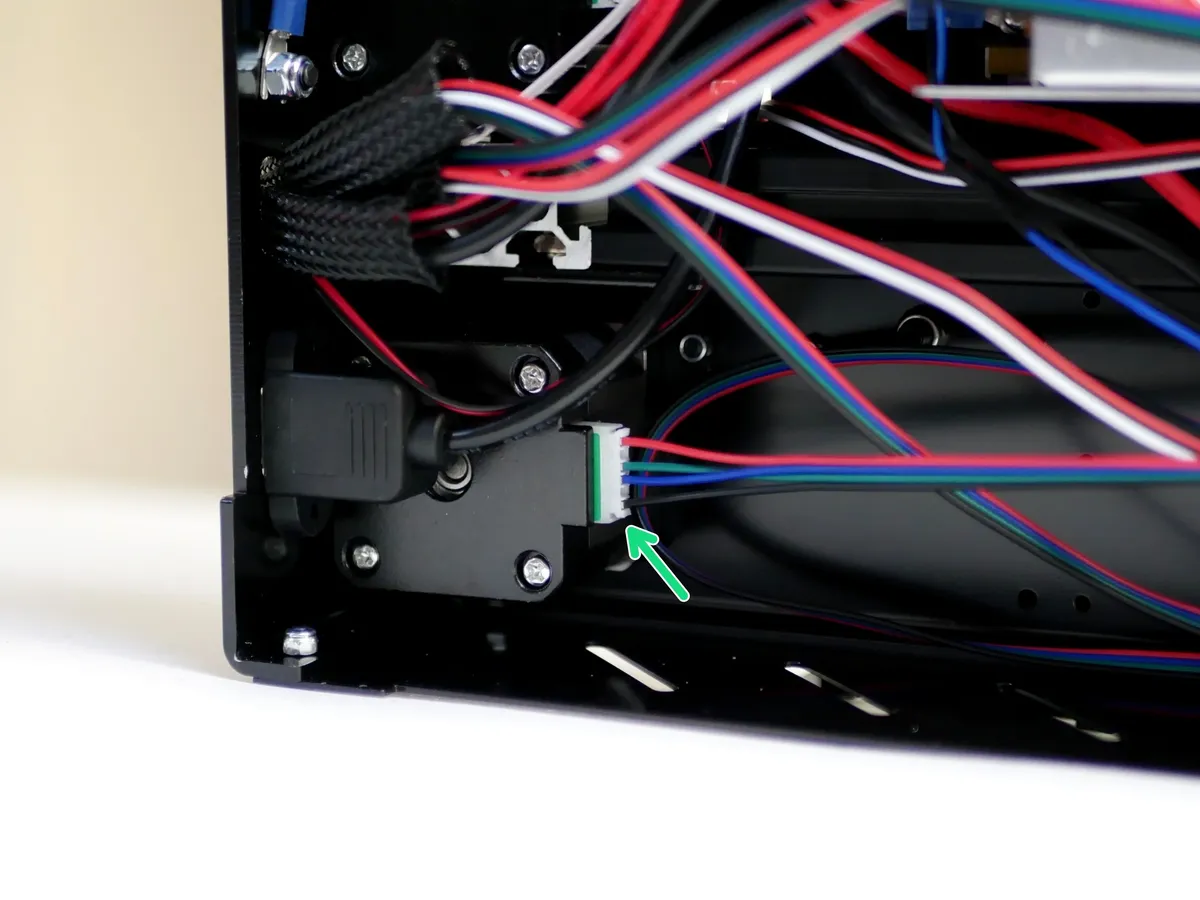
- Connect motor cables to both Z-motors.
Loading comments…
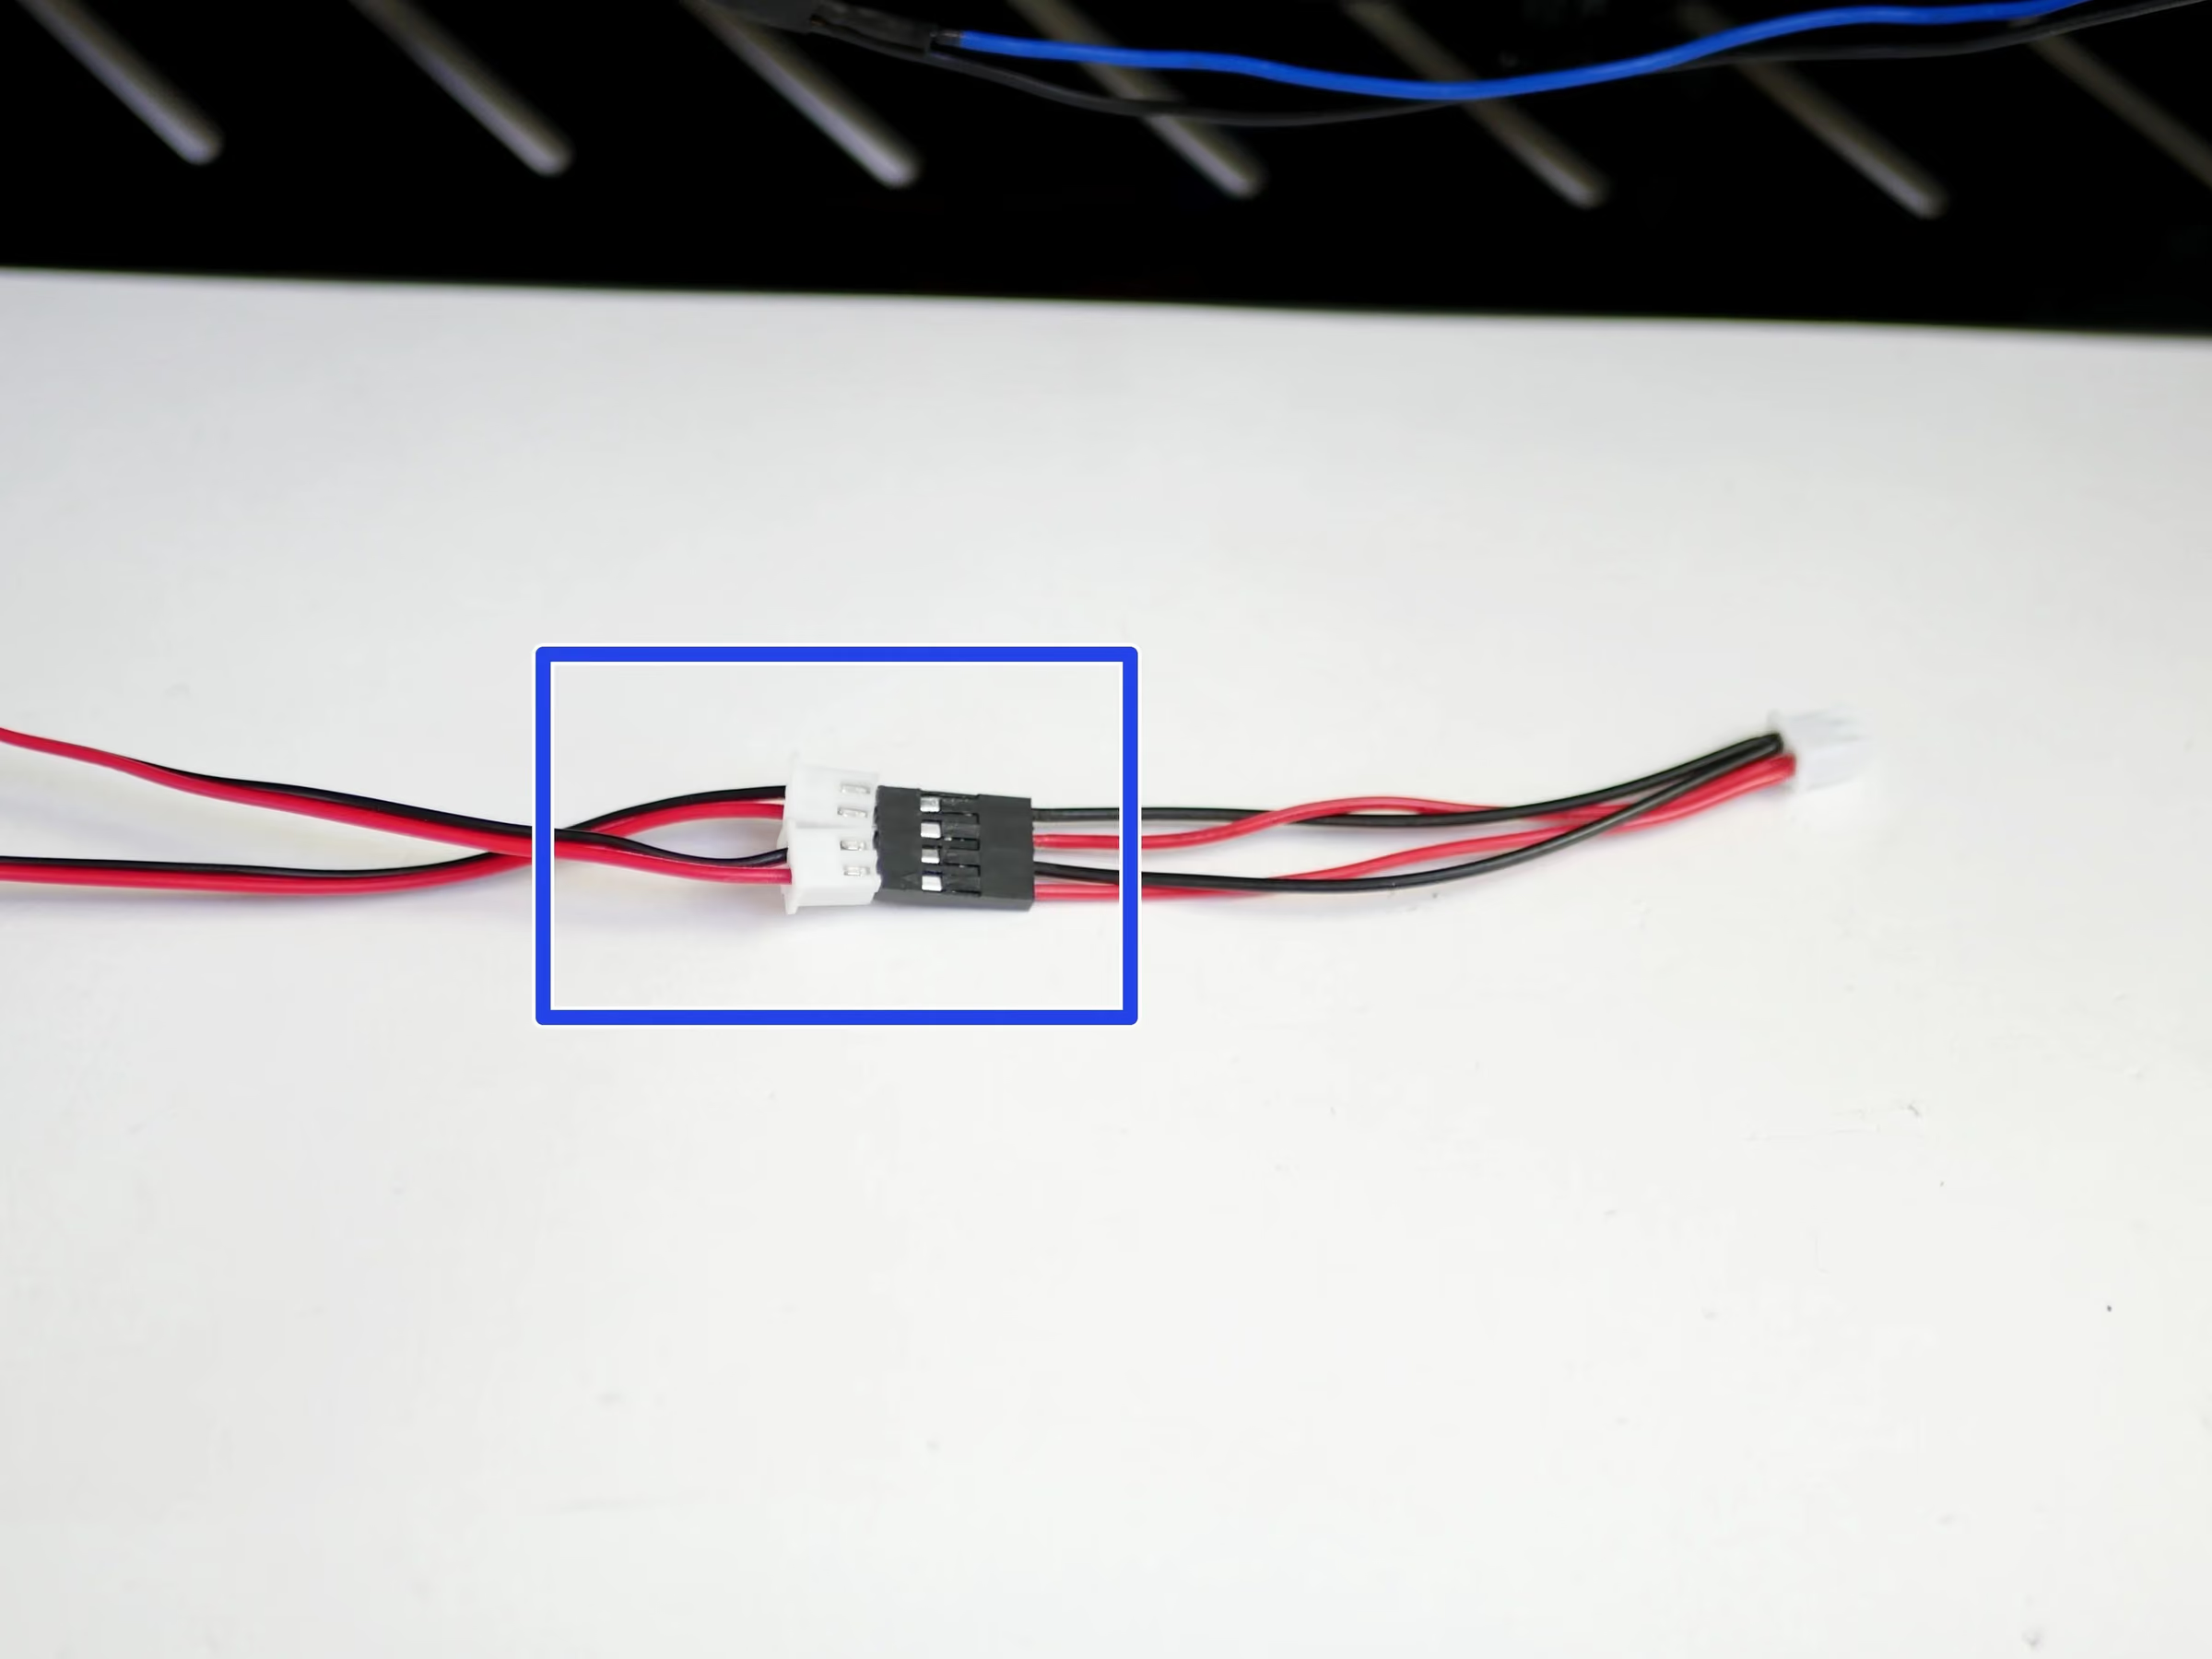
Step 20 Dual Z-Motor Adapter
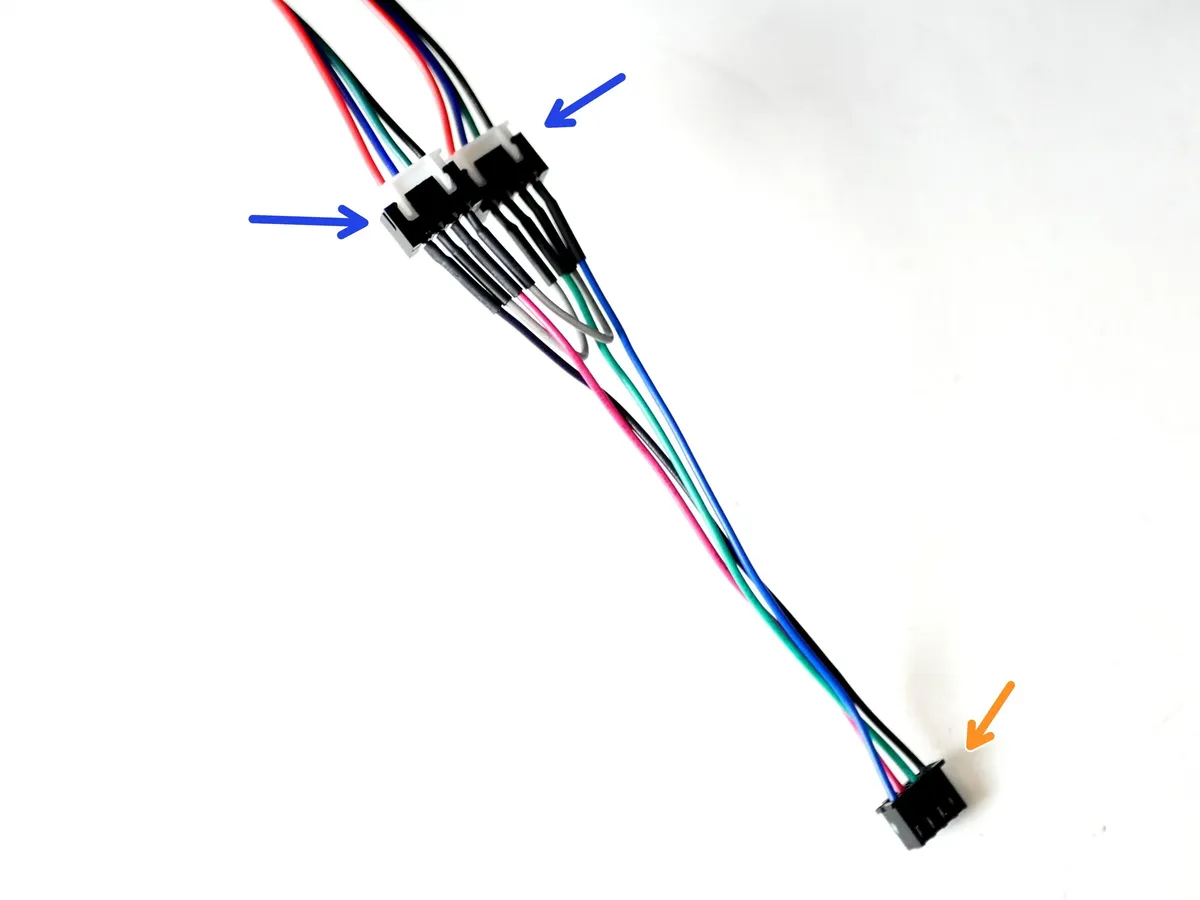
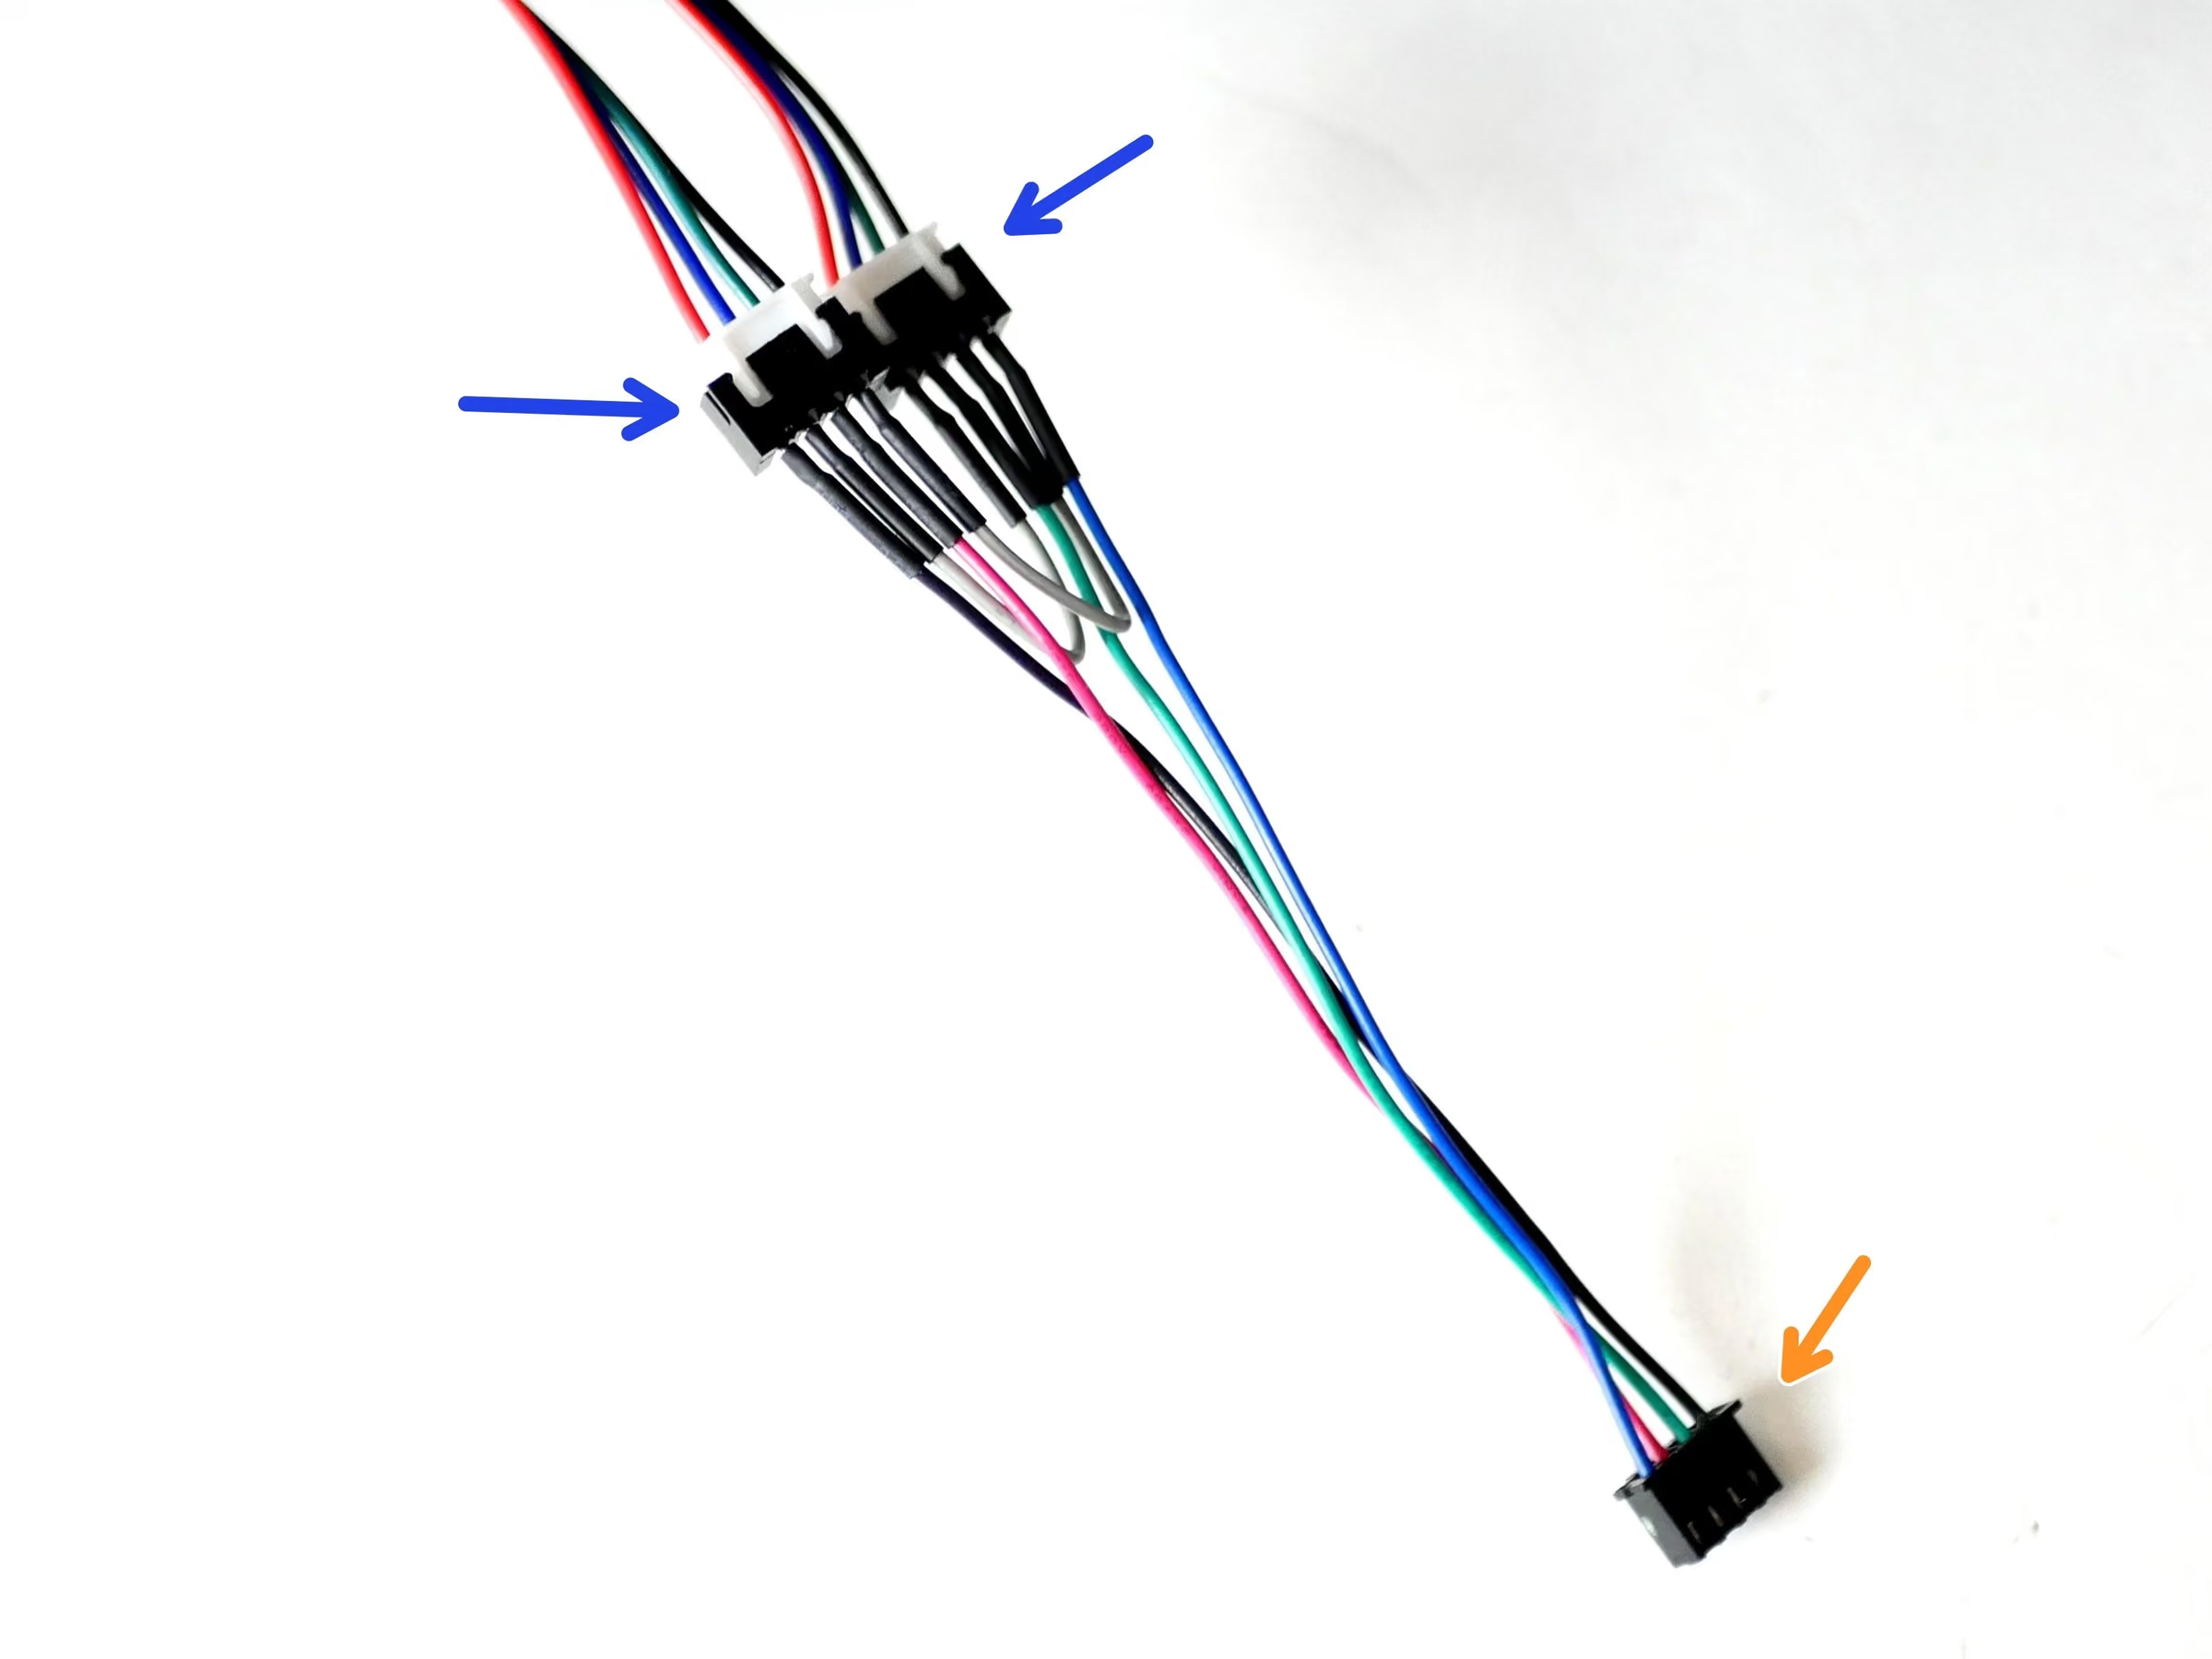
- Connect the other ends of the motor cables to the dual z-motor adapter.
- Caution: Make sure the the red cable is on the same side of the connector for both of the Z-motor Cables. If they are different swap with a cable from one of the other motors.
- Connect the adapter to the Z-motor position on the control board.
Loading comments…
Step 21 DSH: Servo Cable
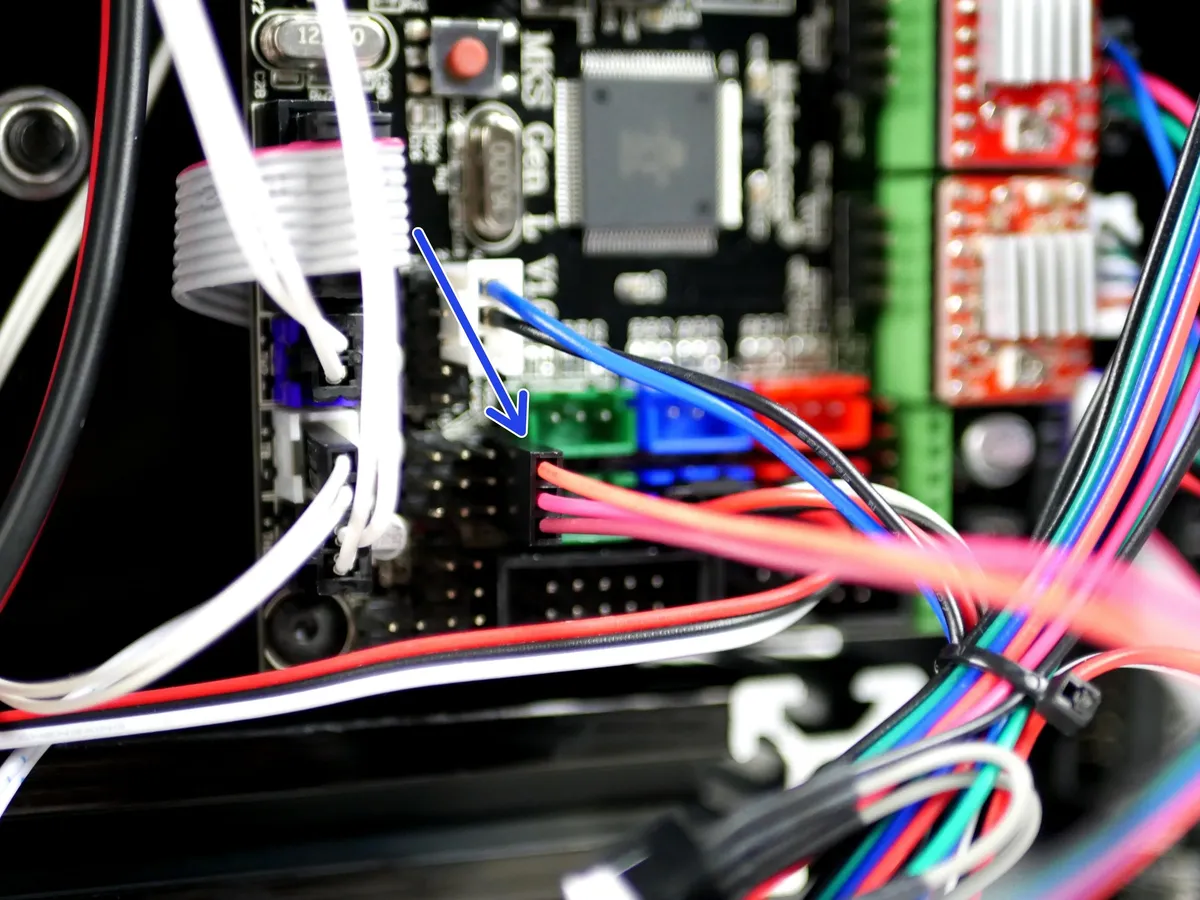
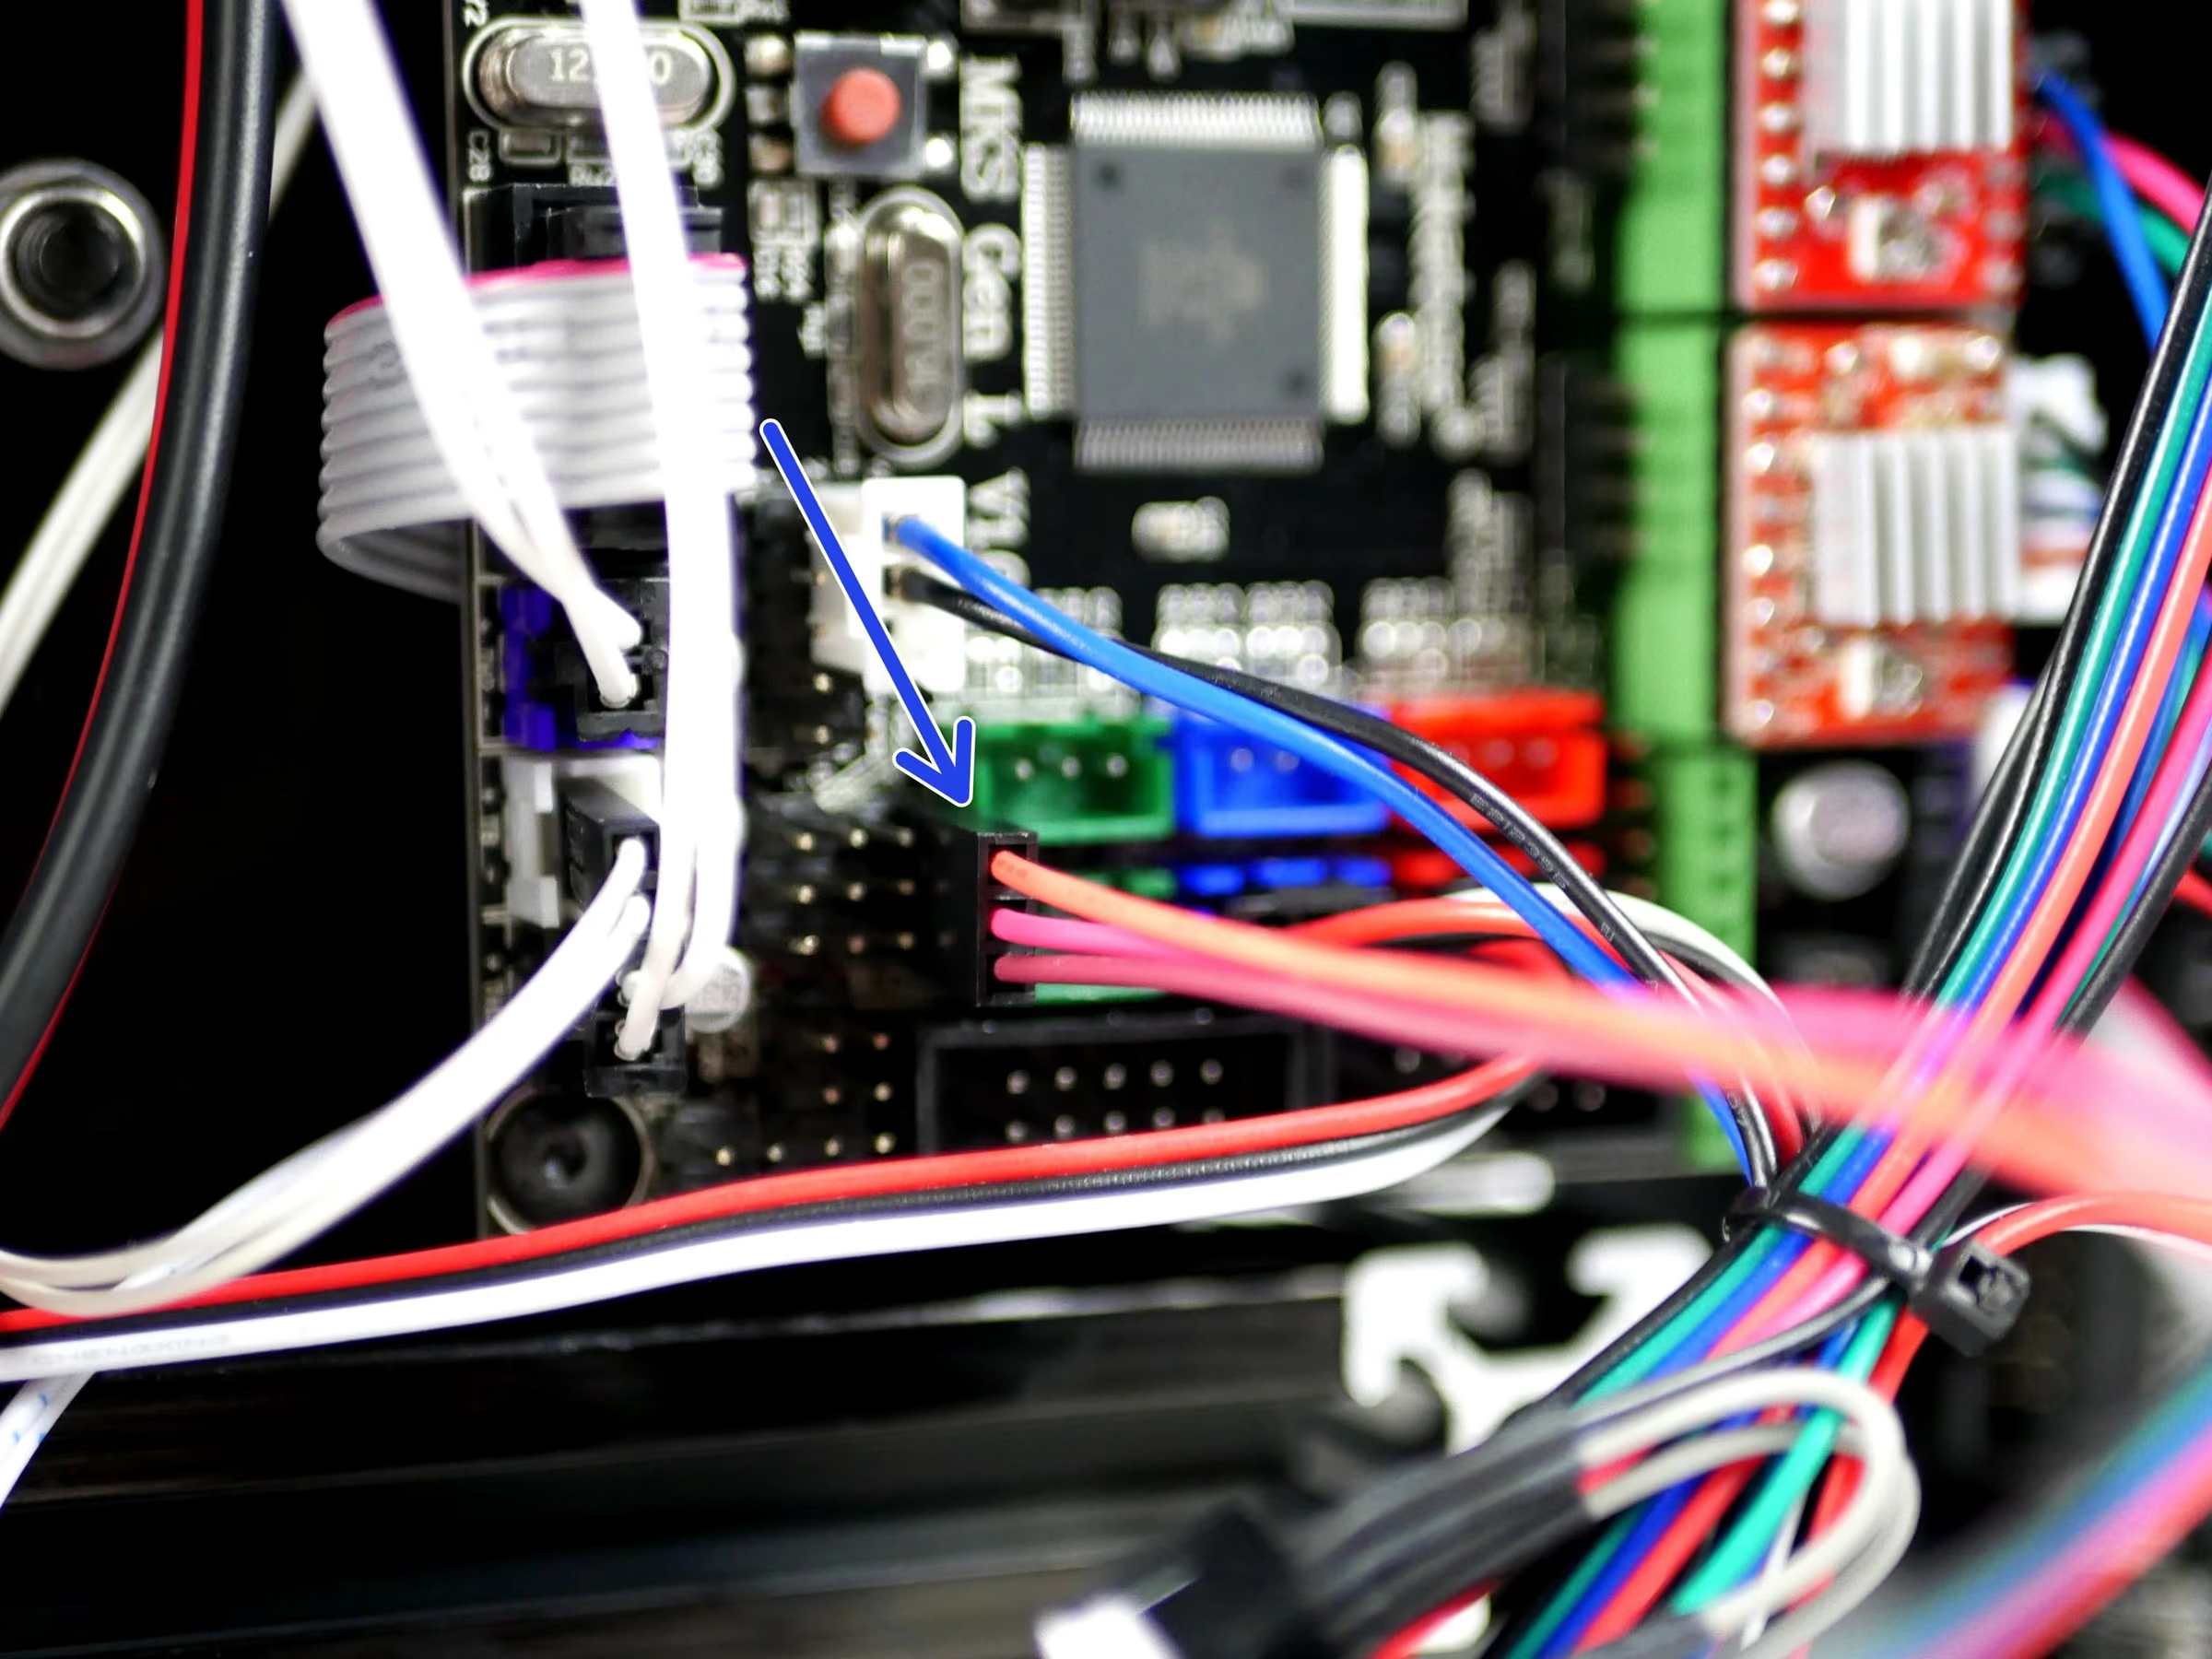
- Connect the servo cable to the electronics board like shown.
Loading comments…
Step 22 Tidying the Cables
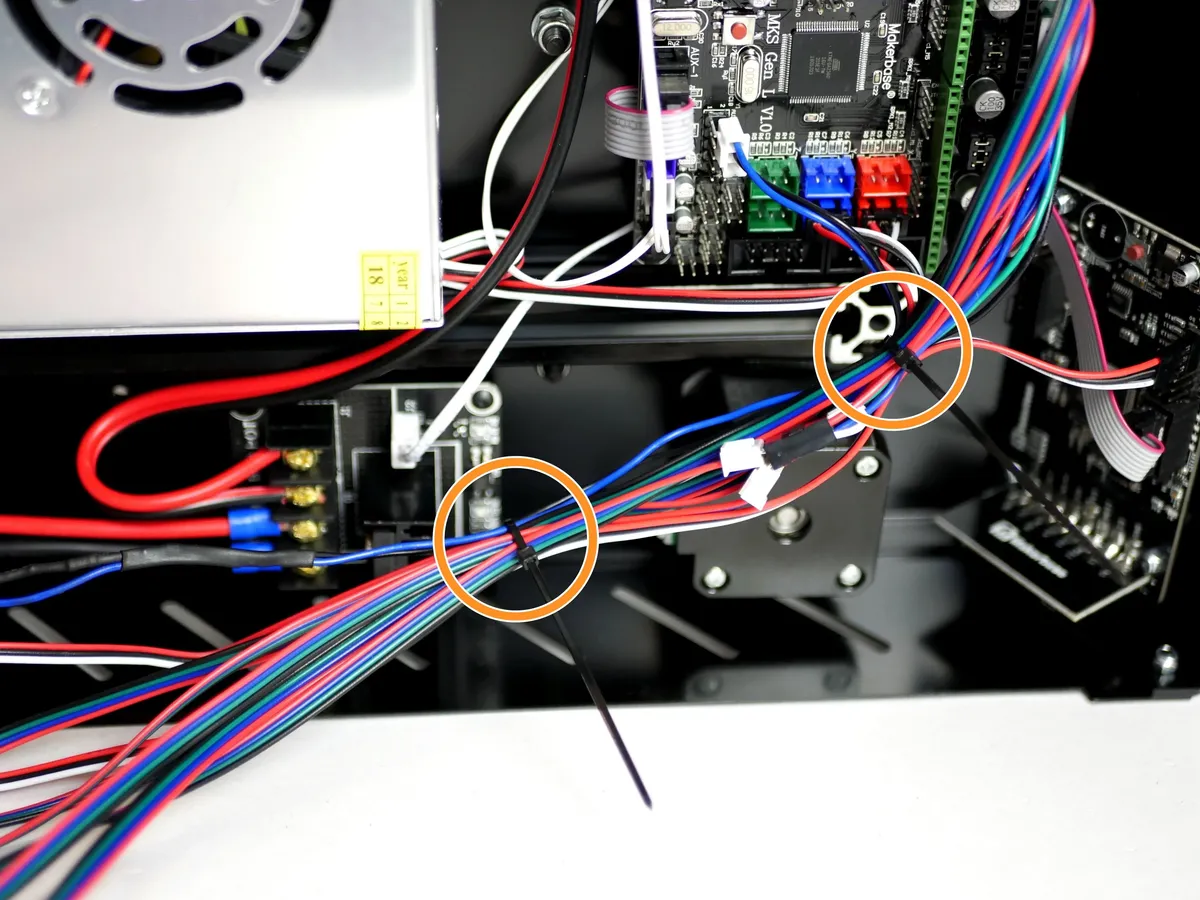
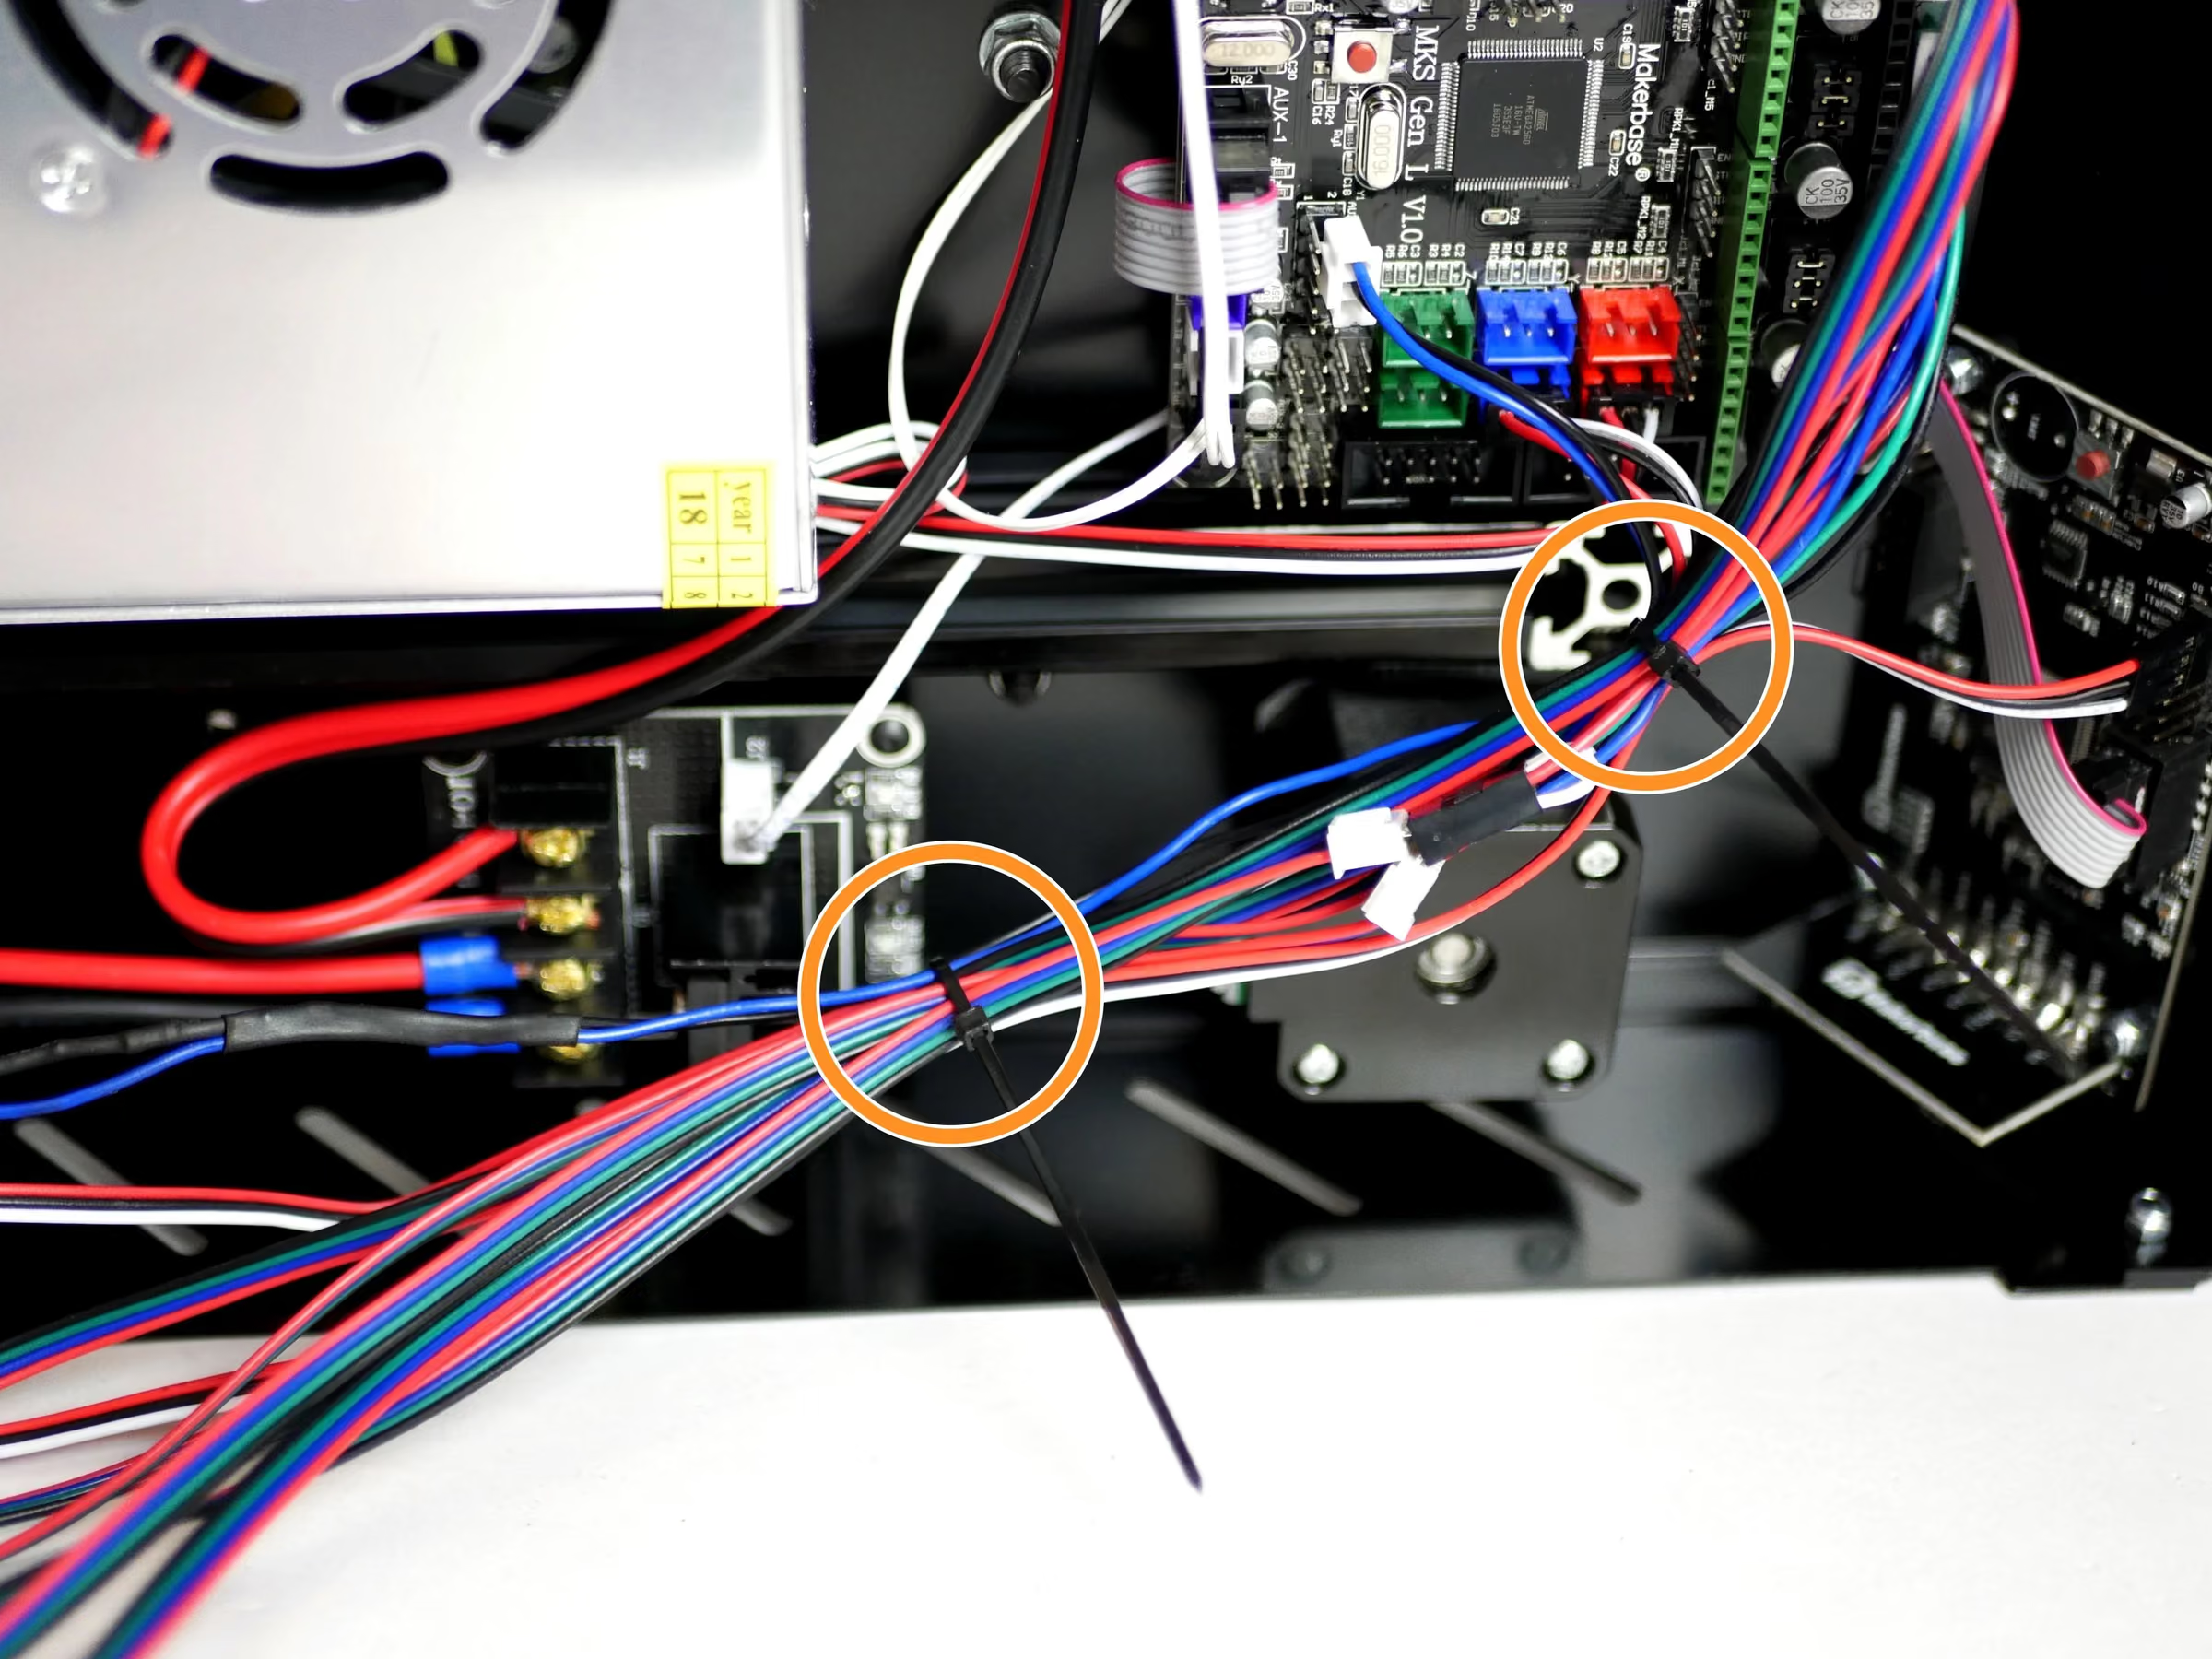
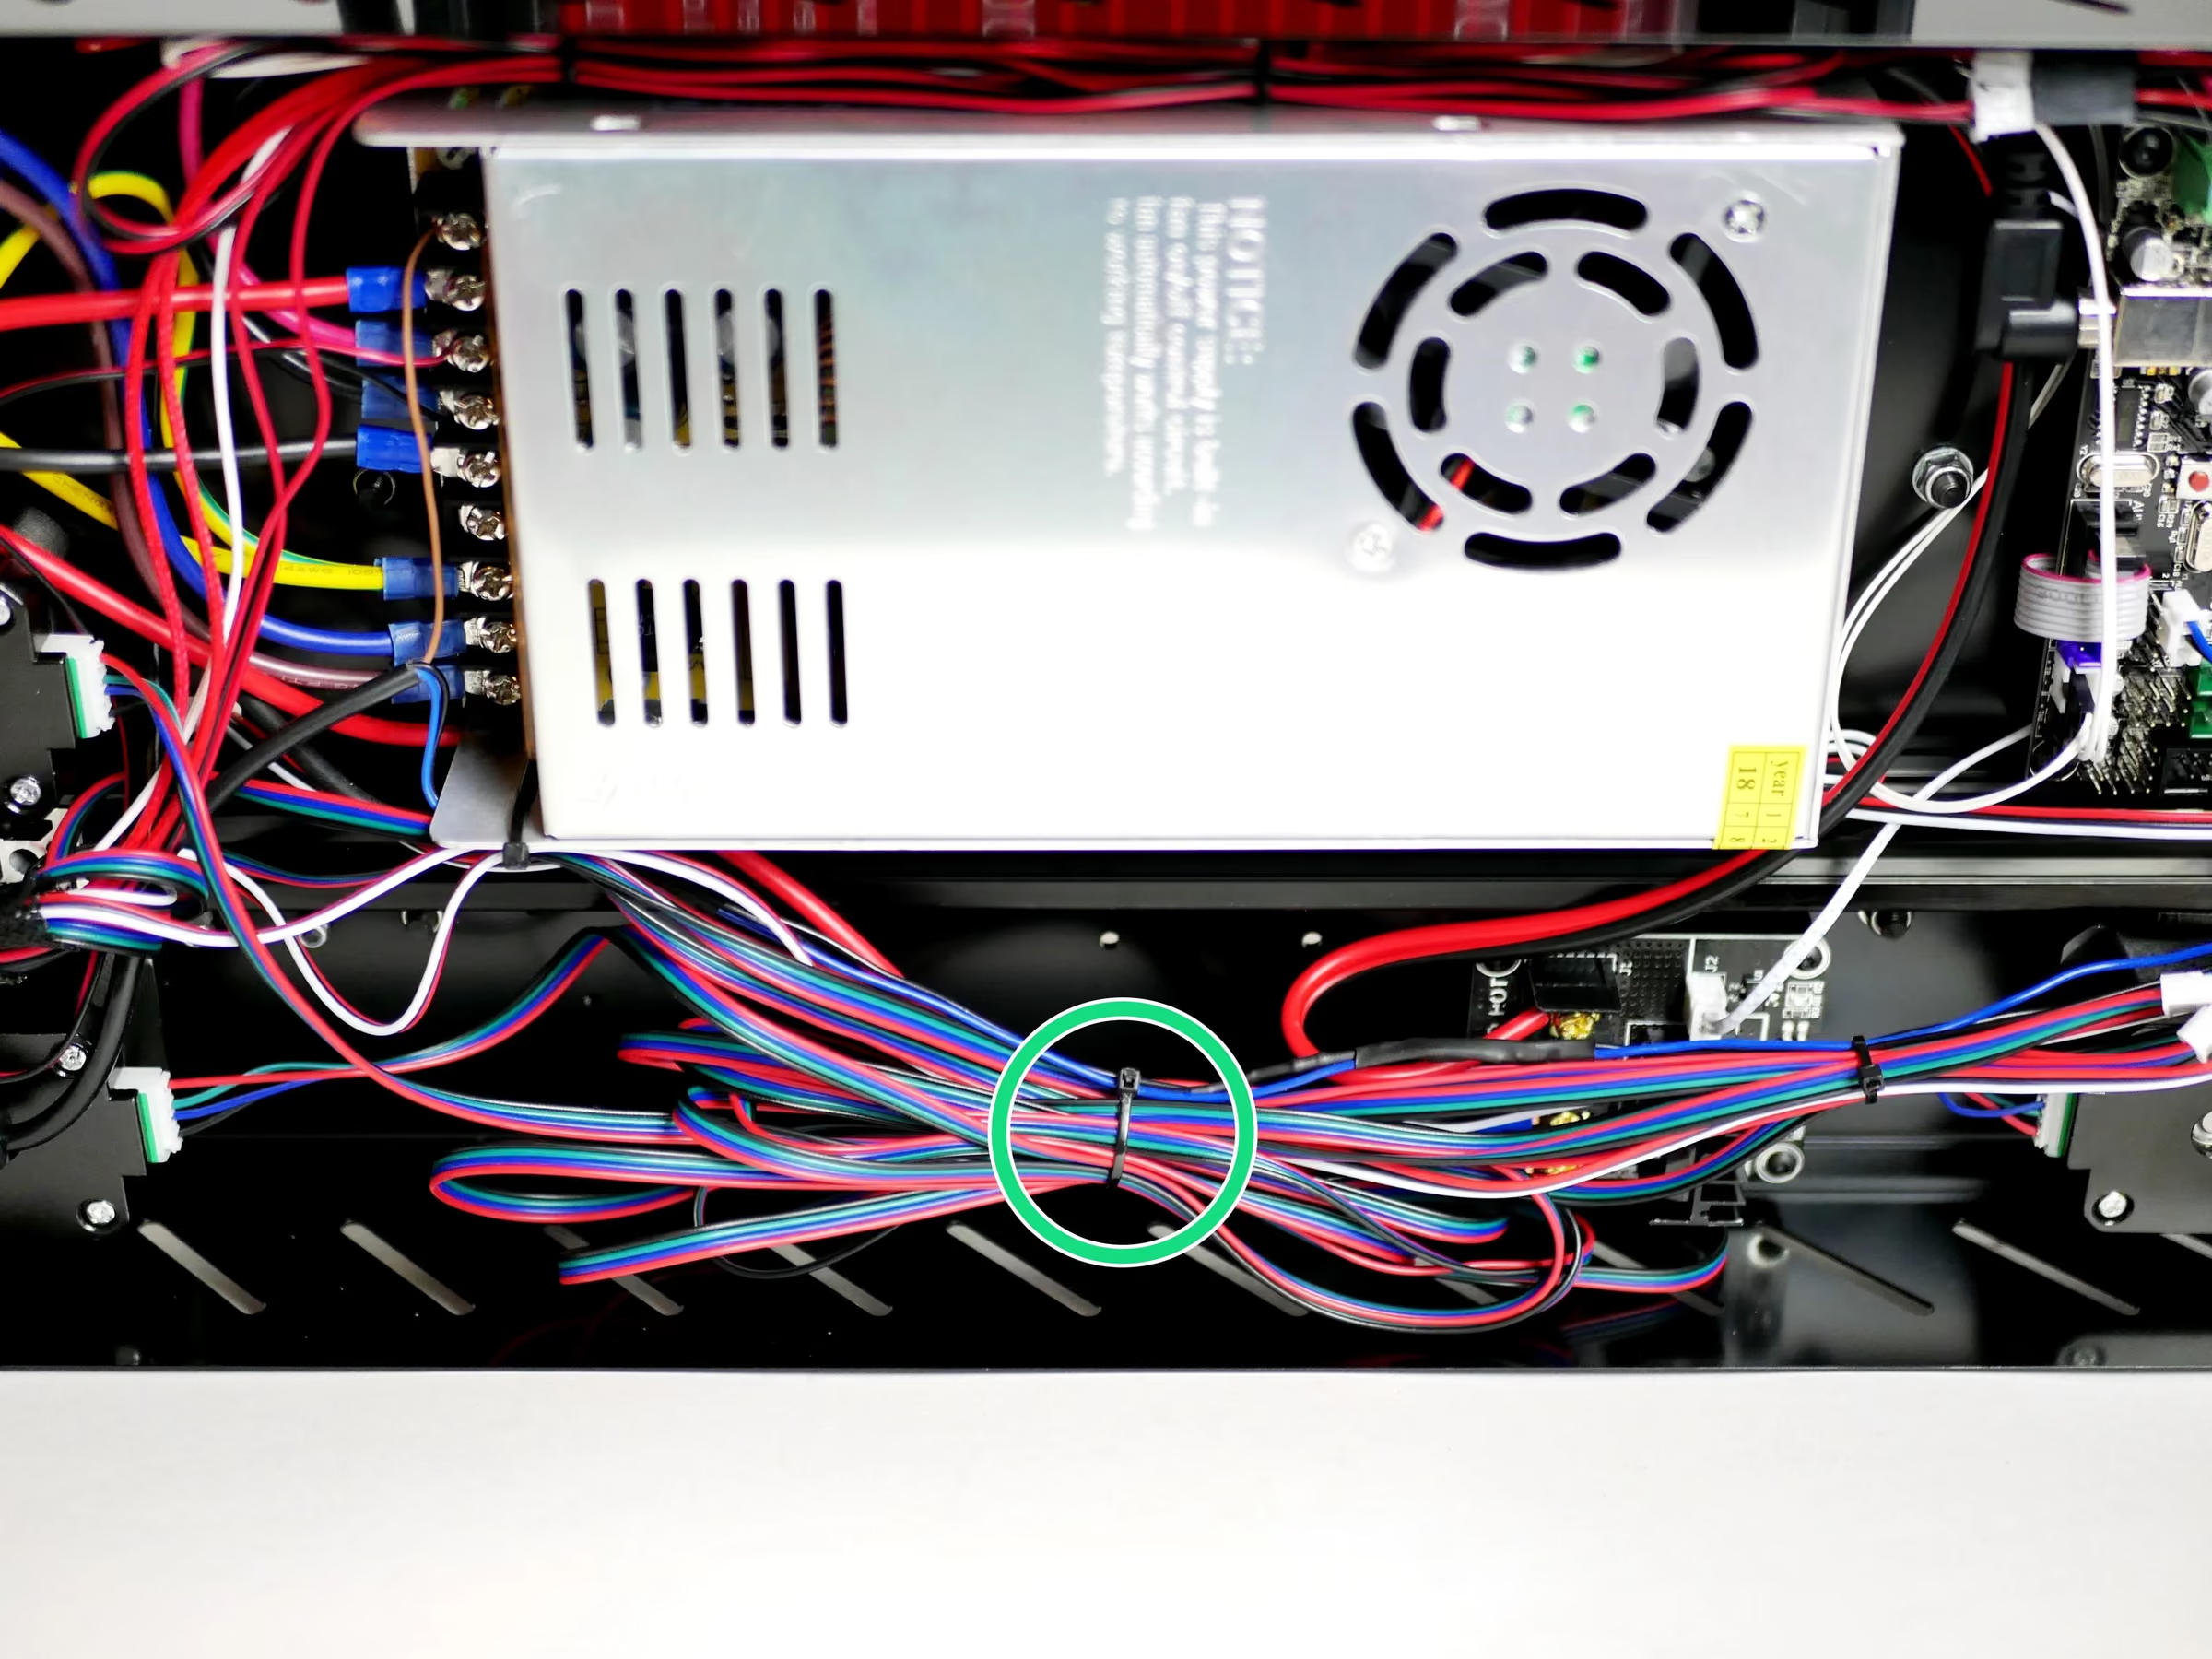
- Use cable ties to tidy up the cables like shown.
- Lay the cables out and cable tie the shorter bunch to the side of the power supply.
Loading comments…
Step 23 Tidying the Cables Cont.
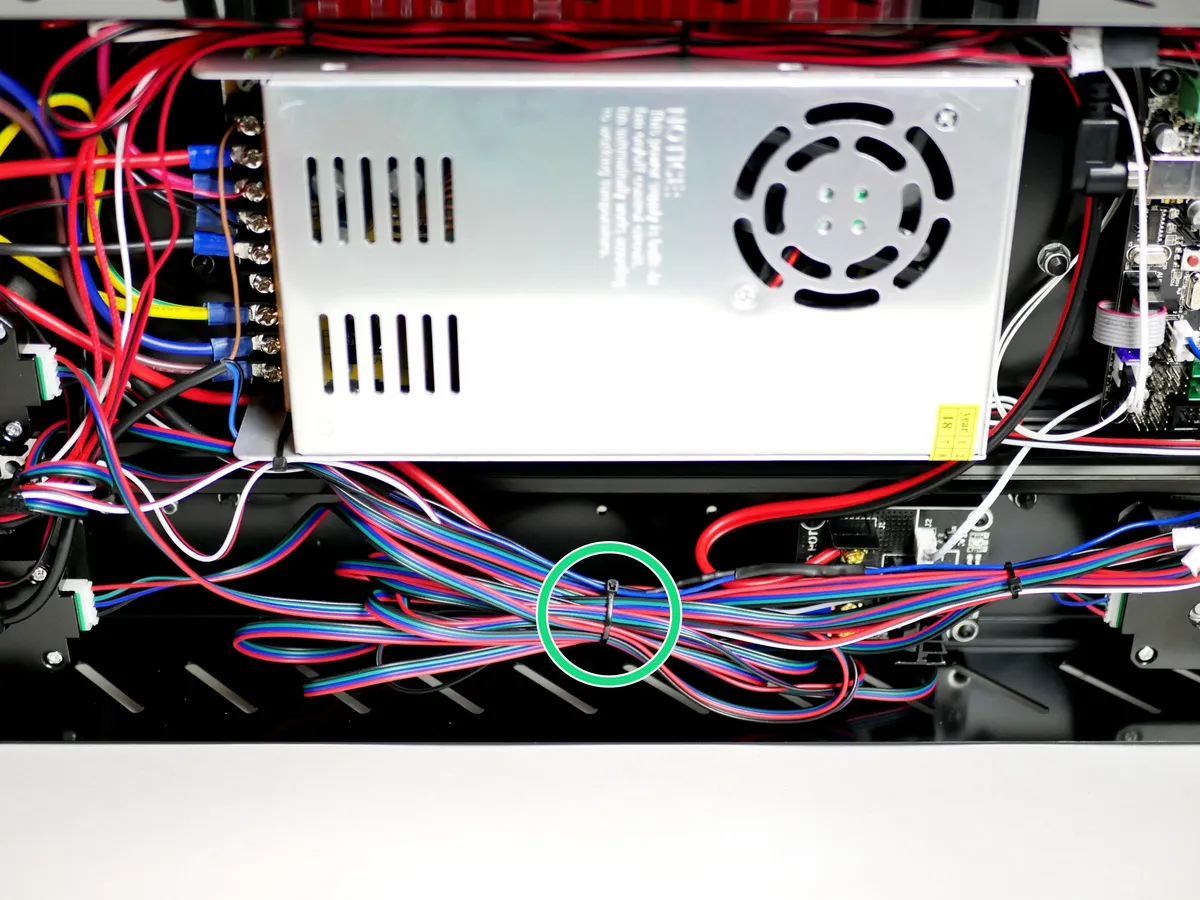
- Loop up the remaining longer cables and cable tie together.
- Cable tie the cables near the entry hole on the Base.
- Caution: Make sure there are no sharp bends in any of the cables.
Loading comments…
Step 24 Stepper Driver Jumpers
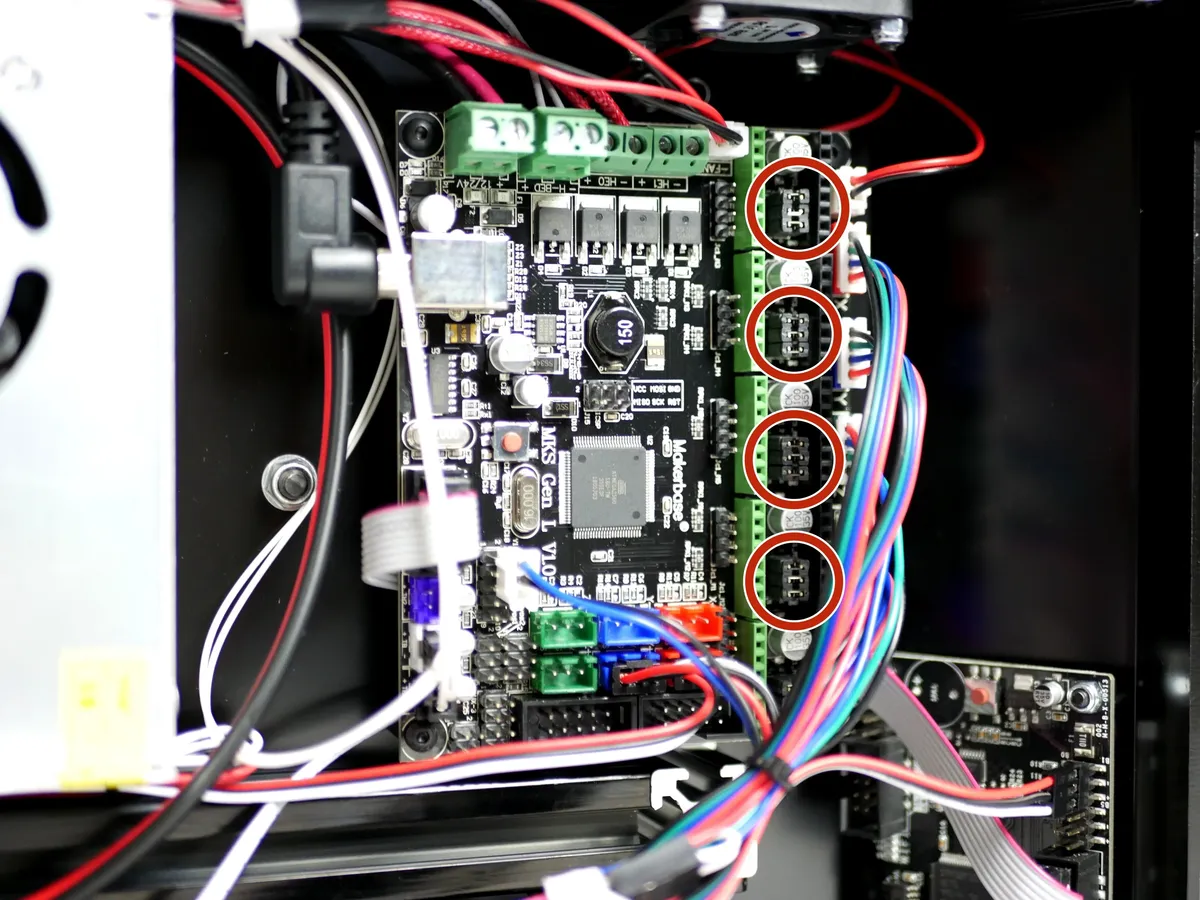
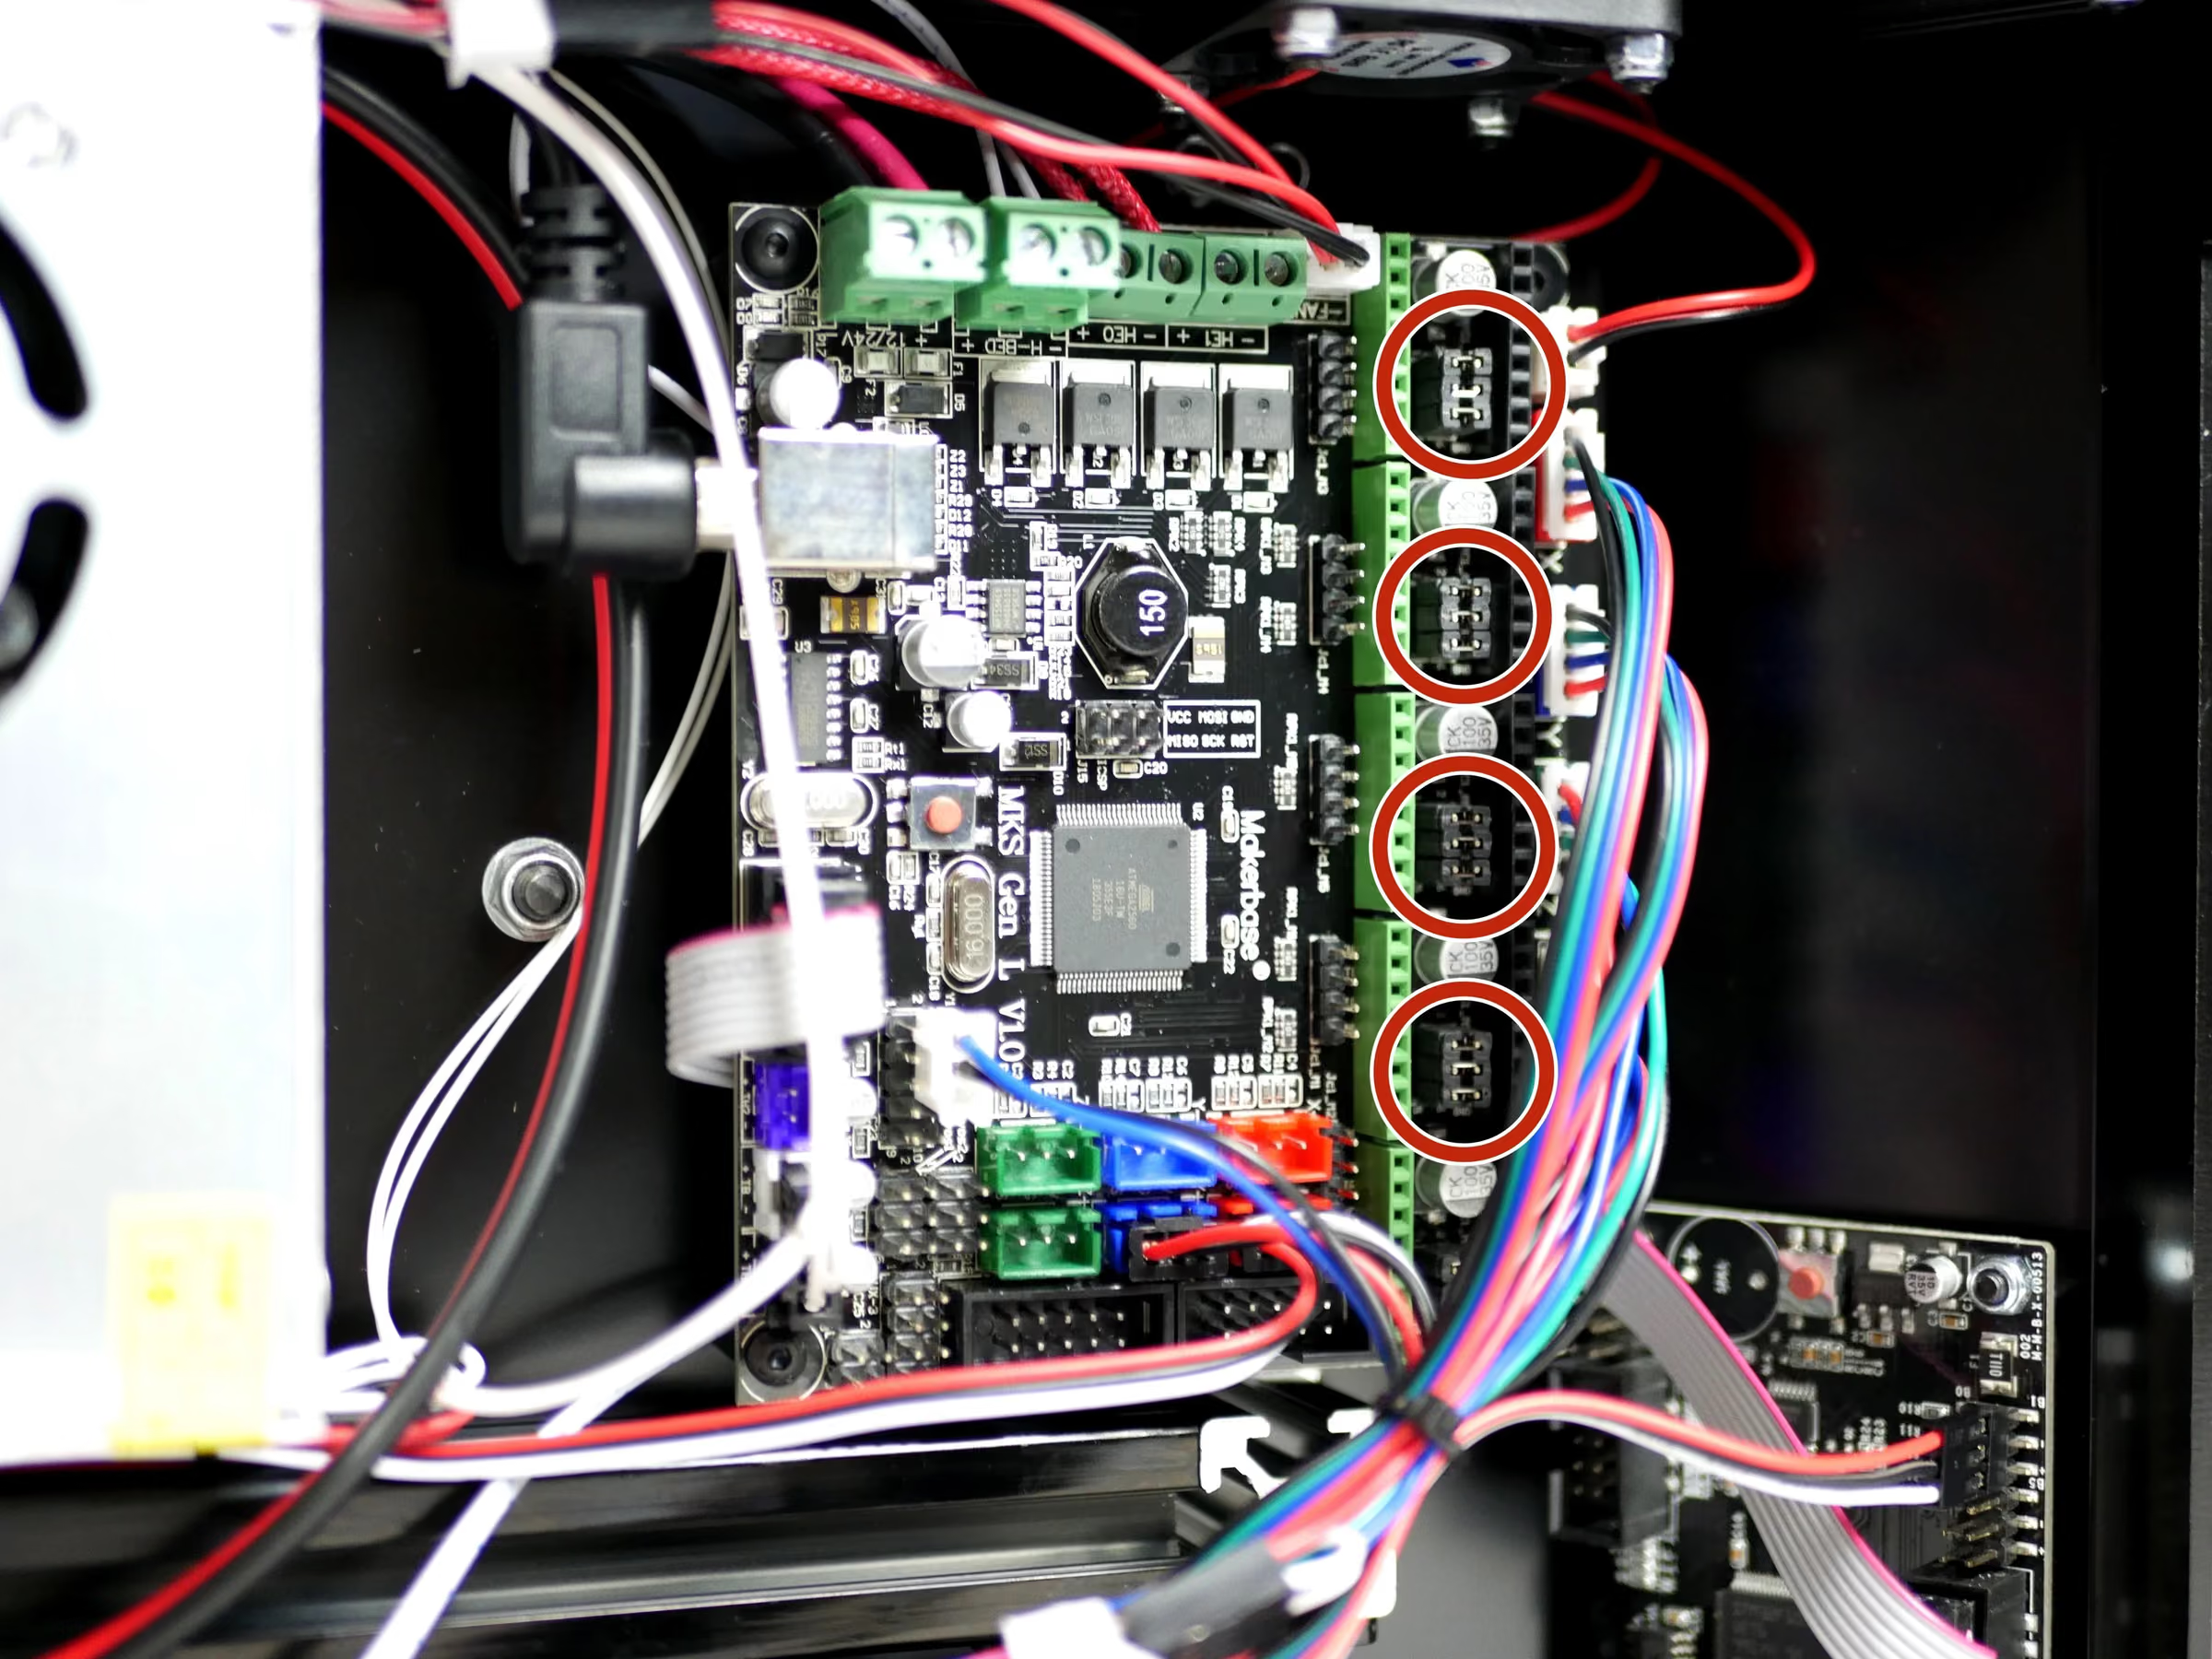
- Before installing the stepper drivers check that there are three jumpers at each of the stepper positions, like shown in the image.
- Note: Some boards will have these already installed, others won't. They should be in a small bag in the mainboard packaging.
Loading comments…
Step 25 Stepper Drivers
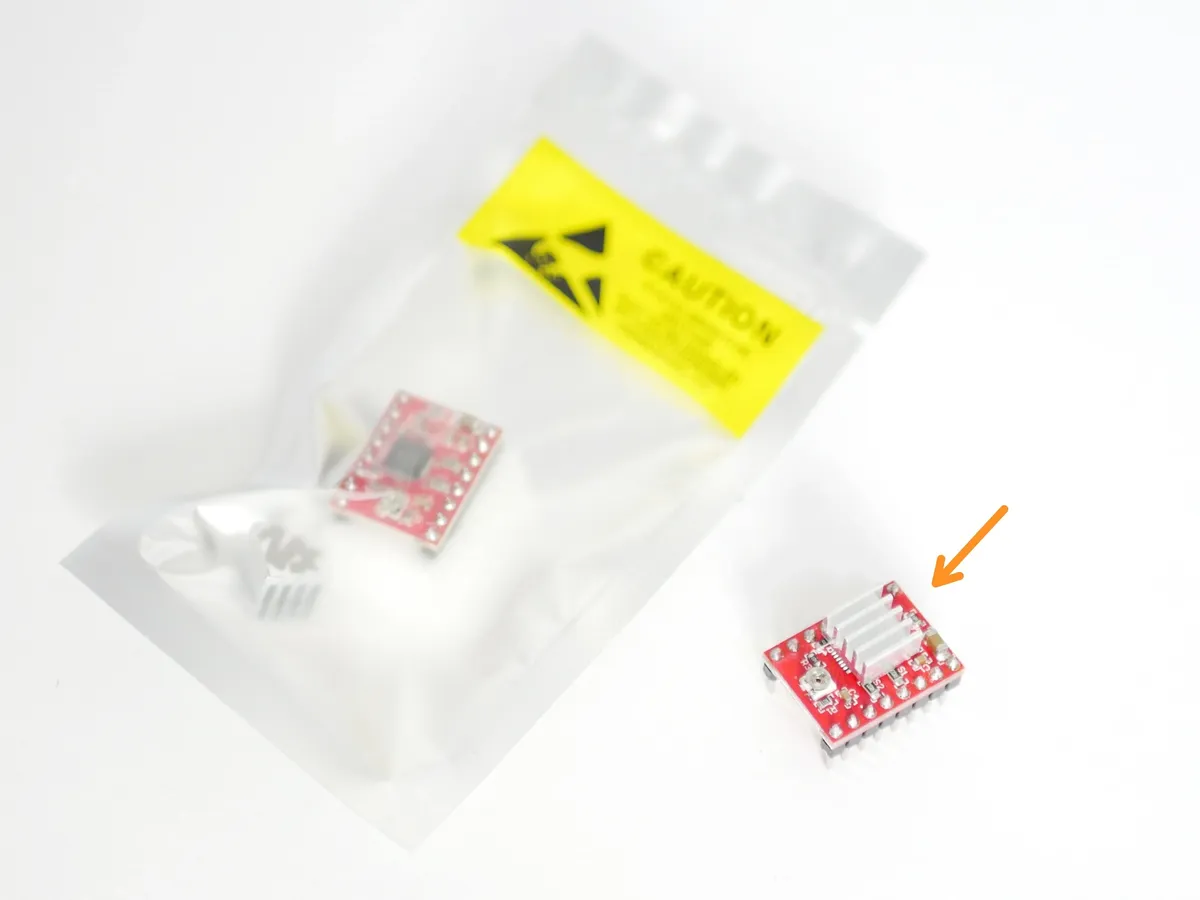
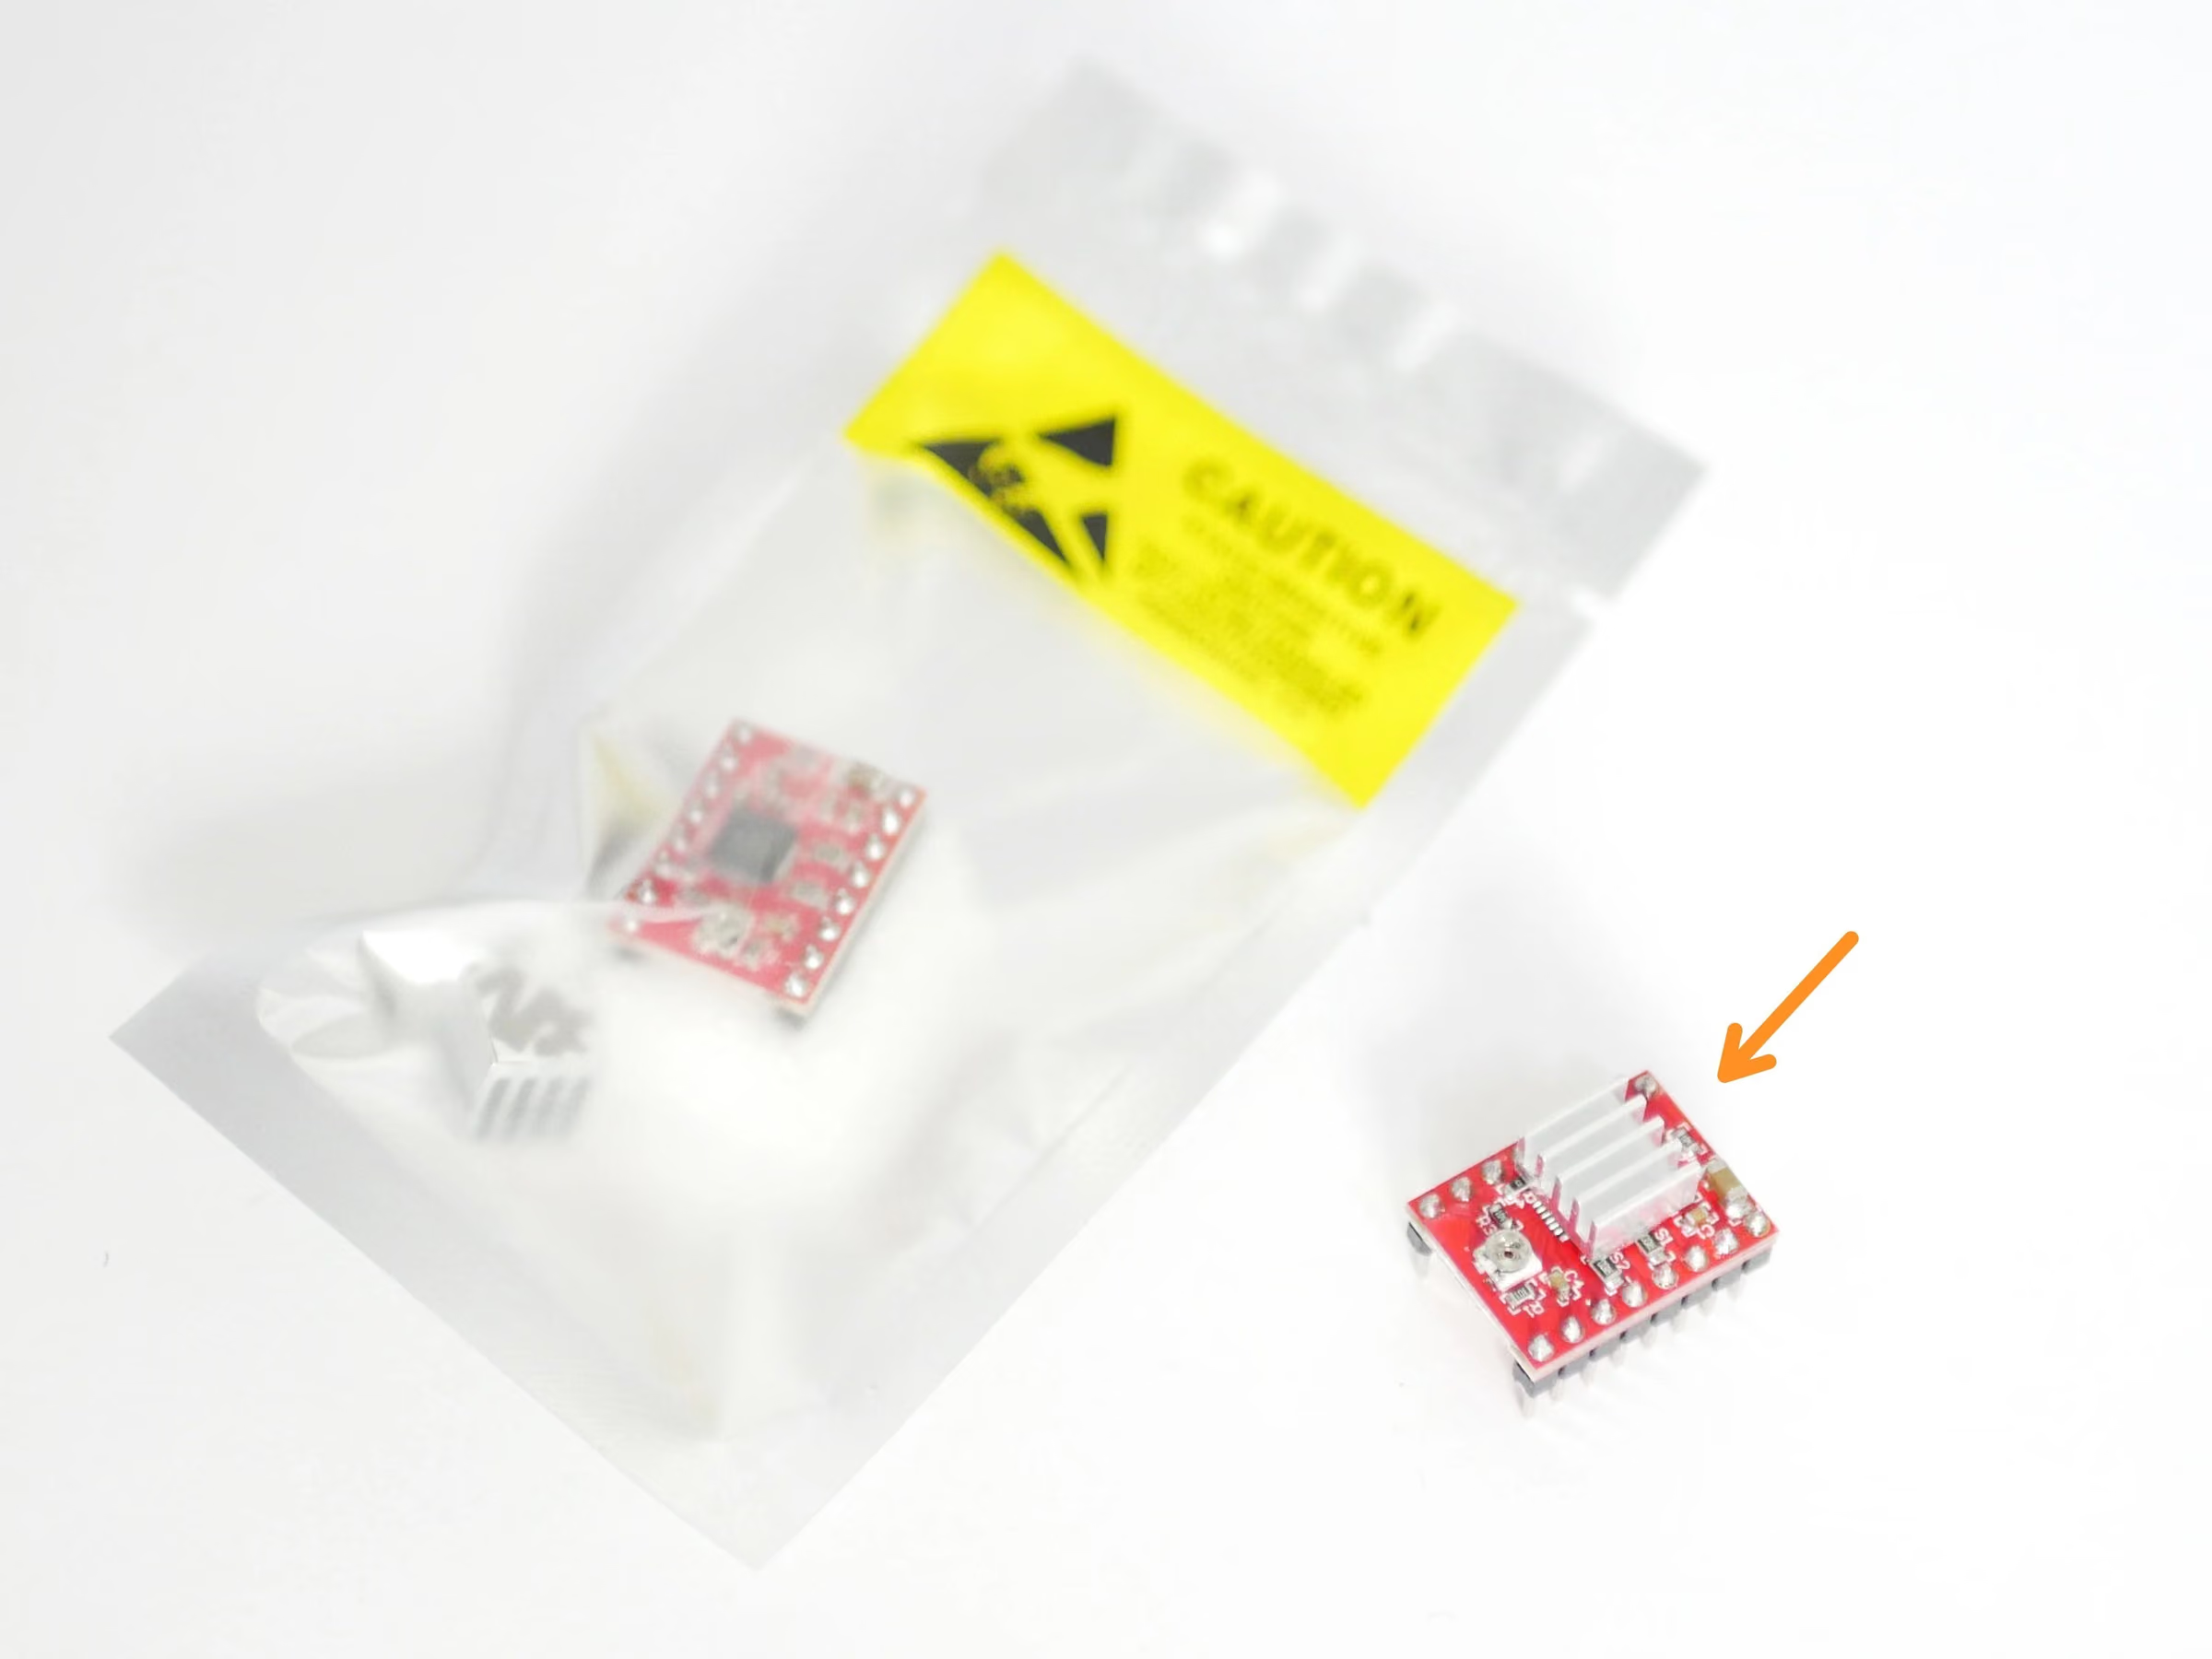
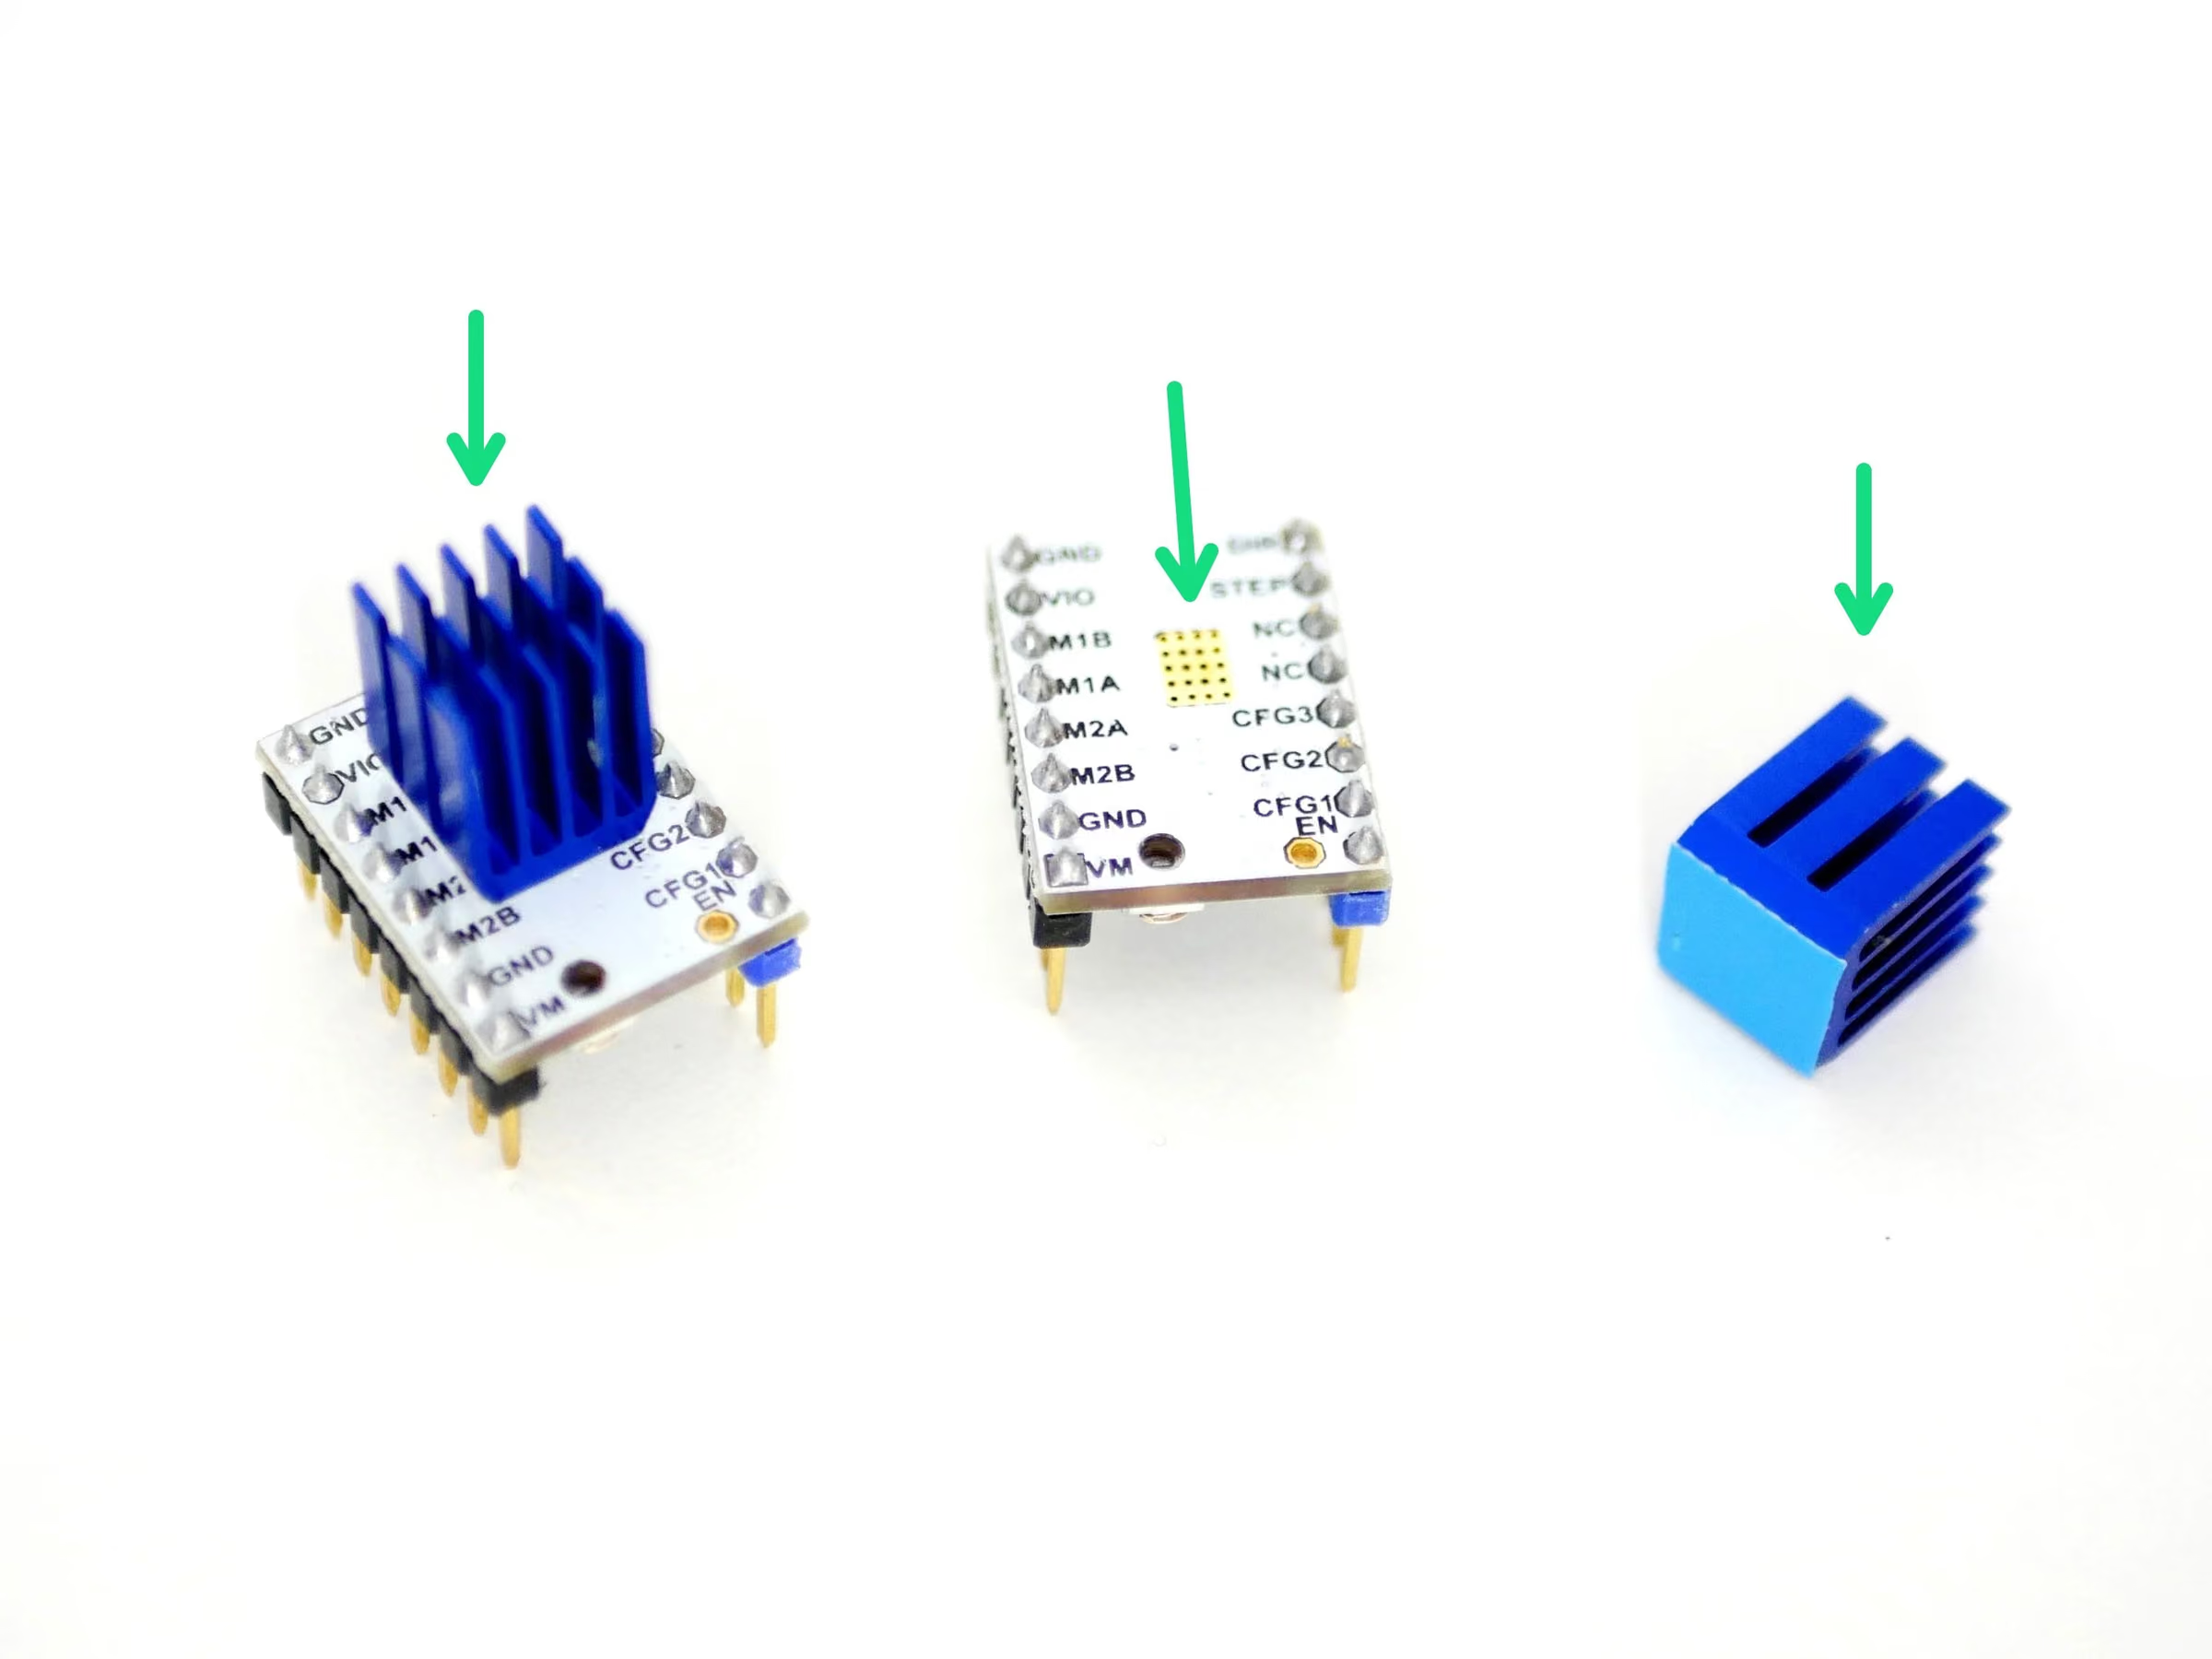
- Prepare two of the A4988 Stepper Drivers by removing them from their packaging and sticking the heatsink to the black chip.
- Caution: Make sure that the heatsink is not touching any of the pins. Orient the fins of the heatsink as shown.
- Reminder: The kit also includes one spare A4988 Stepper Driver.
- Z-Axis Stepper: Adjust the trimpot so that flat side is pointing towards the bottom left corner as shown in the second photo.
- E-Axis Stepper: Adjust the trimpot so that flat side is pointing left as shown in the second photo.
- Note: Fix the two Stepper Drivers onto the the control board as shown in the Z and E0 positions.
- Caution: Make sure that the screw trimpot side of the stepper drivers is pointing towards the touch screen. Installing a stepper driver the wrong way round will destroy it.
Loading comments…
Step 26 Stepper Drivers - Proforge 2S
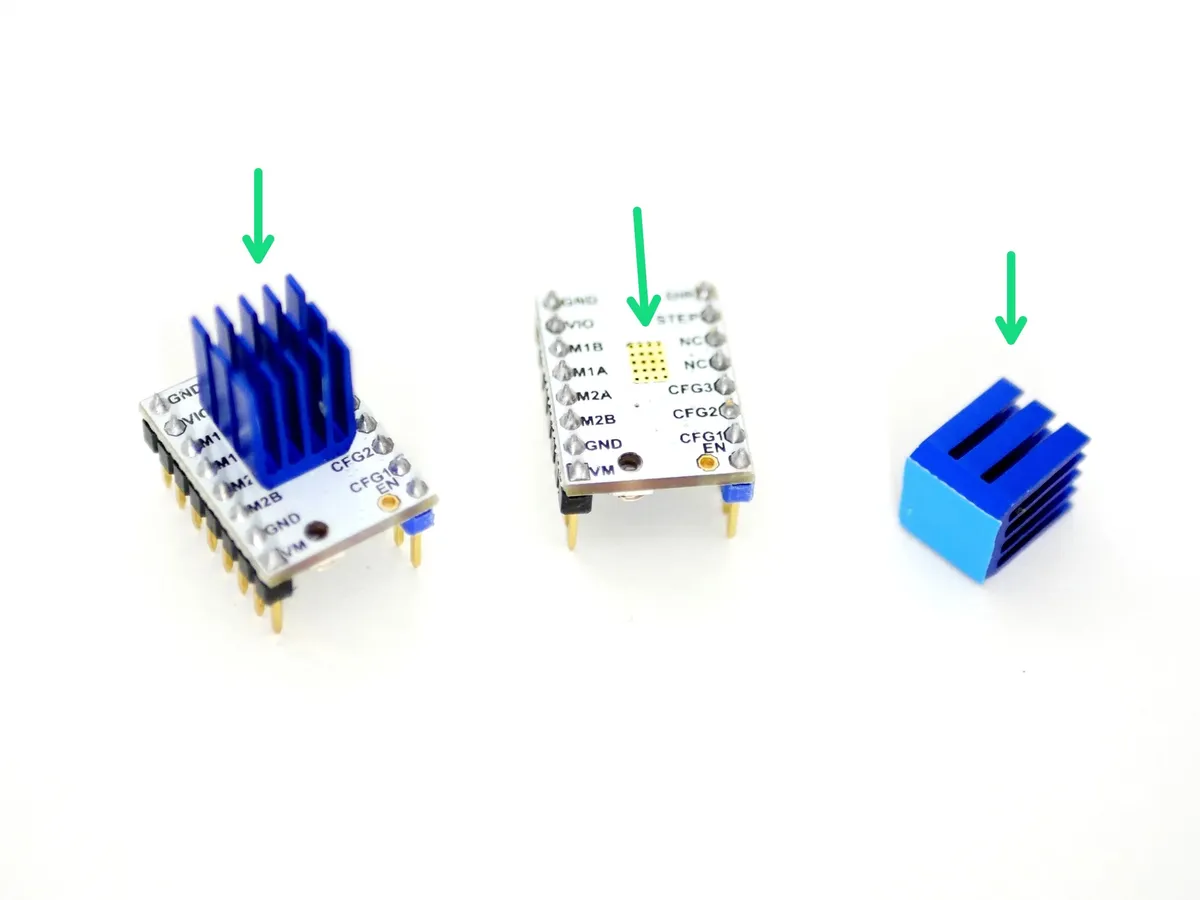
- Prepare the two TMC2100 stepper drivers by removing them from their packaging and sticking on the Heatsinks as shown in the first image.
- Note: Make sure the heatsink is not touching any of the pins.
- Note: Orient the fins of the heatsink as shown.
- Adjust the trimpot so that flat side is pointing towards the bottom right corner as shown in the second photo.
- Fix the two TMC2100 Stepper Drivers to the X & Y Positions.
- Reminder: When installing, match the orientation of the drivers as shown in the second image.
- Caution: Installing a stepper driver the wrong way round will destroy it.
- Note: If you're building the Proforge 2 use the red A4988 drivers here with the flat side of the trimpot facing the bottom left corner, as shown for the Z-axis stepper in the previous step.
Loading comments…
Step 27 DSH: Second Extruder Stepper Driver
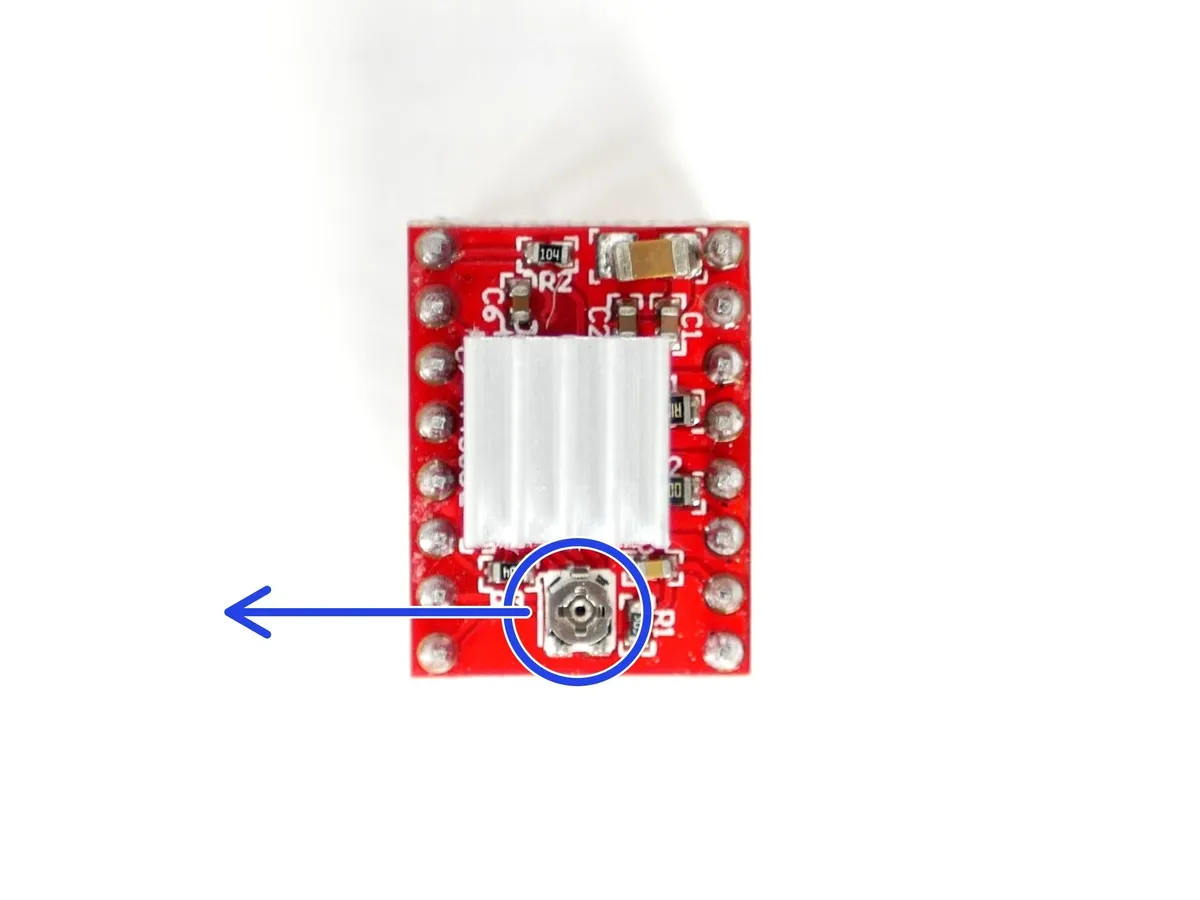
- Note: As before repare the A4988 Stepper Driver by sticking the heatsink to the black chip on the driver.
- Caution: Make sure that the heatsink is not touching any of the pins. Orient the fins of the heatsink as shown.
- Adjust the trimpot so that the flat side is facing left, like shown in the second image.
- Check that you have 3 jumpers installed like shown in the second image.
- Fix the stepper driver onto the electronics board, matching the orientation shown in the third image.
- Caution: Installing a stepper driver the wrong way round will destroy it.
Loading comments…
Step 28 Rubber Feet
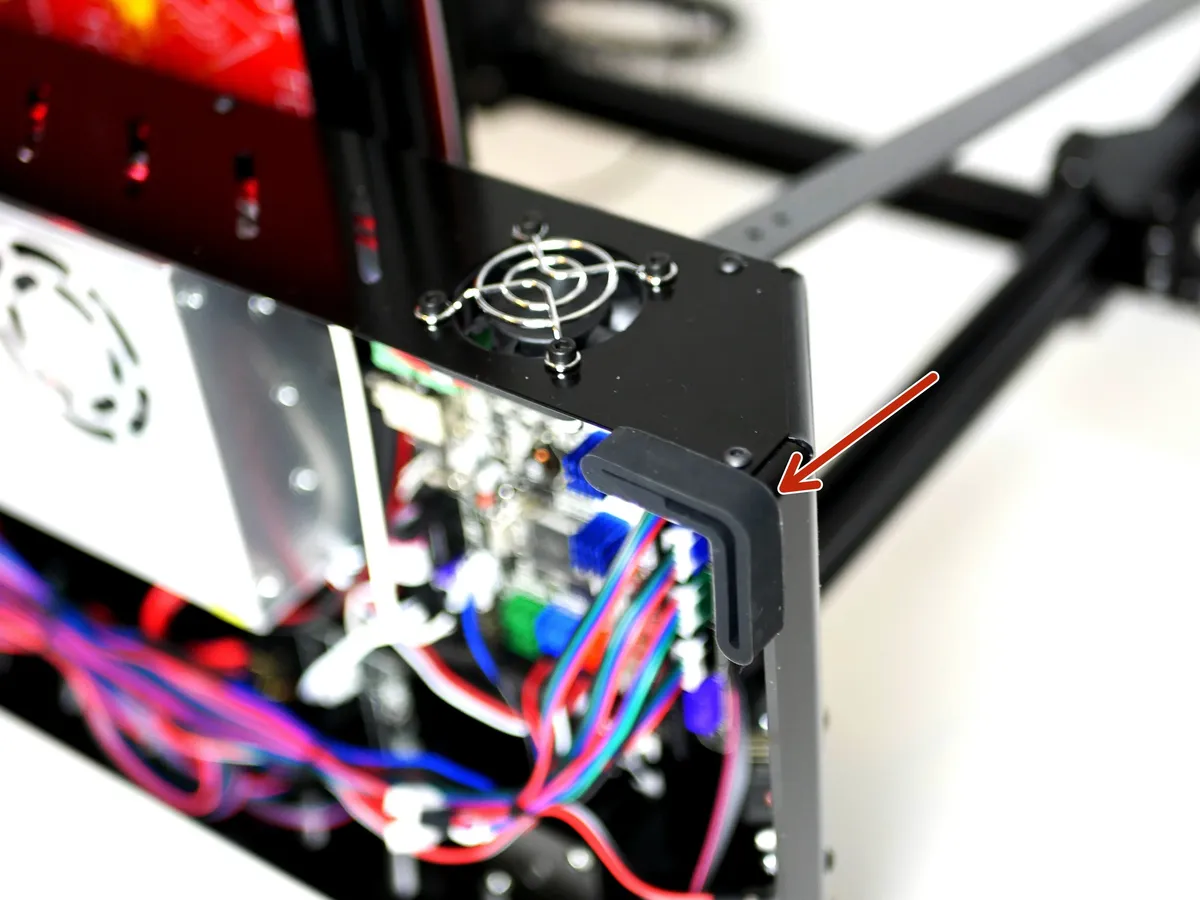
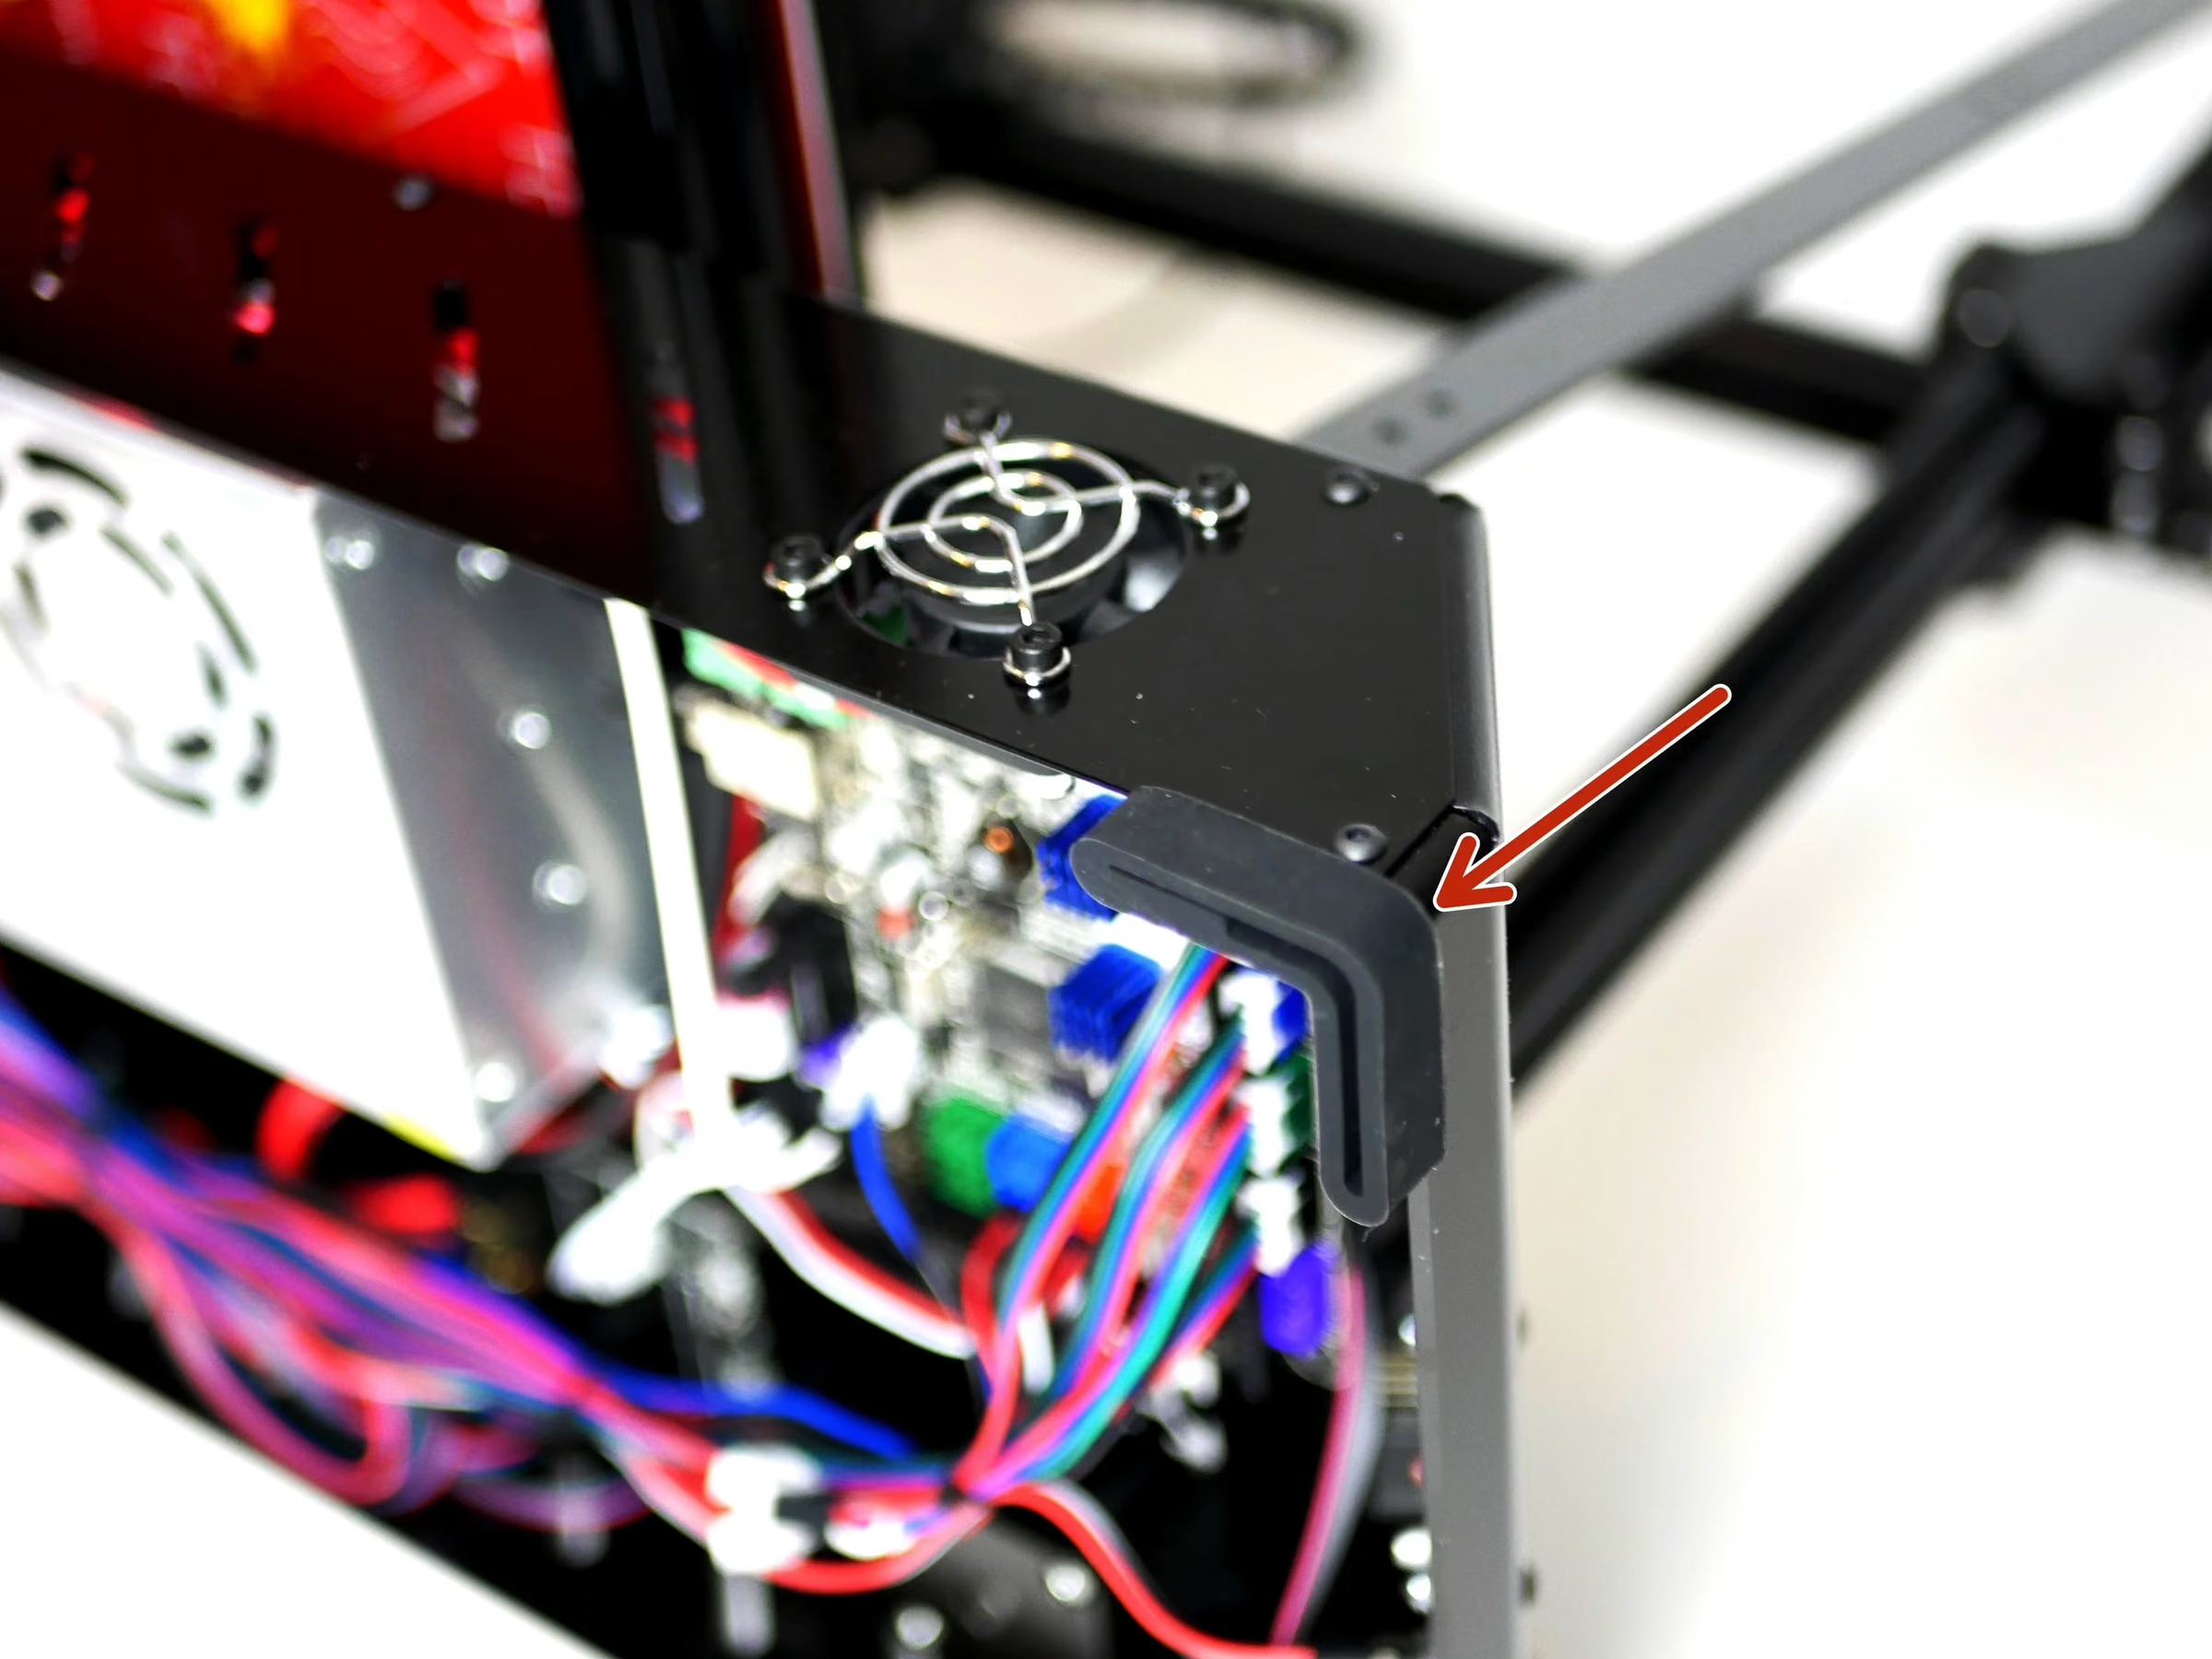
- Fix onto the four corners the four rubber feet.
Loading comments…
Step 29 Proforge 2S Sticker
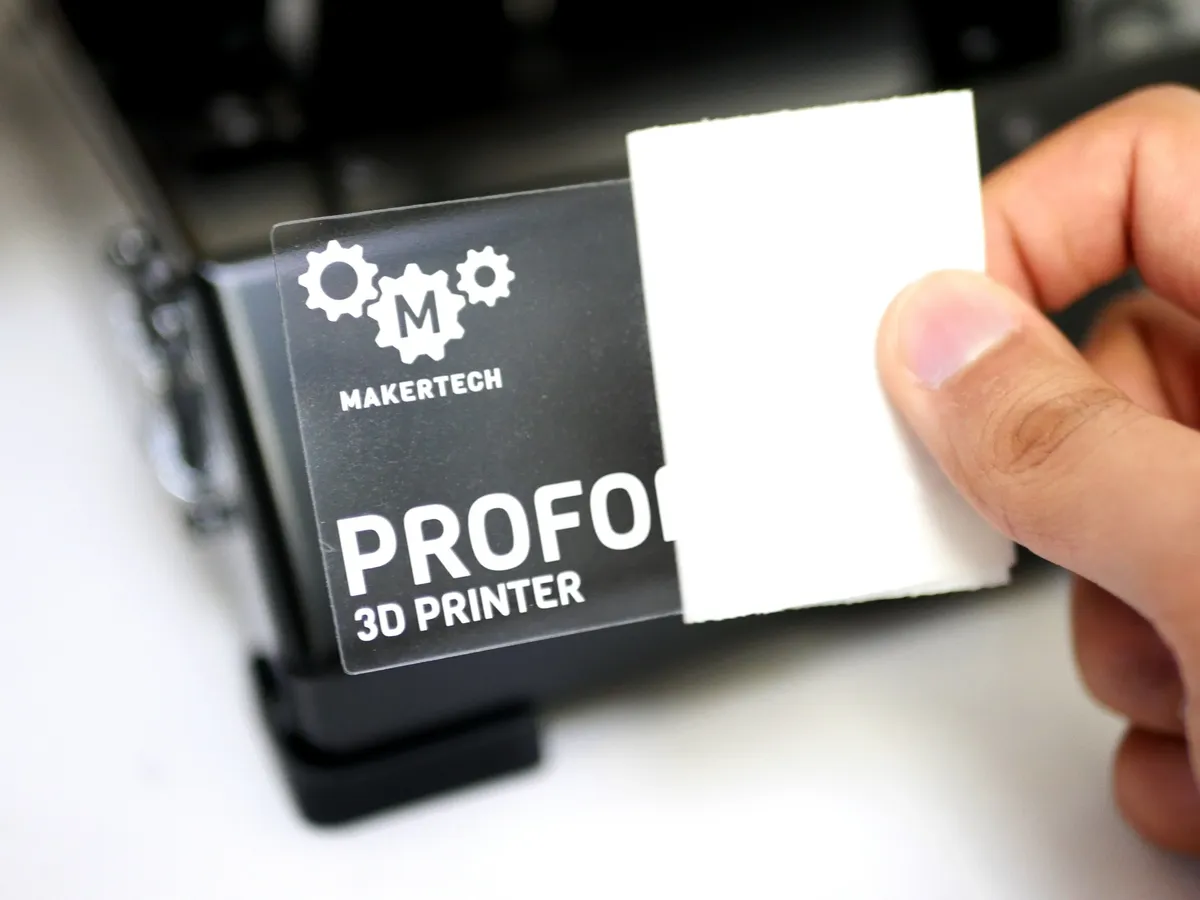
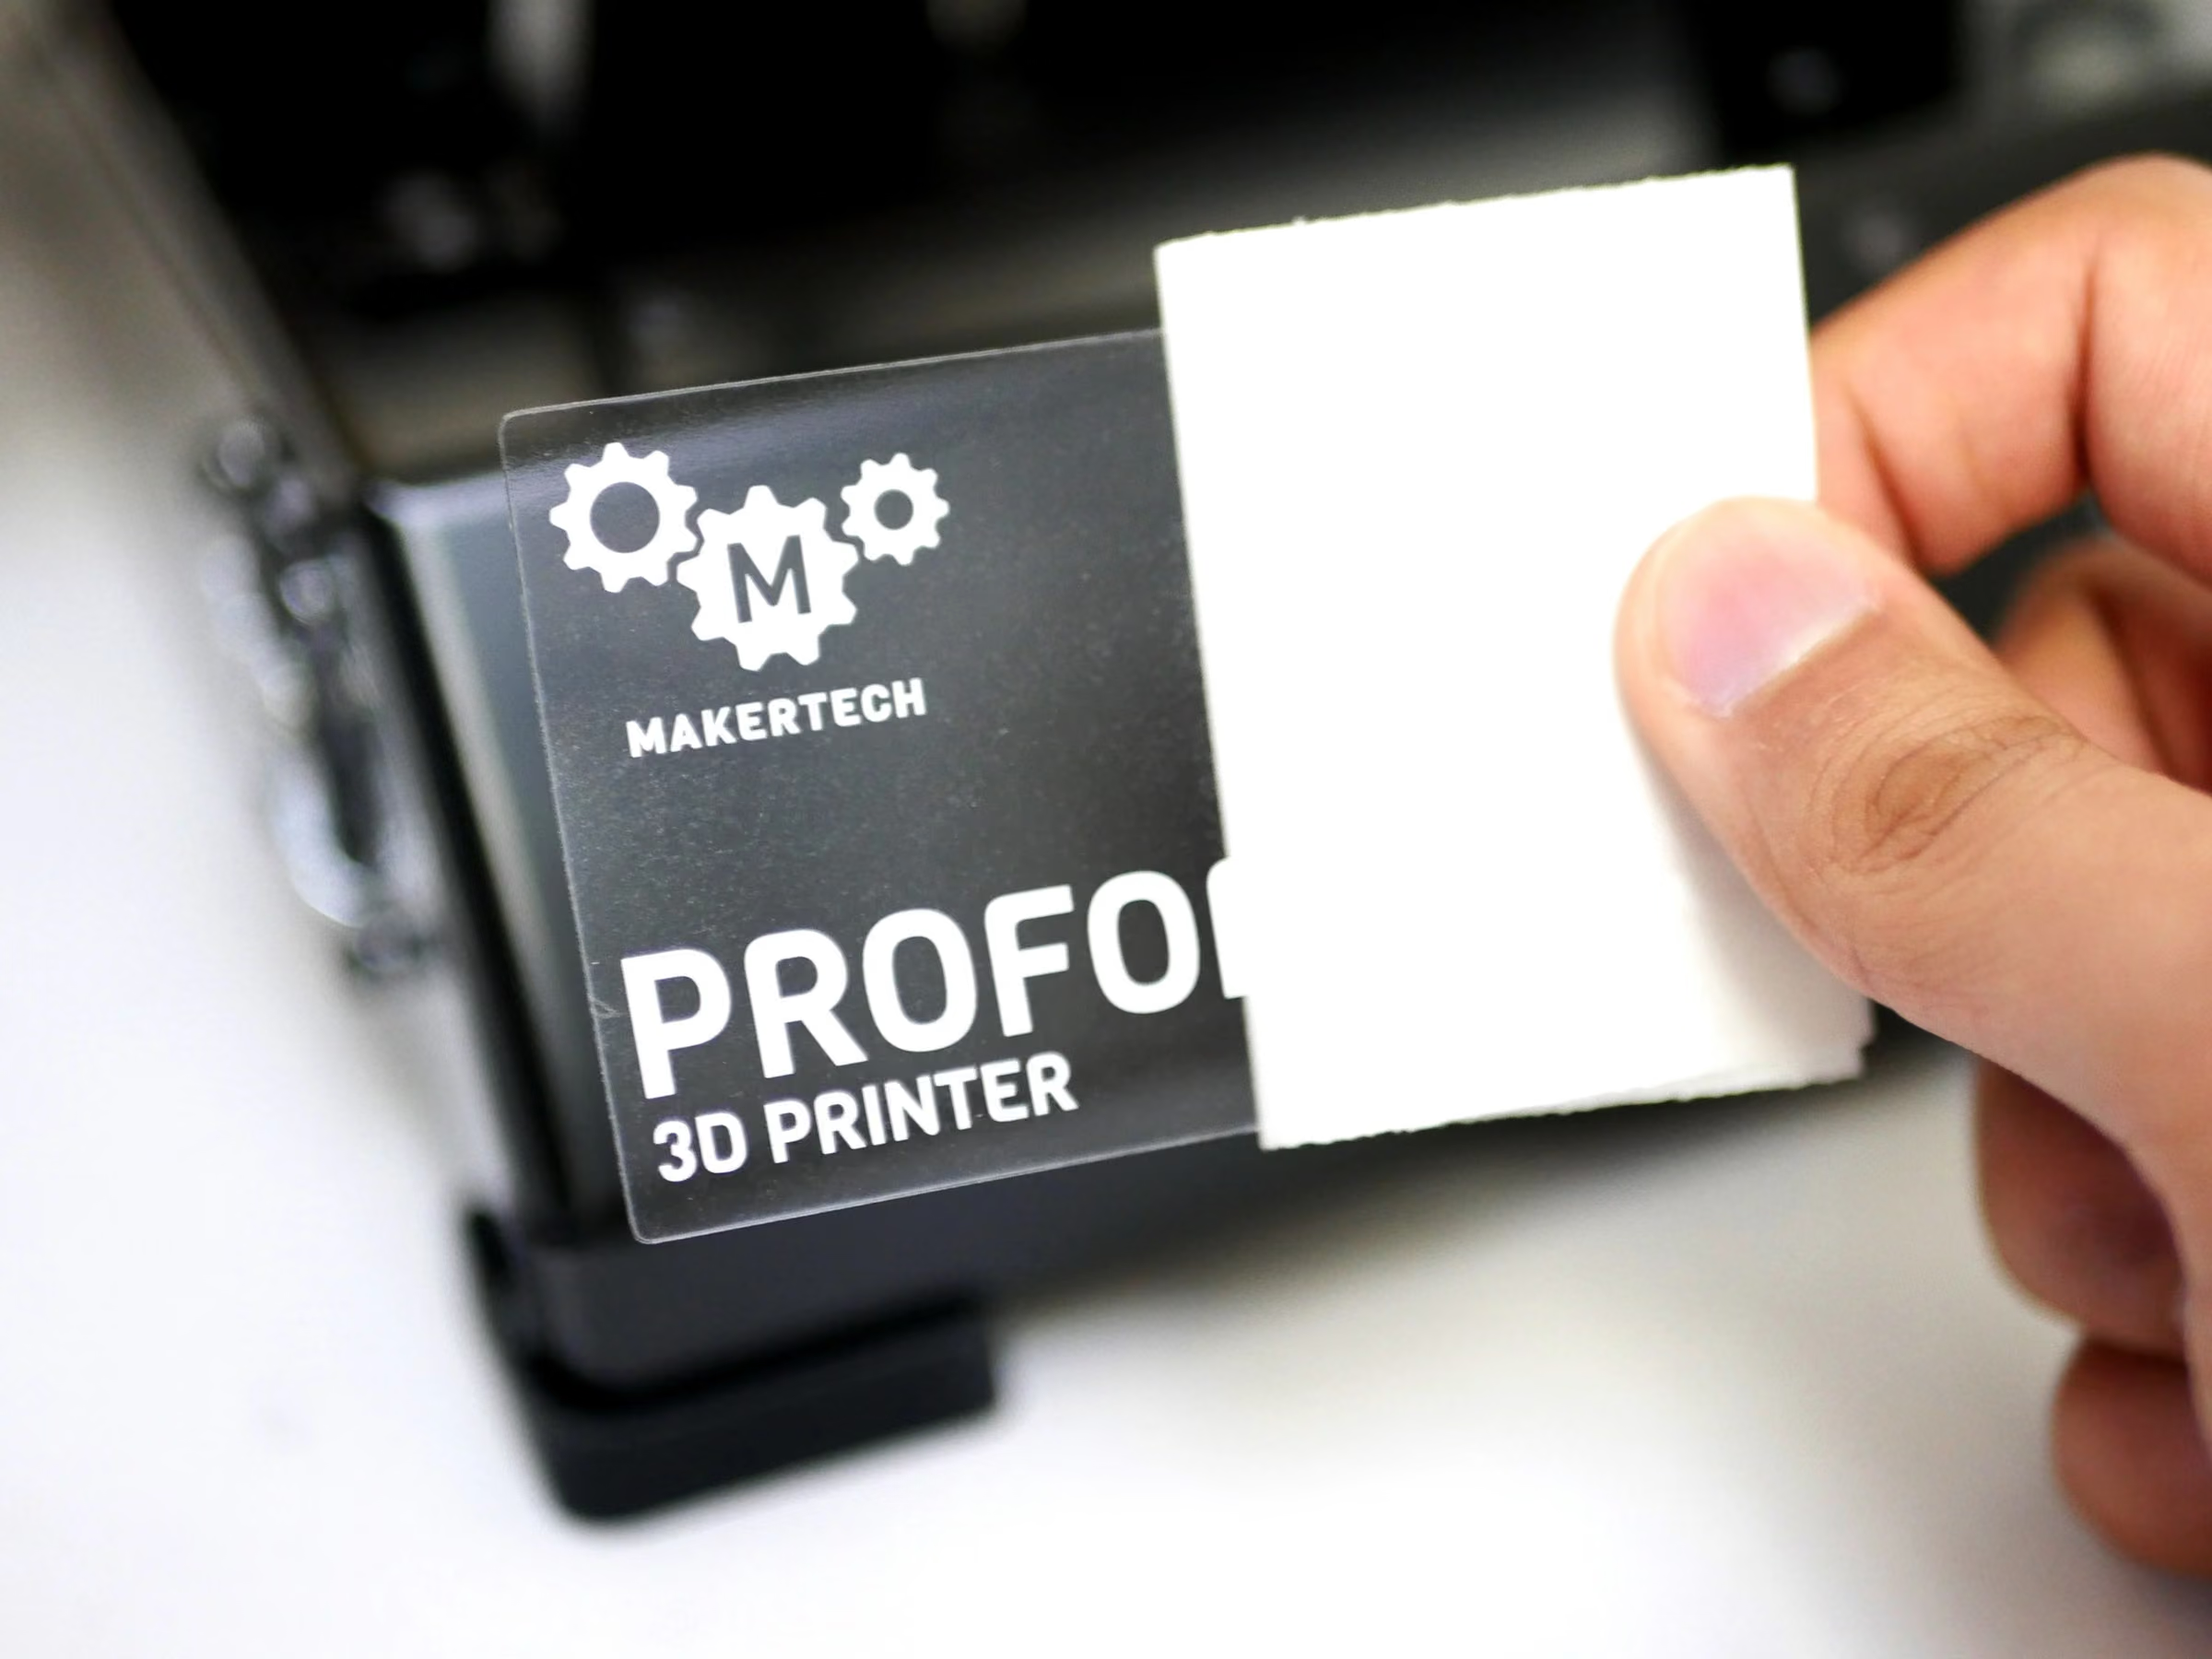
- Note: Apply to the front of the machine the Proforge 2S Sticker.
Loading comments…
Step 30 Flexplate
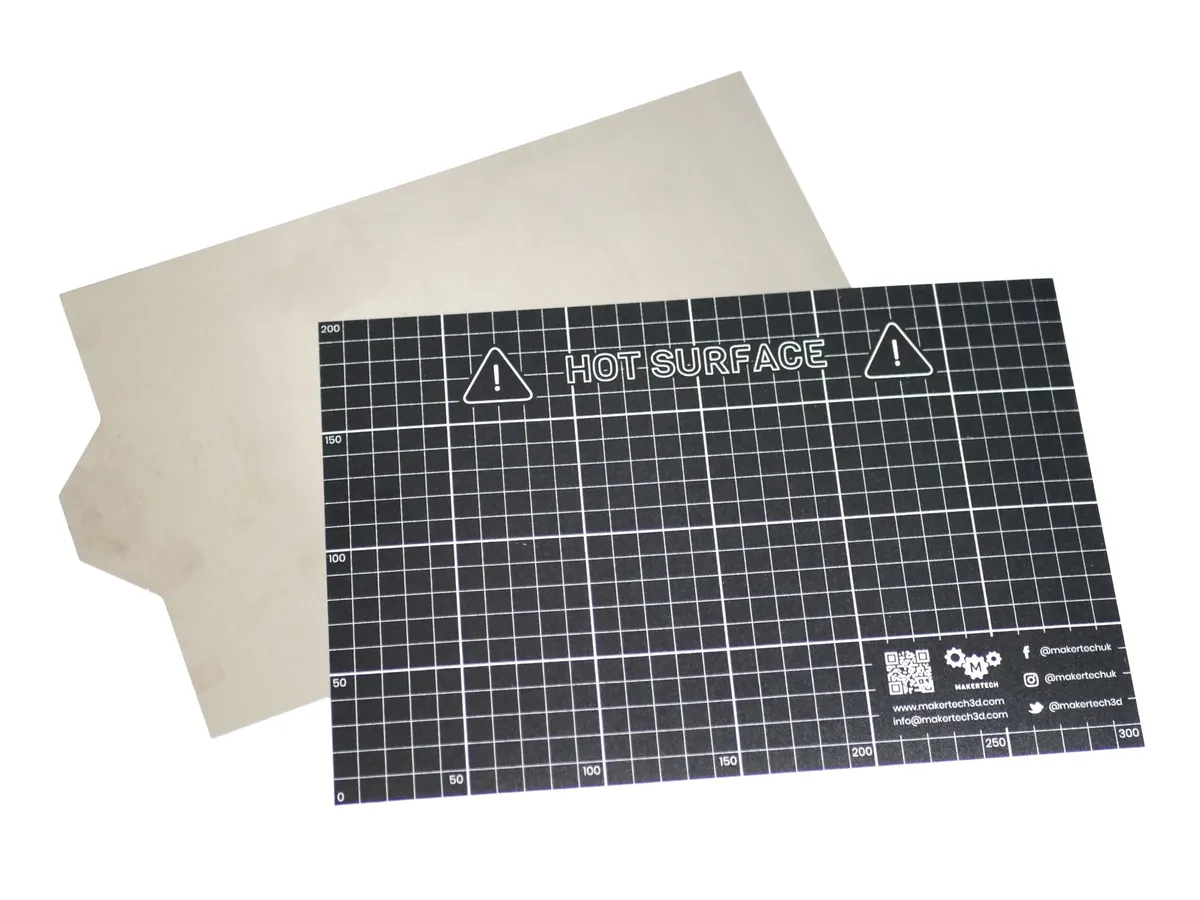
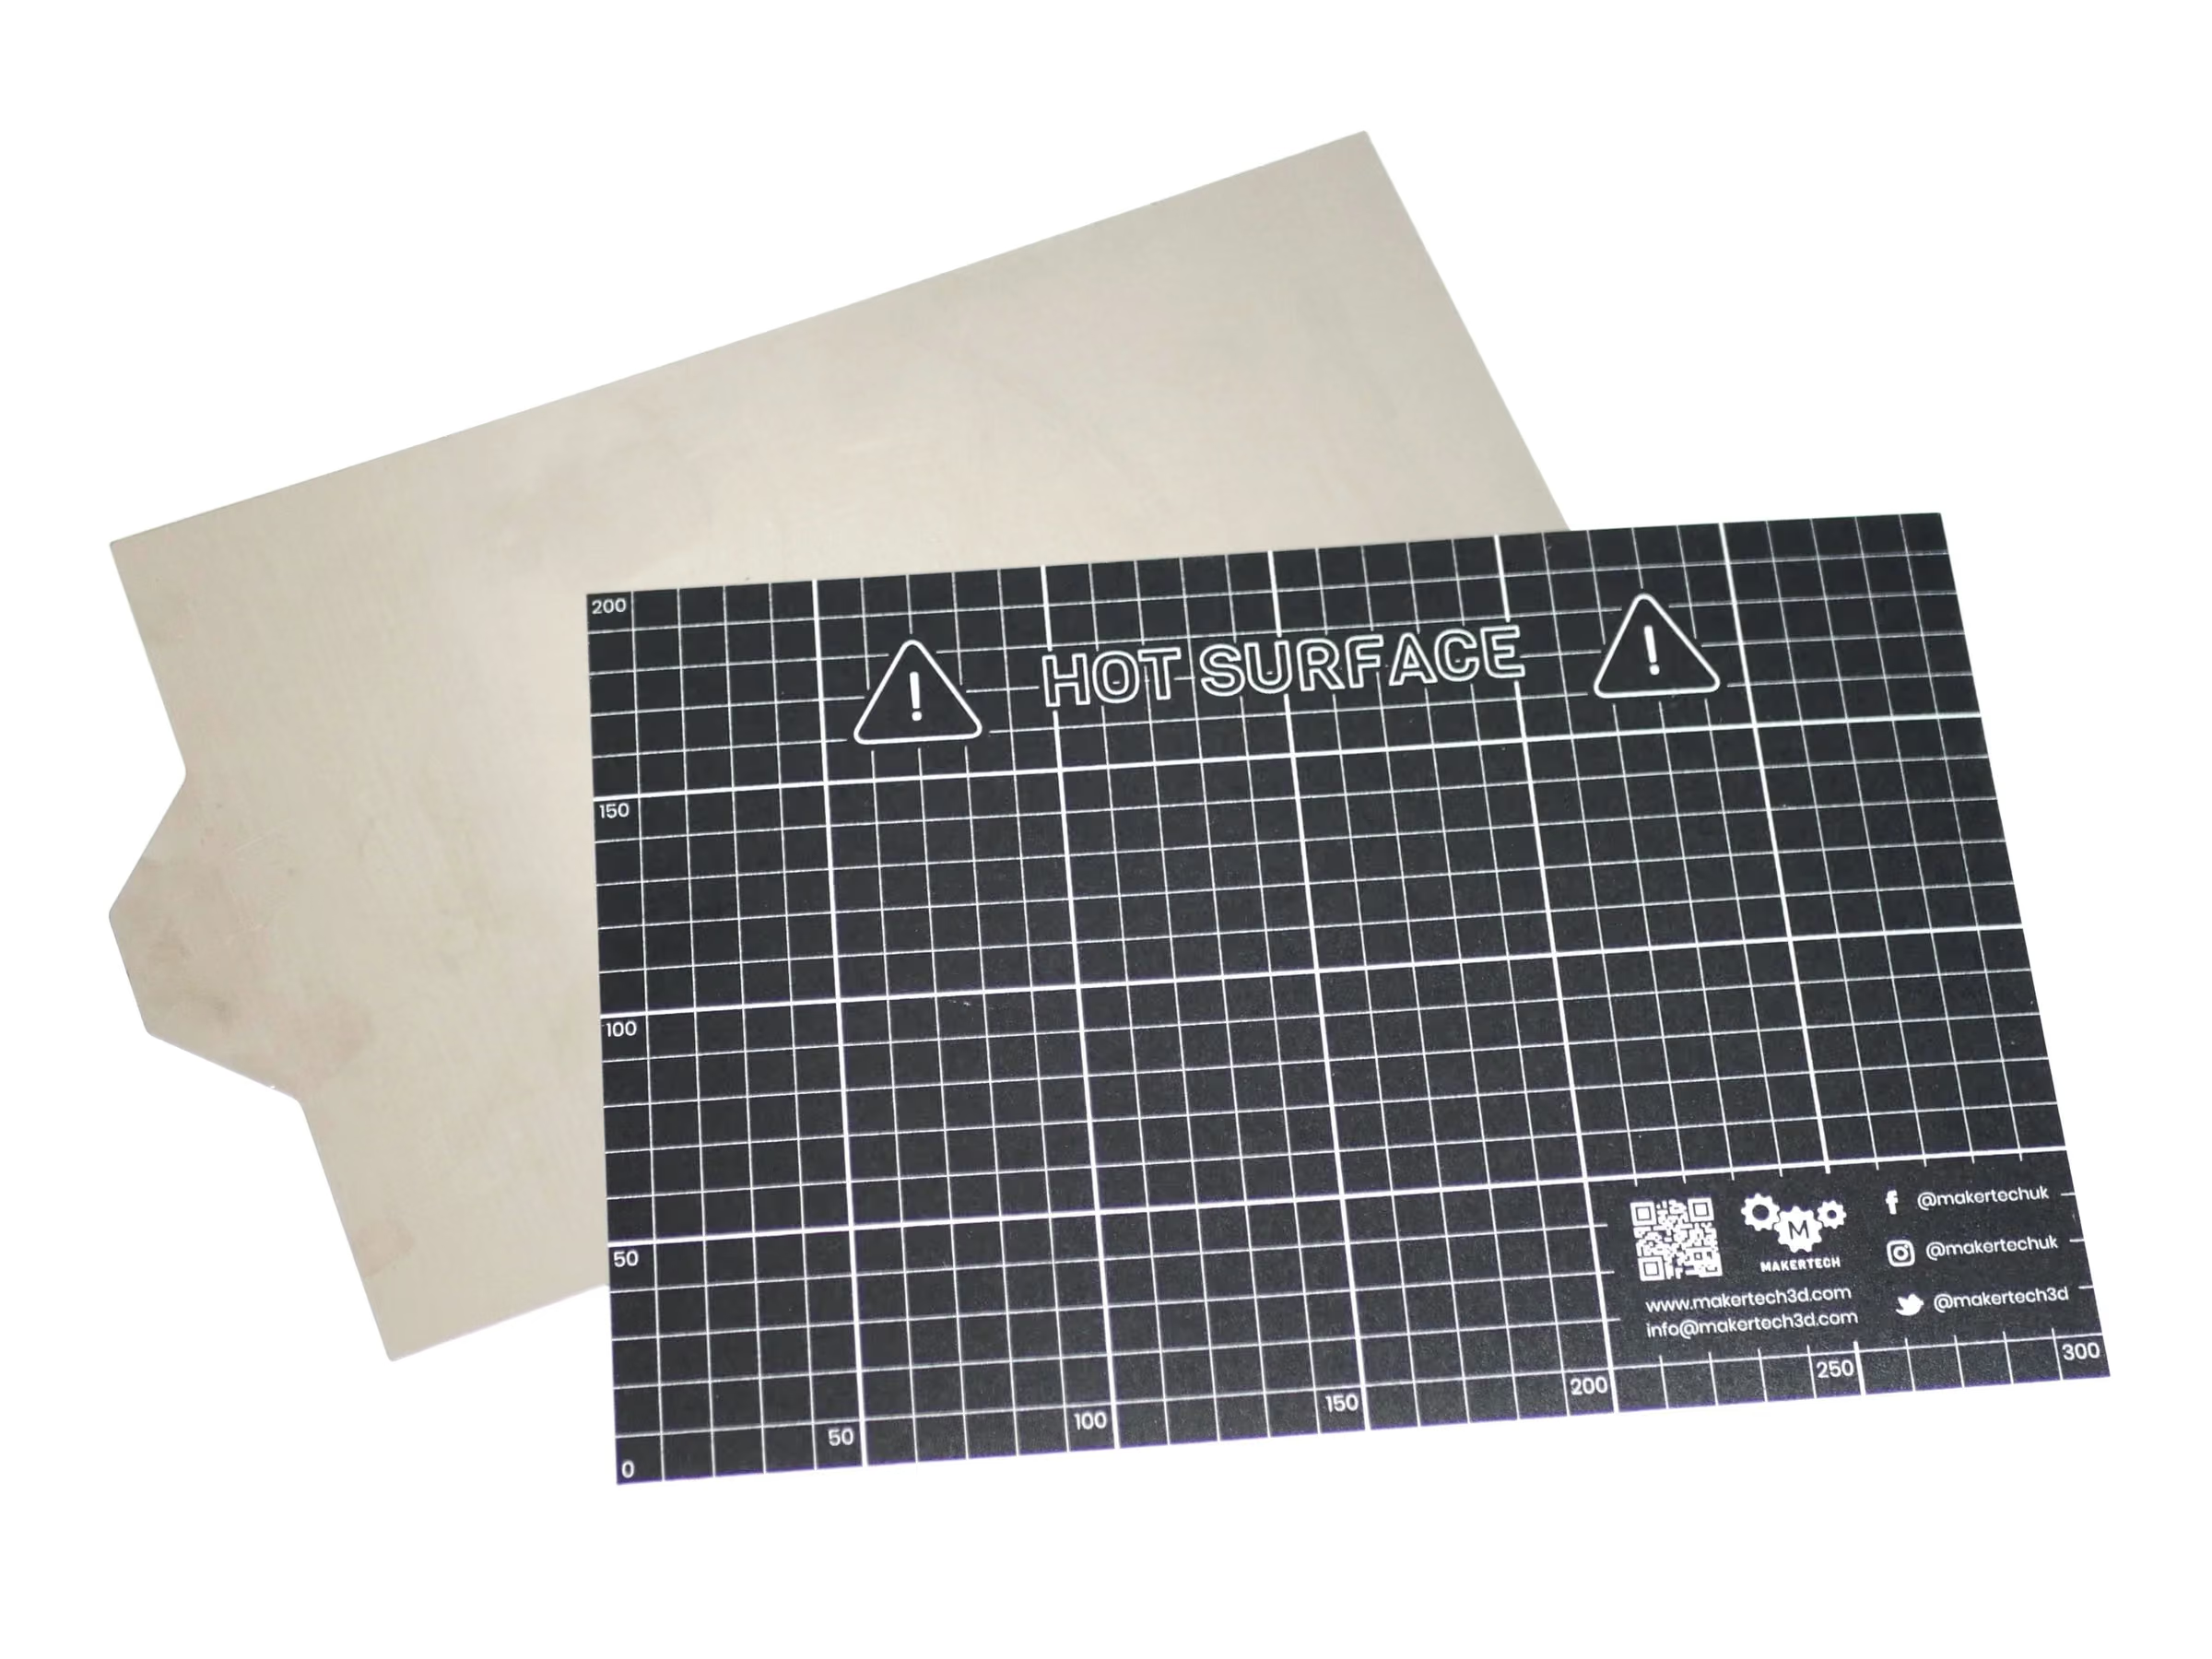
- Caution: Before starting make sure the flexplate surface is clean.
- Peel away the backing from the right side of the surface sticker.
- Fix the sticker onto the edge of the flexplate making sure to carefully align it with the top and bottom edges.
- Pull away the backing paper and press down the sticker.
- Place the flexplate on to the centre of the platform.
Loading comments…
Step 31 Flexplate Tip
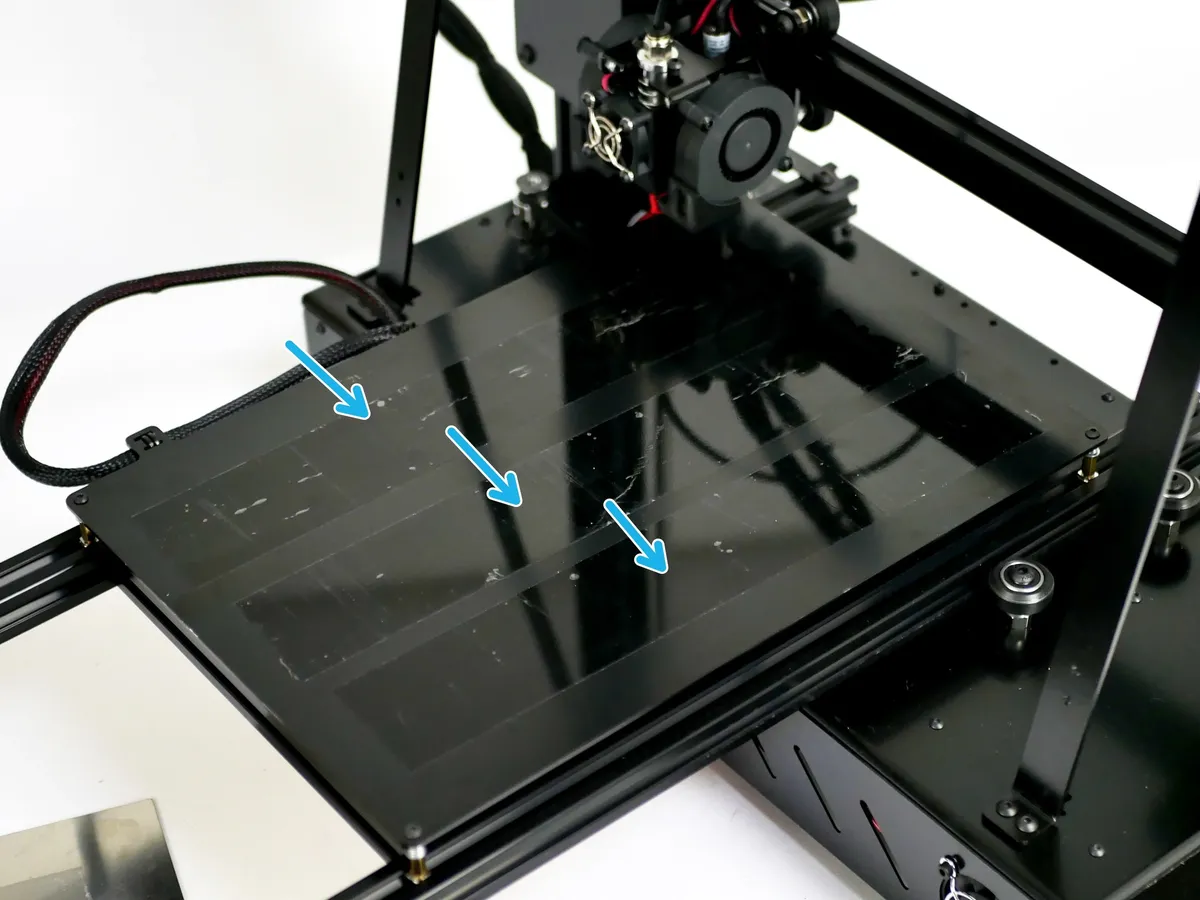
- Note: Sometimes during a print the nozzle might bump a part of your print and normally this might not be enough to affect the print overall, however this may be enough to cause the flexplate to slide and ruin the print.
- To prevent this we can put some tape on both the platform and the back of the Flexplate to create more friction between the surfaces.
Loading comments…
Step 32 Print Surface Sticker (No Flexplate)
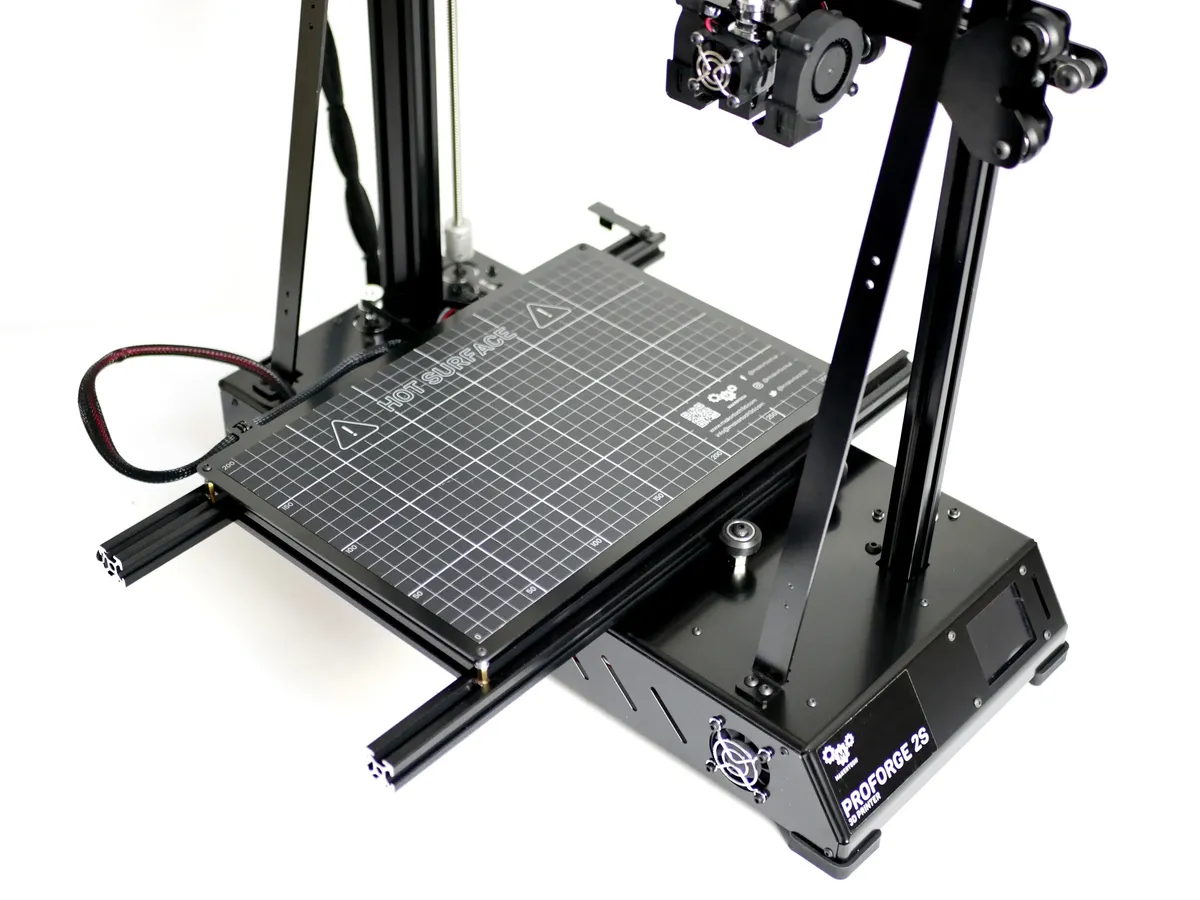
- Caution: Before starting make sure the metal surface is clean.
- Note: Partially remove the backing paper from the short side of the Print Surface Sticker.
- Note: Align the sticker with either the left or right side and evenly apply pressure as you fix the sticker onto the platform.
- Note: Aim to apply centrally on the platform, keeping an equal gap from all of the edges.
Loading comments…
Step 33 Congratulations!!
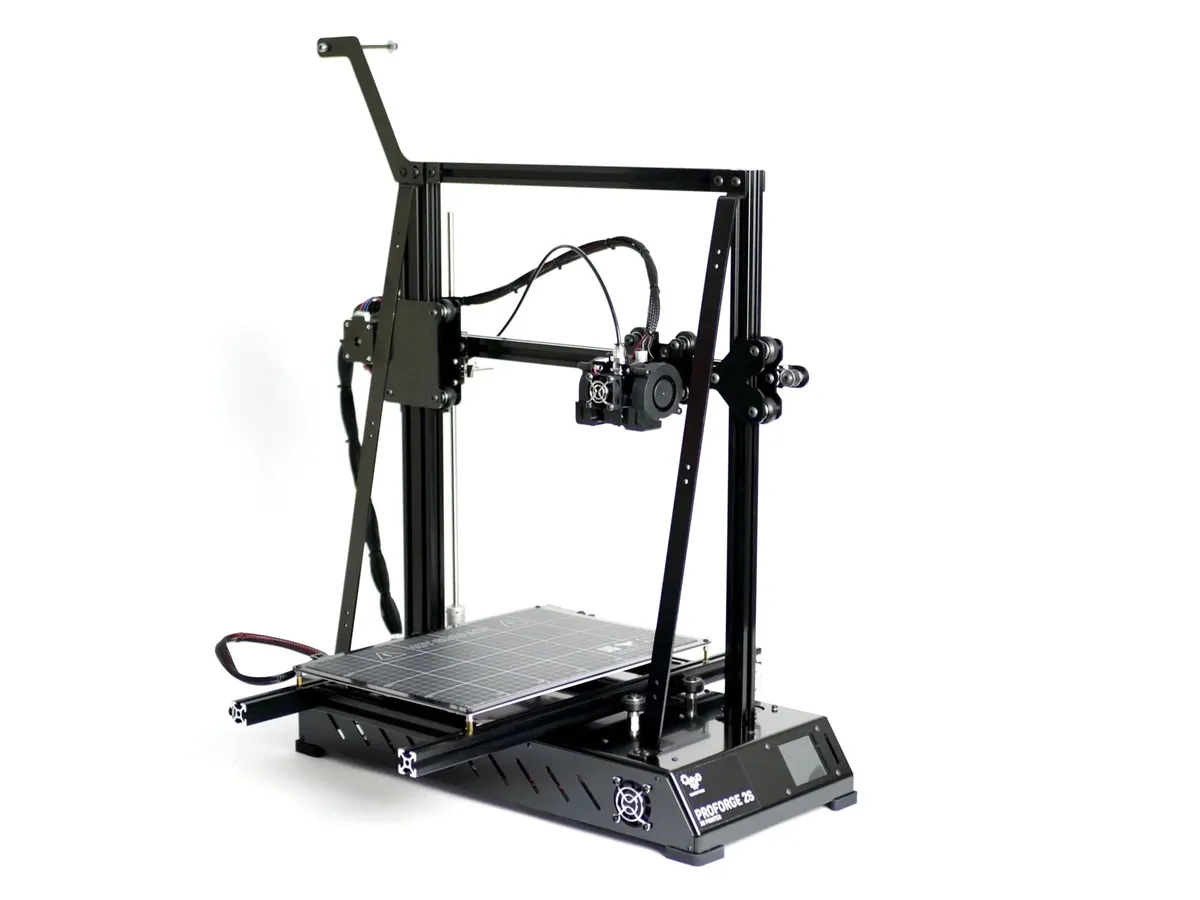
- Note: Congratulations! You've completed the mechanical build of the Proforge 2/2S 3D Printer!!
- Reminder: If you are building the Proforge 2/2S with the Dual Switching Hotend Upgrade, continue the build with the DSH guide here.
Loading comments…